Chicken Bacon Ranch Sliders
Chicken Bacon Ranch Sliders are an easy-to-make bite size sandwich that’s bursting with flavor. Layers of sliced deli chicken, melty Colby Jack cheese, crispy bacon, and tangy ranch dressing are mini sandwiches with sweet Hawaiian rolls.

Chicken Bacon Ranch Sliders
Back-to-school and football season is officially in full swing, and this Chicken Bacon Ranch Sliders recipe is one you’ll want to have on hand!
These easy-to-make sliders are meaty, cheesy, and full of tangy ranch flavoring and are all stuffed into a delicious little sweet roll that is sure to be loved by all!
So, when you are short on time and looking for an INSANELY quick and delicious meal, whip up these sliders and serve with a side salad and my crispy air fryer potato chips for a fun and satisfying meal!
If you like these, you will love my cheeseburger sliders, my mini chicken and waffles sliders, and my roast beef sliders. They are perfect for a tailgate party!
This post may contain affiliate links. As an Amazon Associate, I earn from qualifying purchases at no additional cost to you. Read my disclosure policy.

Ingredients Needed
Slider Buns – I like to use Hawaiian Rolls but use your favorite. This recipe calls for 15 rolls and the typical package contains just 12. Feel free to use just those and make them a little thicker.
Chicken – Sliced rotisserie deli chicken I found works best as it’s thin. But if you have leftover or shredded chicken, feel free to use that. You can also use blackened or even buffalo flavored chicken.
Cheese – Colby Jack works great with this recipe but feel free to use your favorite cheese. Sharp cheddar cheese or even Pepper Jack works great too.
Bacon – I like to cook my own bacon and then chop it up but feel free to use store bought bacon crumbles. Just make sure that it’s real bacon and not the fake “bacon bits.”
Kitchen Staples – Ranch dressing, unsalted butter, Parmesan cheese, and garlic powder.
For more insider tips, tricks, and a behind the scenes look, follow me on Pinterest, Facebook, Instagram, & X.
How to Make Chicken Bacon Ranch Sliders
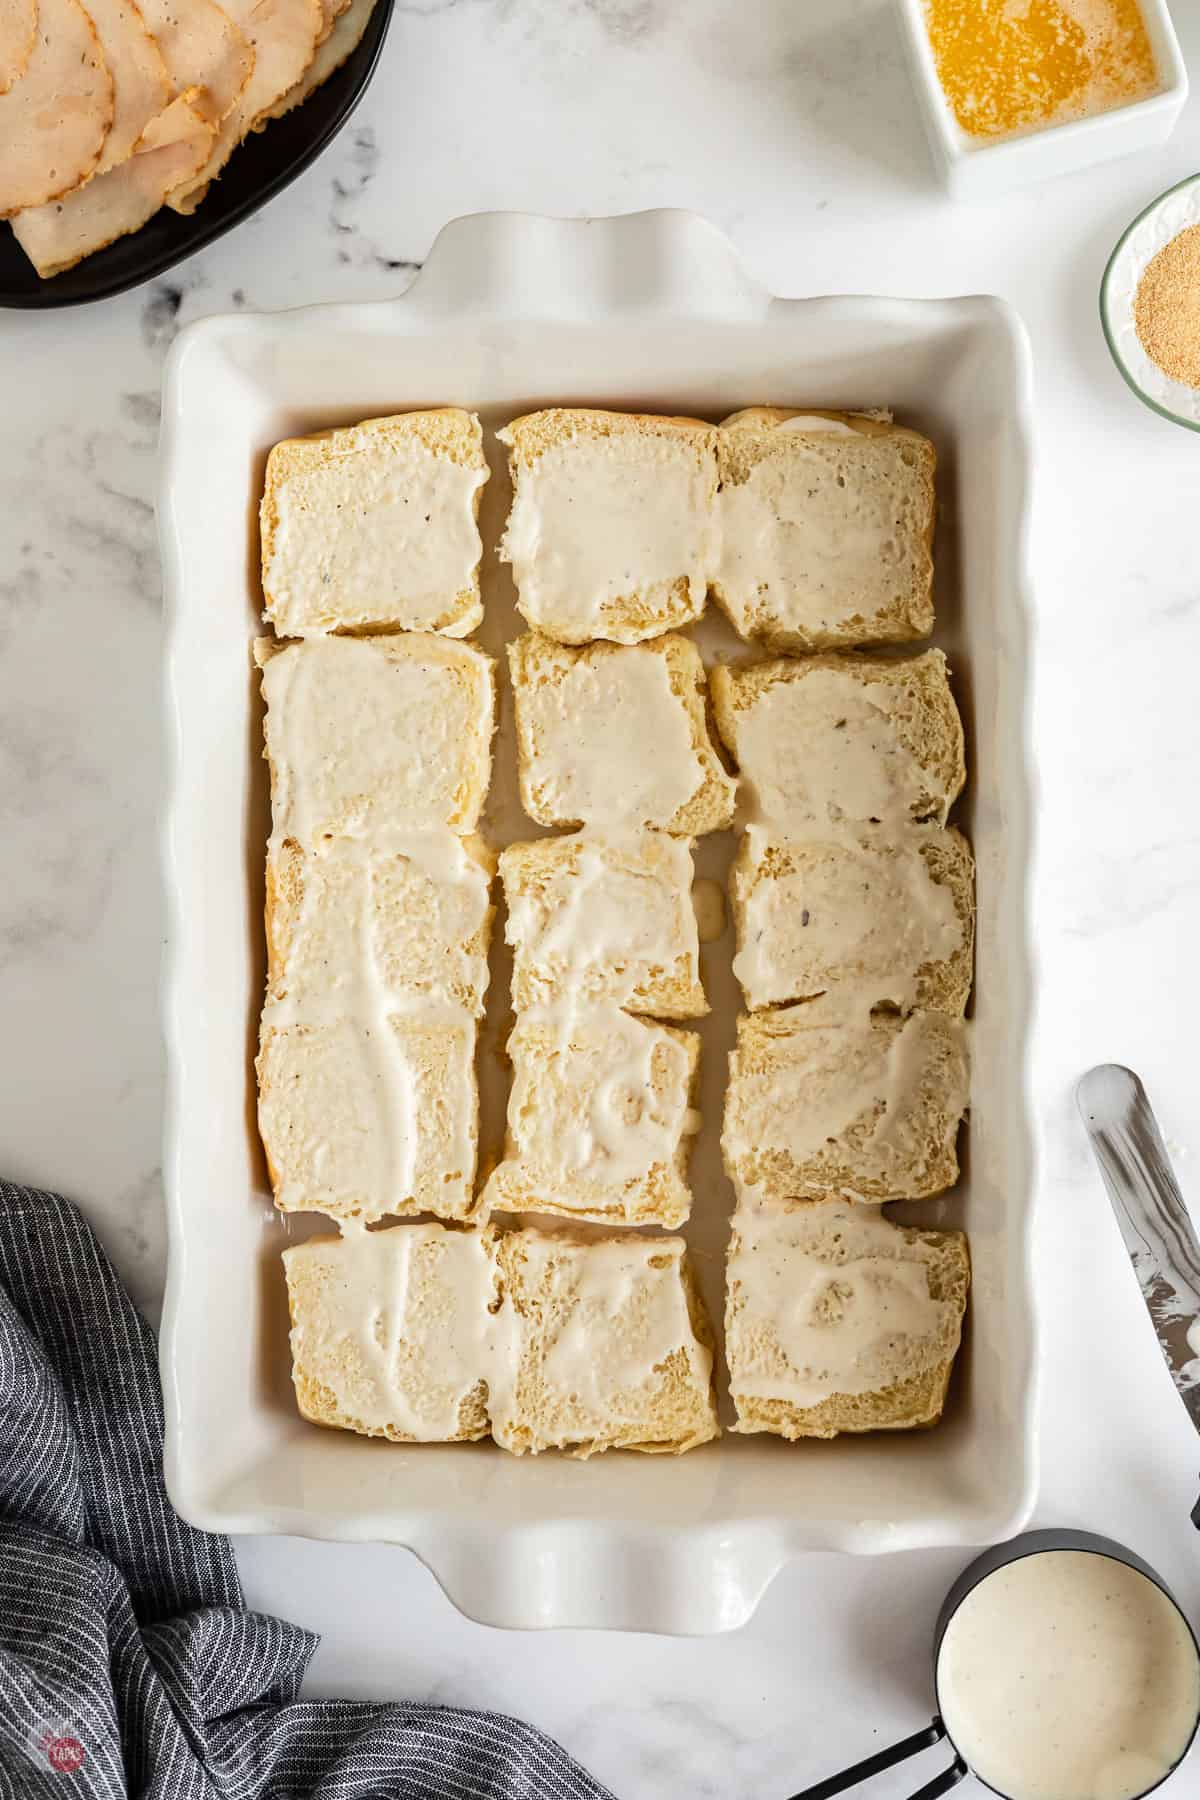
First: Preheat the oven to 350F. Assemble the sliders. Cut open the slider buns and place the bottoms in a 9×13 baking dish.
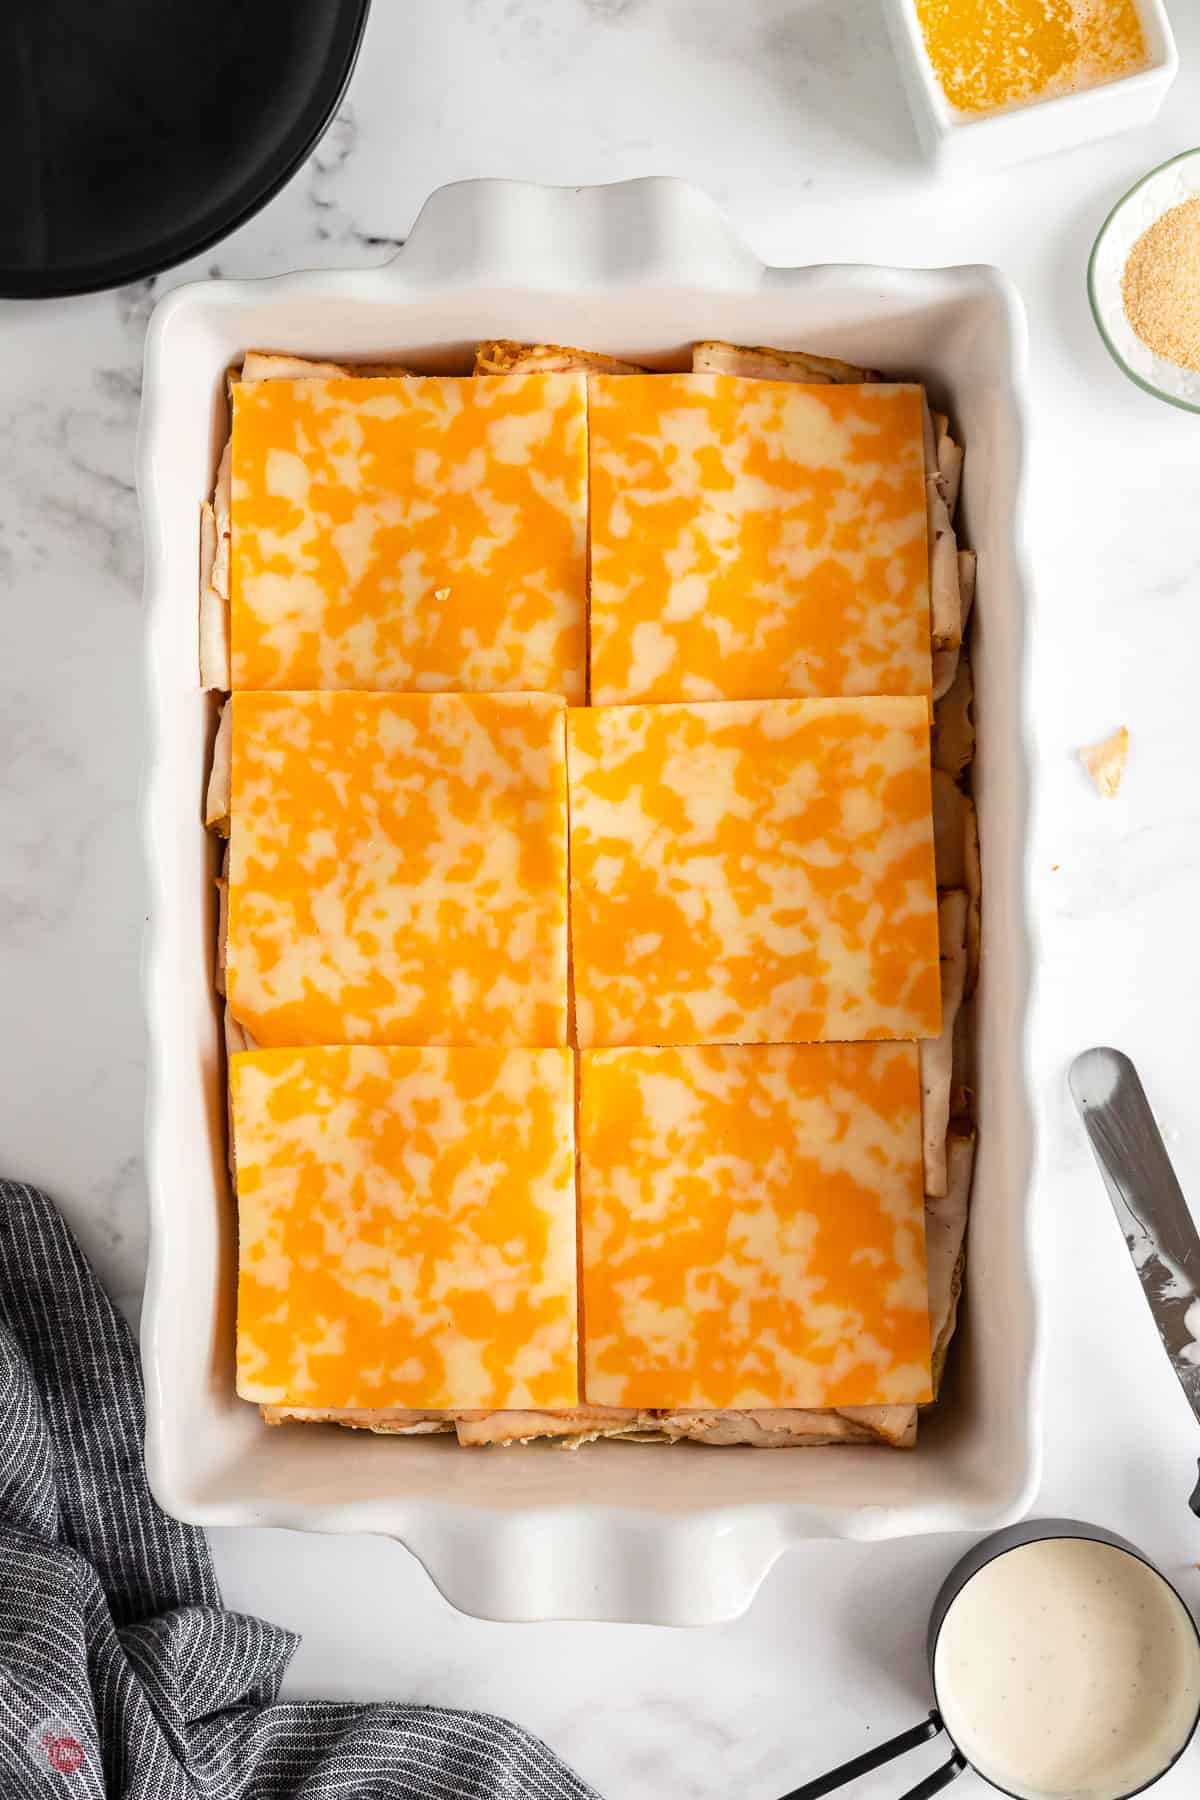
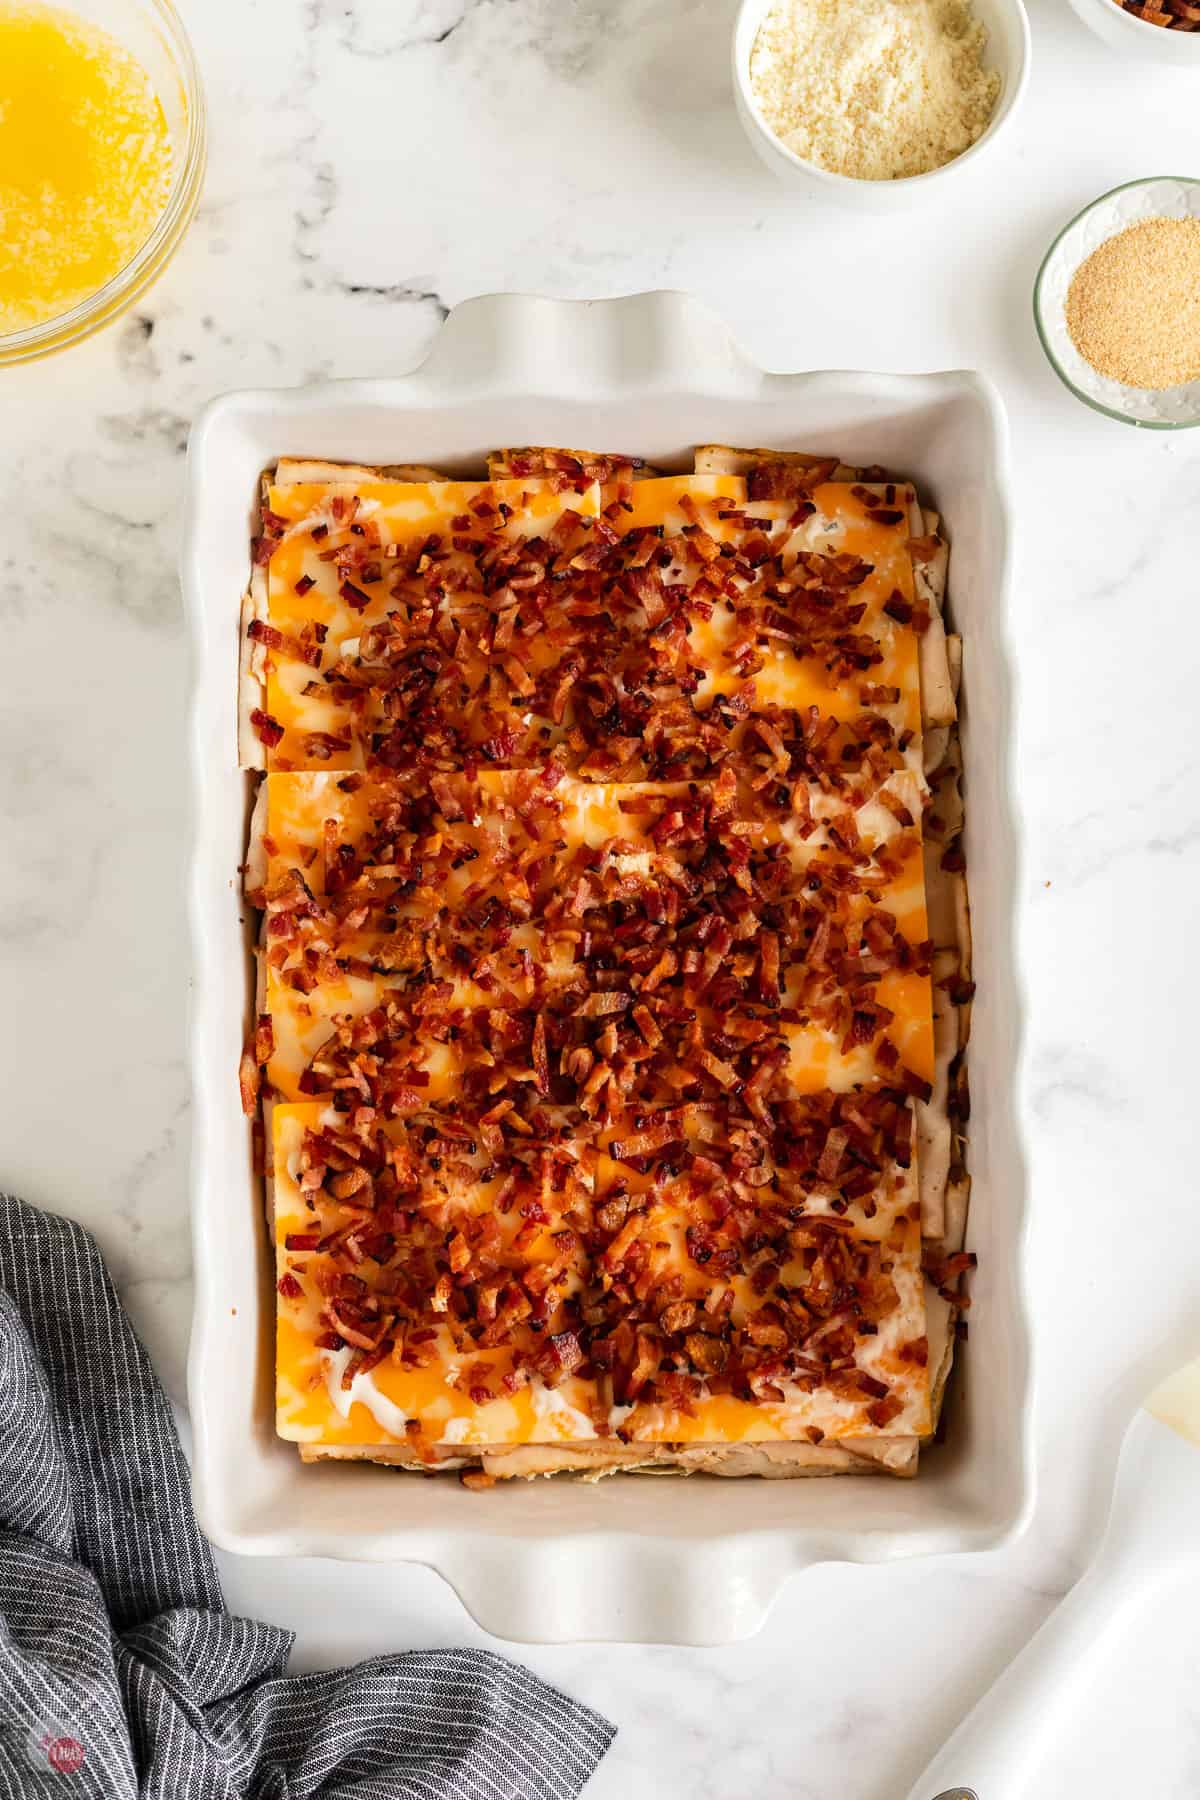
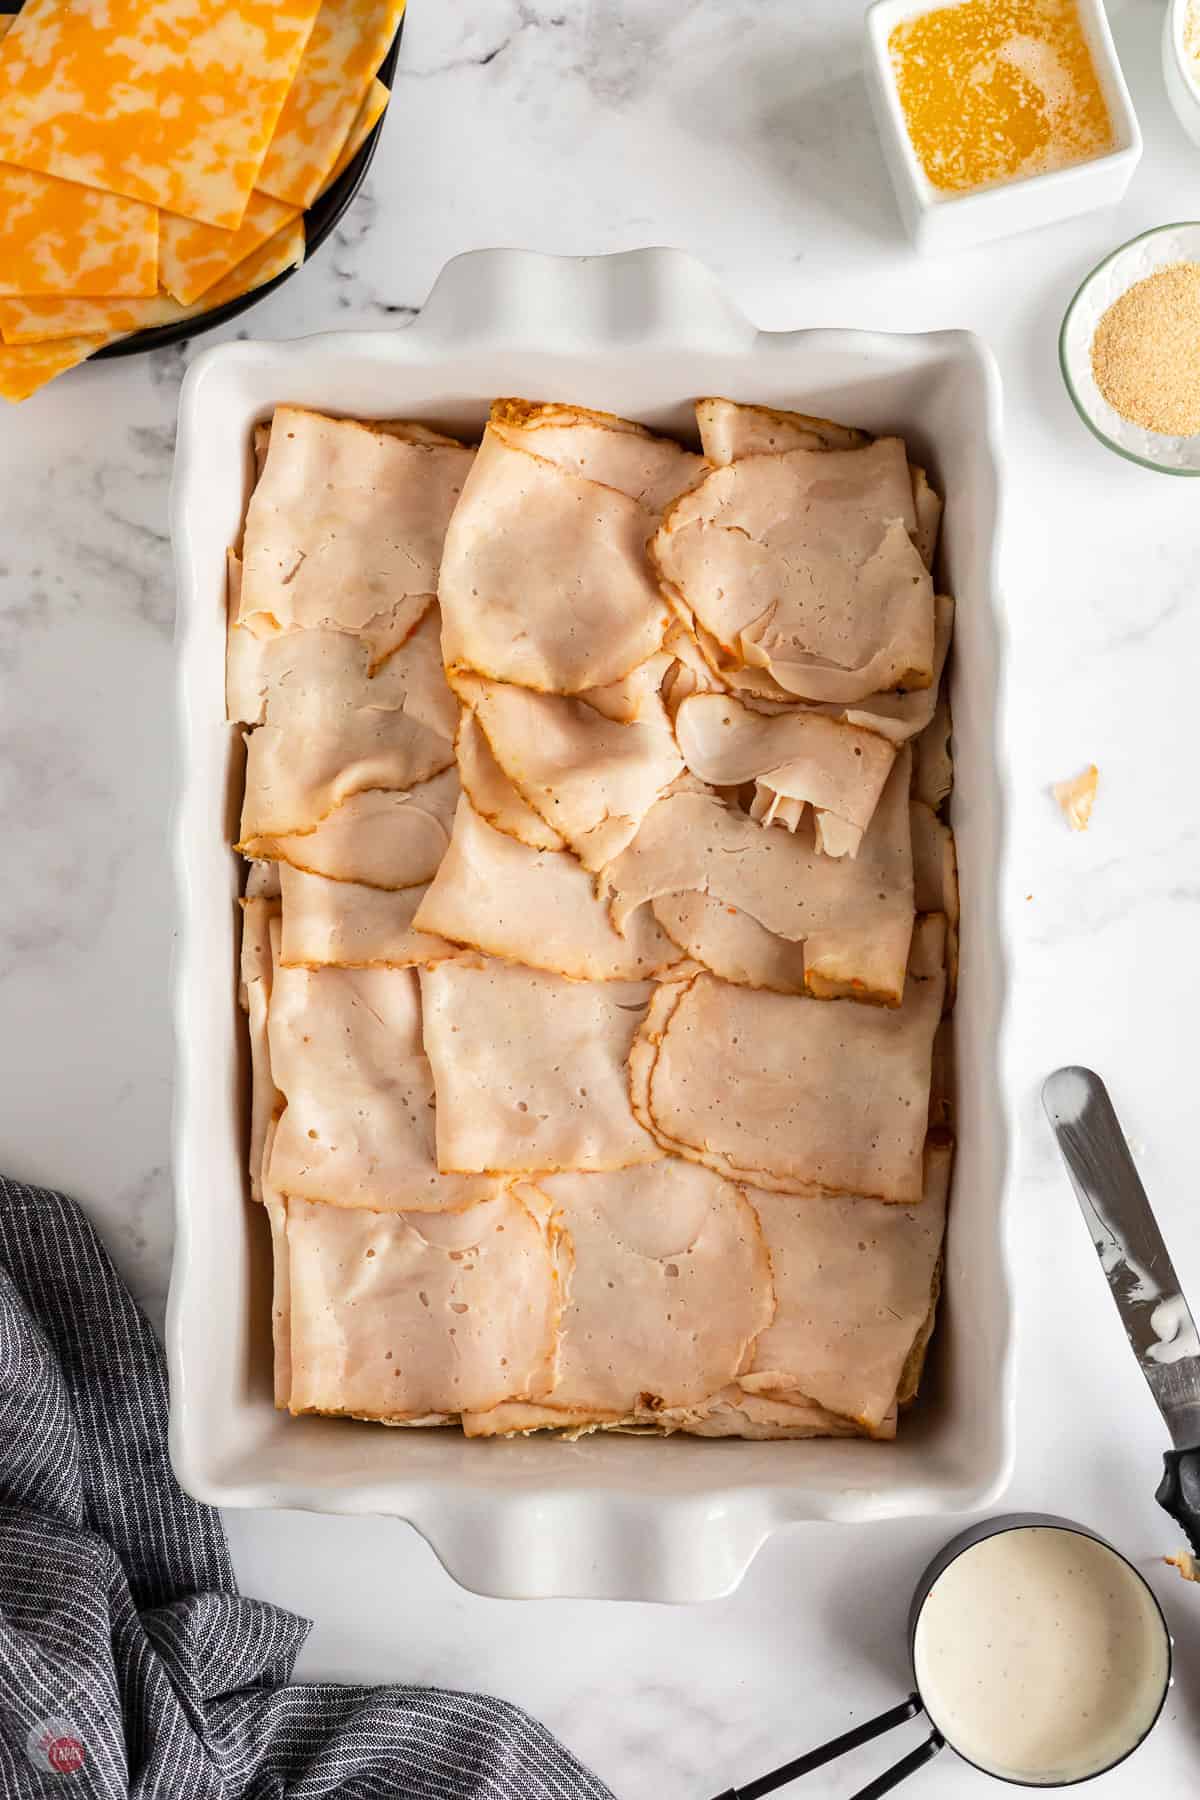
Second: Spread half the ranch dressing on them. Layer the sliced chicken, cheese, and bacon over them.
Spread the remaining ranch dressing on the cut side of the bun tops. Place on the bacon. Cut around the sliders to separate them.


Third: Mix the marinade of melted butter, parmesan cheese, parsley, and garlic powder. Brush over the tops of the sliders.
Fourth: Cover with foil and bake for 20 minutes. Uncover and bake an additional 5-10 minutes or until cheese is melted. Remove and enjoy warm.
For the full recipe and detailed instructions, please refer to the recipe card at the bottom of the post.
For more insider tips, tricks, and a behind the scenes look, follow me on Pinterest, Facebook, Instagram, & X.

How long do they last?
These bite sized sandwiches taste best when served warm, however; will last in an airtight container in the fridge for 2-3 days.
How far in advance can I make these?
Assemble Chicken Bacon Ranch Sliders and cover with foil and place in the fridge for up to 3 days.
When ready to eat, brush tops with garlic butter mix and bake according to directions on the recipe card.

Tapas Tips & Tricks
- After assembling the chicken sliders and before coating with marinade, take a sharp knife and cut in between each slider. This way they will separate easily when removed from the pan and not drag any toppings off the other ones.
- Switch up the spices for a meatloaf seasoning for more kick!
- Bake covered for the first 20 minutes and only uncover toward the end so the tops don’t burn.
- I like to use thin sliced deli rotisserie chicken. Feel free to use shredded chicken.
- Switch up the flavors and try it with blackened chicken, or even buffalo chicken!
- I prefer to cook my own bacon and then chop it up. Feel free to use crumbled bacon from the store. I would avoid any “bacon bits” or bacon flavored items.
- Use fat free or reduced fat ranch and cheese to cut a few of the calories.
- You can also switch out the ranch dressing for mayo and just add ranch seasoning to the marinade.
If you love this recipe as much as I do, please leave us a five-star review in the comment section below. Thanks!

These Chicken Bacon Ranch Sandwiches are easy-to-make, kid-friendly bites that are perfect for a game day event, potluck appetizer, or a family-fun dinner on a busy weeknight!

Chicken Bacon Ranch Sliders
Ingredients
- 15 Hawaiian Rolls of other slider buns
- 1/2 cup ranch dressing
- 1 pound thin sliced deli chicken
- 8 slices 8 ounces Colby Jack cheese
- 12 ounces bacon cooked, crumbled
- 1/2 cup butter melted
- 2 tablespoons parmesan cheese
- 2 tablespoons fresh parsley chopped
Instructions
Assemble the sliders
- Preheat oven to 350F.
- Slice slider buns and place bun bottoms, cut side up, in a 9×13 oven safe baking dish.
- With a spatula or knife, spread half the ranch dressing on the cut side of the slider bun bottoms in the baking dish.
- Layer the chicken over the slider buns reaching all the way to the sides.
- Cover the chicken with cheese slices reaching all the way to the sides.
- Spread the crumbled bacon over the cheese.
- Spread the remaining ranch dressing on the cut side of the tops of the slider buns.
- Place the tops, cut/ranch side down.
- Take a sharp knife and cut in between sliders to separate them.
Make the marinade
- Melt the butter in the microwave.
- Add the garlic powder, parmesan cheese, and parsley.
- Brush the marinade over the tops of the sliders.
Bake the sliders
- Cover the baking dish with foil and bake at 350F for 20 minutes.
- Remove the foil and bake for an additional 5-10 minutes or until the cheese is melted.
- Remove from the oven and let cool for a minute or two.
- Serve warm and enjoy!
Notes
Nutrition
©TakeTwoTapas.com. Content and photographs are copyright protected. Sharing of this recipe is both encouraged and appreciated. Copying and/or pasting full recipes to any social media is strictly prohibited.







1