Easy Homemade Granola
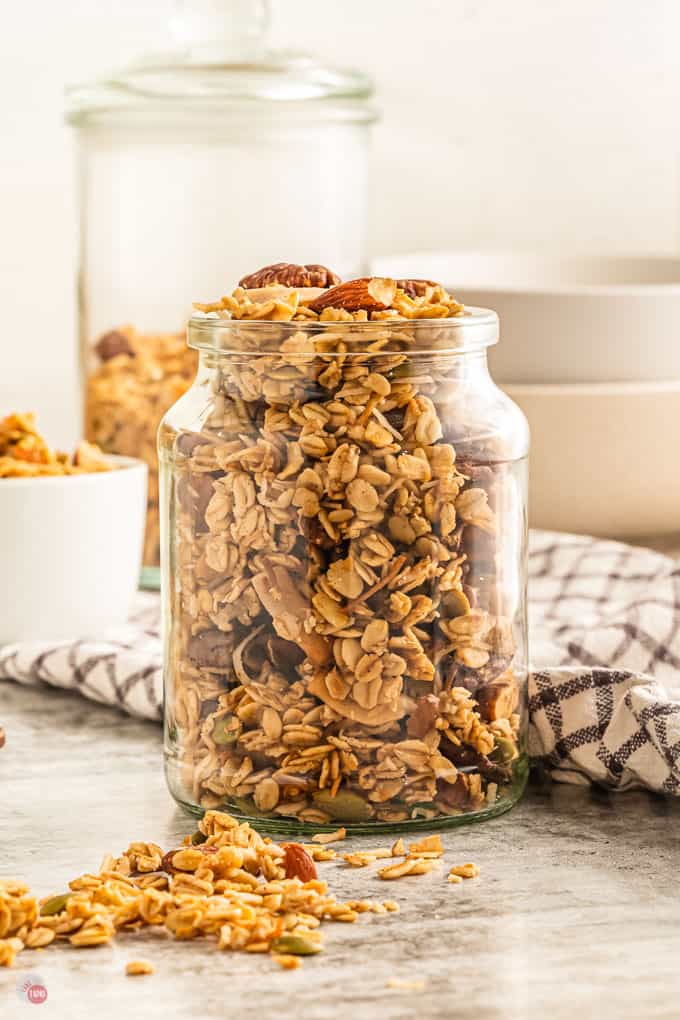
Making your own easy homemade granola will fulfill so many of your breakfast and snacking needs while keeping things healthy and simple.
Homemade Granola
Walking down the cereal aisle at the grocery store is quite the experience and takes a keen eye if you are looking for healthier breakfast grain options.
Many things appear to be healthy, but when you turn around the box the amount of sugar and fillers is astonishing.
Make your own easy granola at home and use it to sprinkle on yogurt, to make snack mixes, delicious cereal bars, or eat it alone with milk for a quick breakfast.
I like to load up my homemade granola with some proteins and extra fibers so I stay full longer and get more of my necessary food groups met without having to do any extra work.
My family really loves granola for a snack between meals and it is easy enough to throw in a container and take with you to eat in the car.
One of the main reasons I make homemade granola is that I can make sure it is naturally sweetened with things that are good for us instead of some of the artificial sugars used in store bought granola.
I like that I know everything that is in this mix and I can pronounce all of it, I may not be a “crunchy mom” about everything, but this is an area of nutrition I take seriously.
This post may contain affiliate links. As an Amazon Associate, I earn from qualifying purchases at no additional cost to you. Read my disclosure policy.
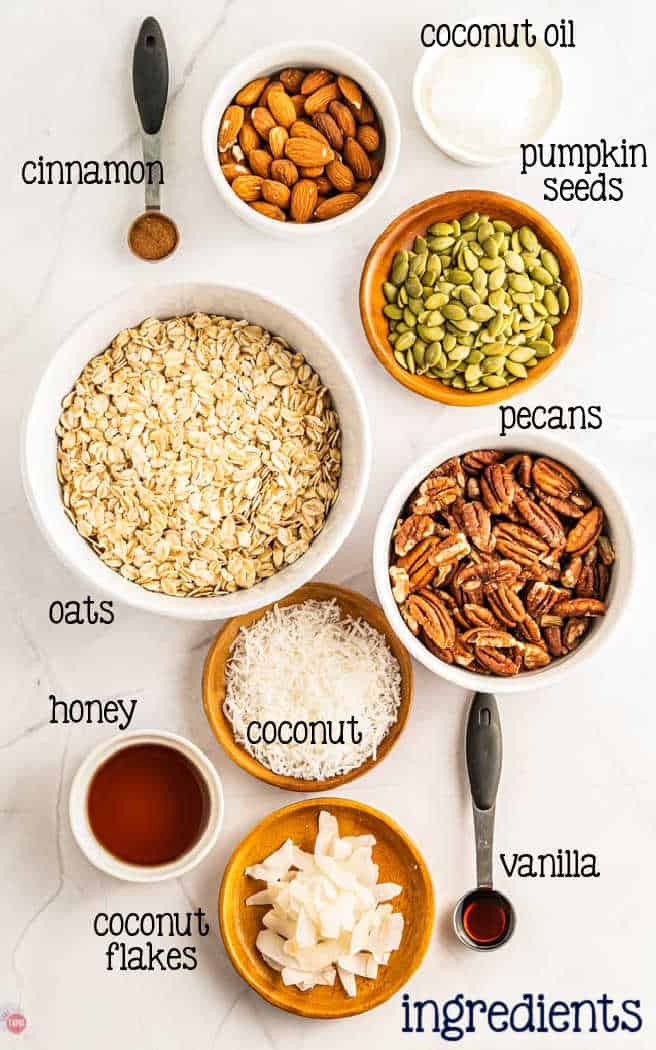
Ingredients Needed
Coconut Oil – I like to use organic but if you don’t have coconut oil you can use olive oil.
Maple Syrup – I like to use pure maple syrup but if you want you can use honey or agave.
Old Fashioned Oats – Old fashioned and rolled outs are the same. these are different than steel cut or whole as they are flatter and more tender. These are also gluten free but I would read the packaging to be sure!
Nuts – Feel free to use your favorite nuts but I love this combination of pecans, almonds, and pepitas (or hulled pumpkin seeds).
You won’t need to toast them ahead of time unless you want to. I would also recommend leaving them whole or only cutting in half. If the nuts are too small they will burn while baking.
Coconut – I use a combination of shredded (unsweetend) and flakes. The sweetened shreds will burn during baking and I would keep the flakes untoasted before baking. Toasted coconut chips can easily burn.
Pantry Staples – Vanilla extract, cinnamon, salt.
For more insider tips, tricks, and a behind the scenes look, follow me on Pinterest, Facebook, Instagram, & X.
How to make Homemade Granola
First: Preheat oven to 350F. Prepare baking sheet with parchment paper.
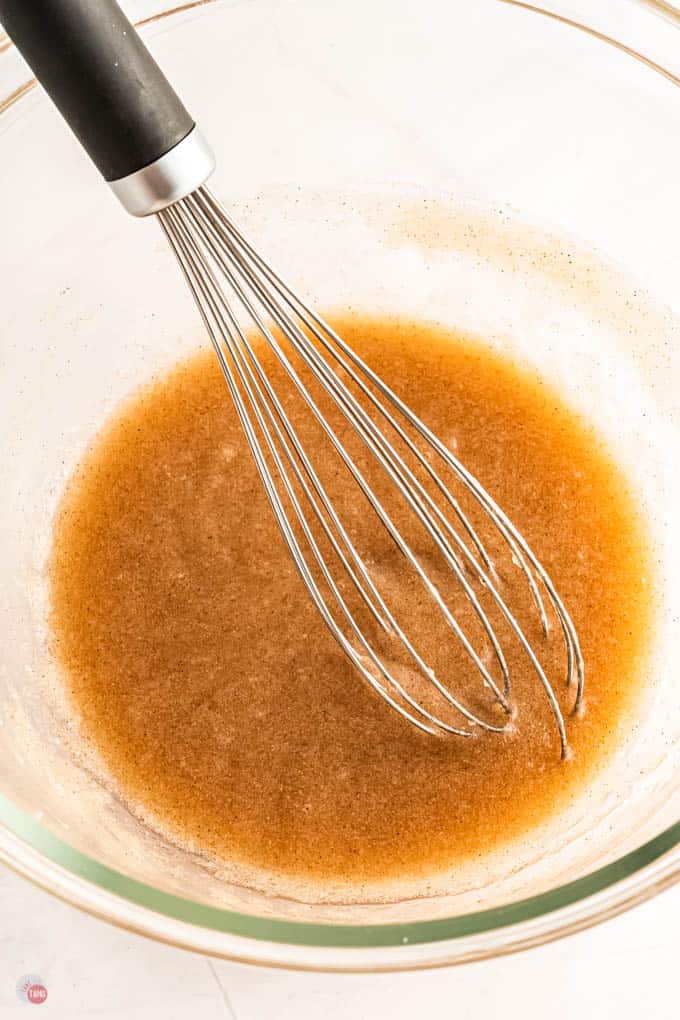
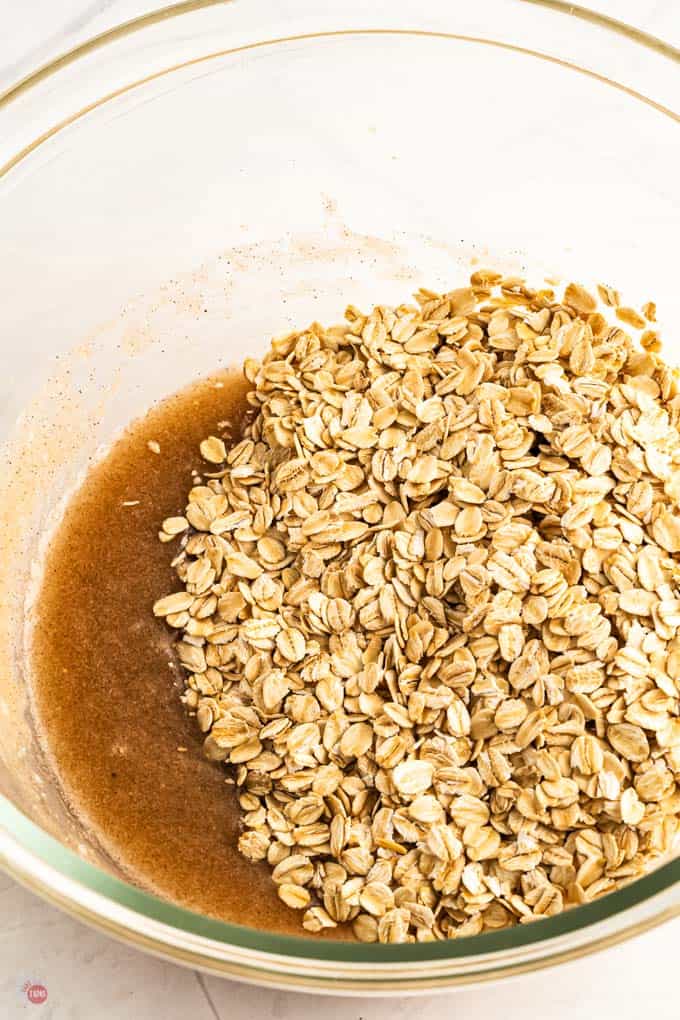
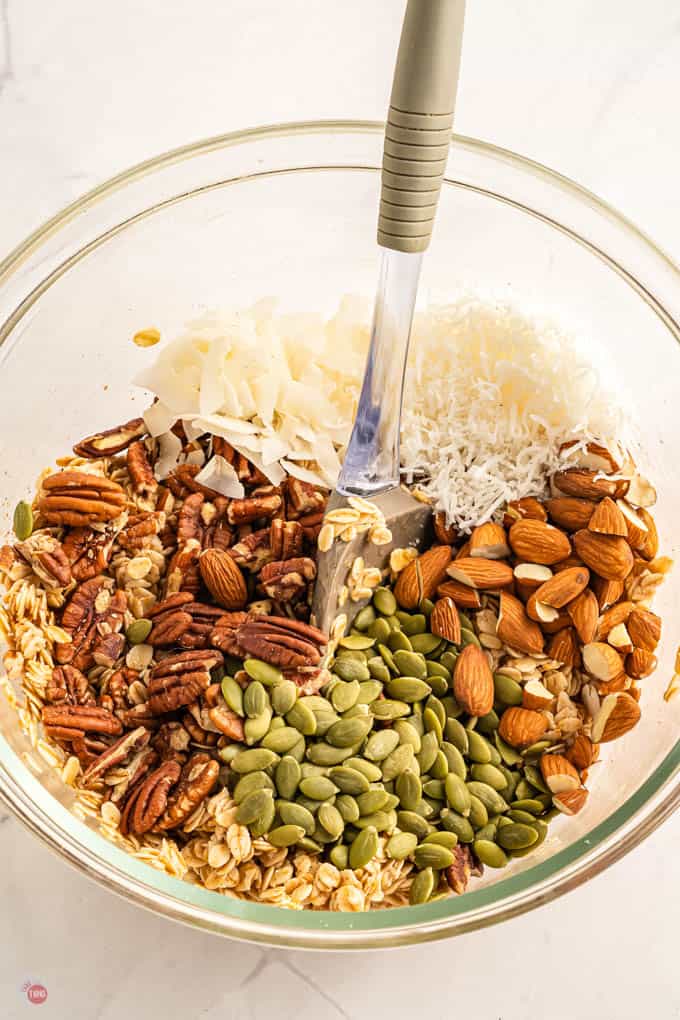
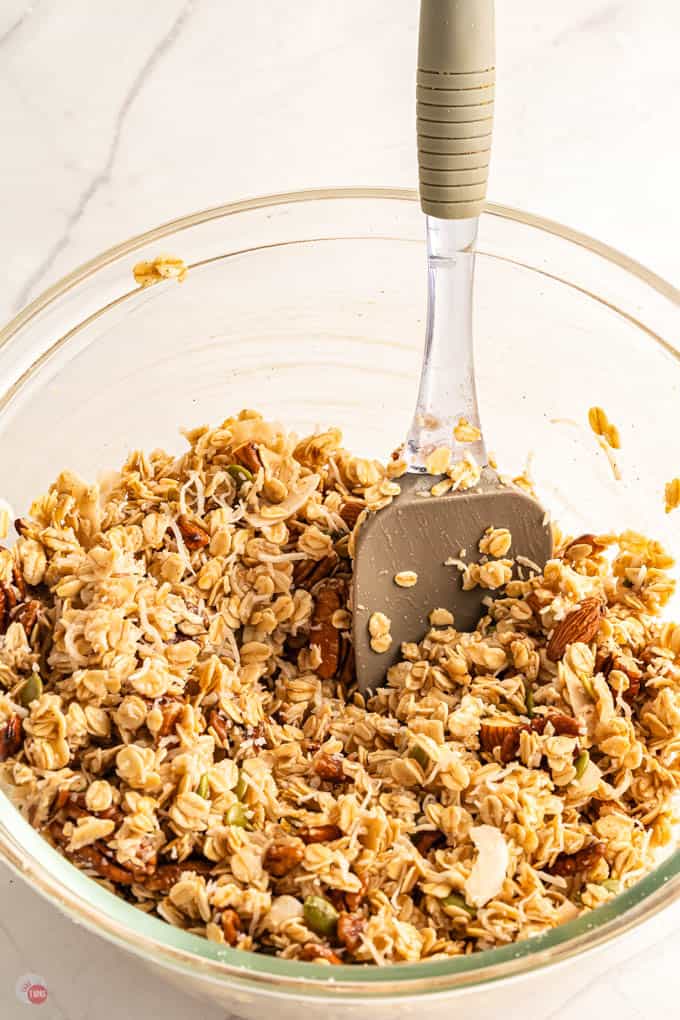
Second: Melt coconut oil in the microwave in a large bowl and add maple syrup, vanilla, and spices. Add remaining ingredients to the mixture. Stir to combine.
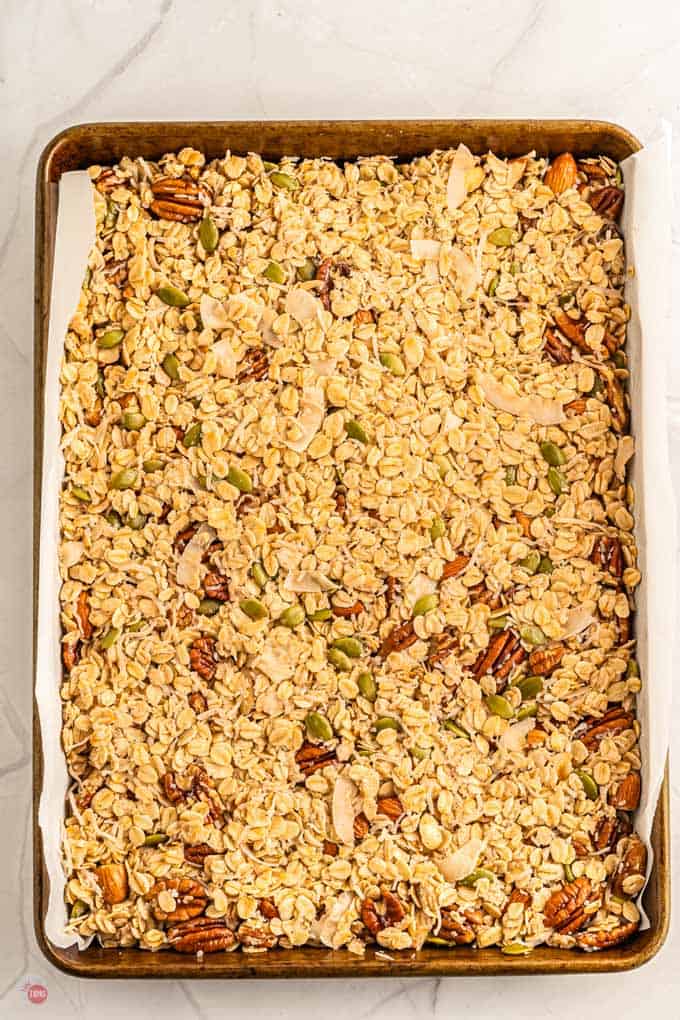
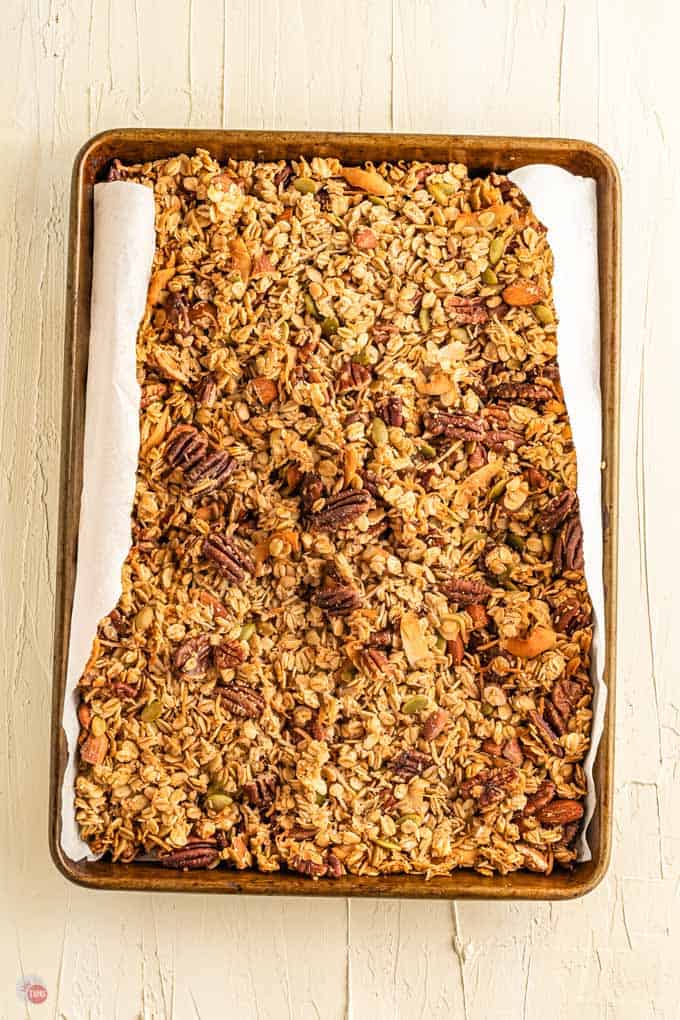
Third: Spread the granola mix out on the prepared baking sheet and bake until golden brown and crunchy.
Remove from the oven and let cool completely at room temperature. Store until ready to enjoy!
For the full recipe and detailed instructions, please refer to the recipe card at the bottom of the post.
How to Store
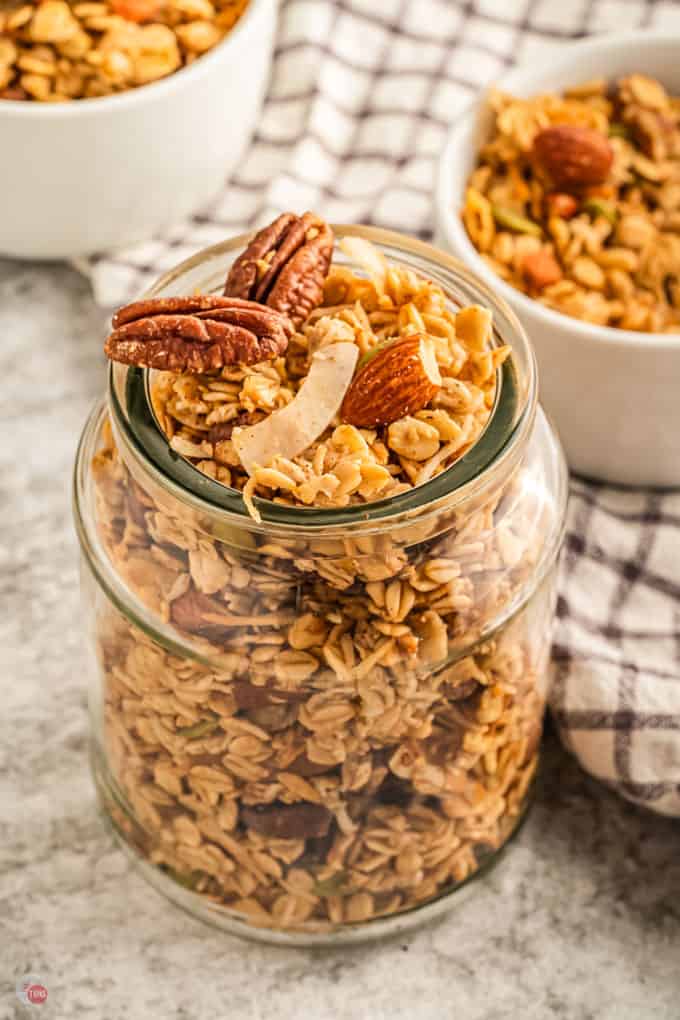
Store it in an airtight container like a zip top bag or mason jar (my fave!) for up to 1 month!
Is it cheaper to make your own granola?
Comparing prices on store-bought granola and homemade granola has a lot of variables so that is a hard question to answer. Different brands and varieties of store-bought granola have a wide range of prices.
Making your own granola with the things you choose to add in will change the price as well. At first, stocking up on all the items you want to add in may cost a little more, but using a little bit of most of those granola ingredients will end up saving you money in the end.
Honey, seeds, nuts, coconut oil, and so on will not all be used in one batch of homemade granola, so those investments will last you for a little while as you make more.
Why is my homemade granola not crunchy?
Getting a uniform crunchiness in your homemade granola requires you to spread it out in an even thin layer on your baking sheet.
If you have thicker areas that aren’t as spread out they won’t get as much heat and air to make them crunchy. If you added more liquid ingredients this will also result in less crunch in your granola.
Is homemade granola bad for you?
If you follow this recipe for homemade granola it is actually very healthy. I include proteins, grains, healthy fats, natural sweeteners, and spices with health benefits in this homemade granola.
If you add things like extra sugars and other ingredients then the nutritional value will start to go down.
What makes granola stick together?
Adding maple syrup and coconut oil helps your ingredients stick together as they start to dry out while baking.
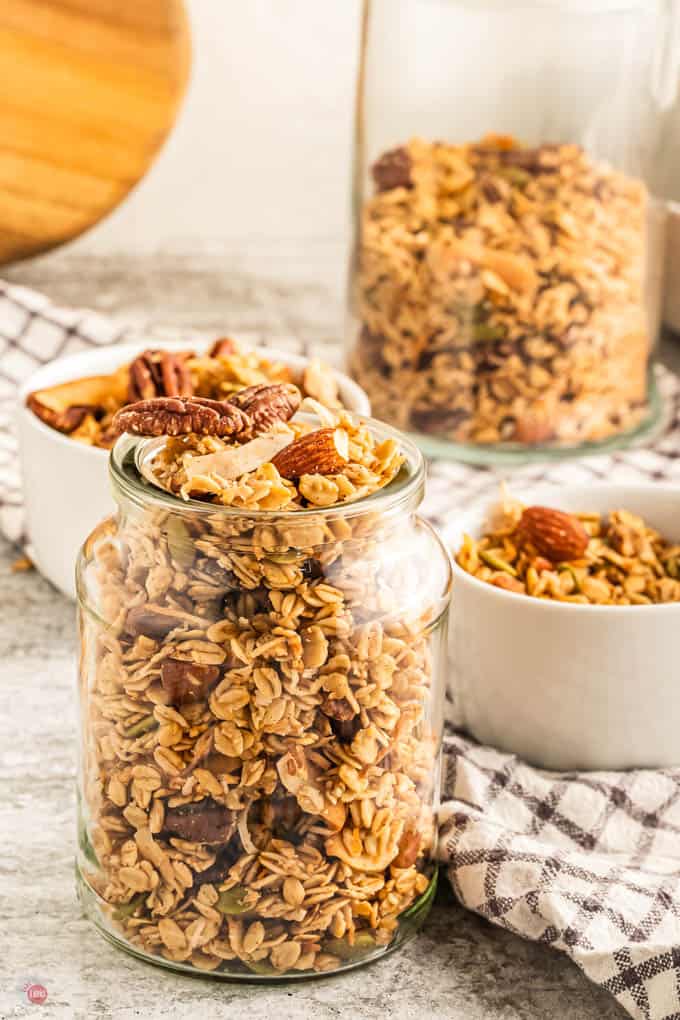
Variations on Homemade Granola
- dried cranberries
- chocolate chips
- peanut butter chips
- M&M candies
- dried banana chips
- dried pineapple chunks
Tapas Tips & Tricks
- Be sure to use parchment paper for easy clean up!
- To get maximum clumps (which are the best part) make sure to press the granola together for baking.
- Add dried fruits at the end of baking so they don’t burn.
- Don’t over bake or it will not stick together. Cook just until it starts to brown. It will crisp up as it cools.
- Let the granola cool completely before breaking into clumps. This may take overnight if it’s humid at home.
- Serve the granola with yoghurt, fruits or add it to your favorite smoothie bowl.
- Add some dried fruit for a non-low-carb option.
- Feel free to use sliced almonds if you think they are too large.
- Use gluten-free rolled oats if desired.
- Replace maple syrup with honey if not under a vegan diet.
If you love this recipe as much as I do, please leave us a five-star review in the comment section below. Thanks!
Try making this healthy granola recipe and see what you think compared to the boxed and bagged store-bought varieties, I think you will enjoy the freshness and the full flavors you will have from your homemade batch.
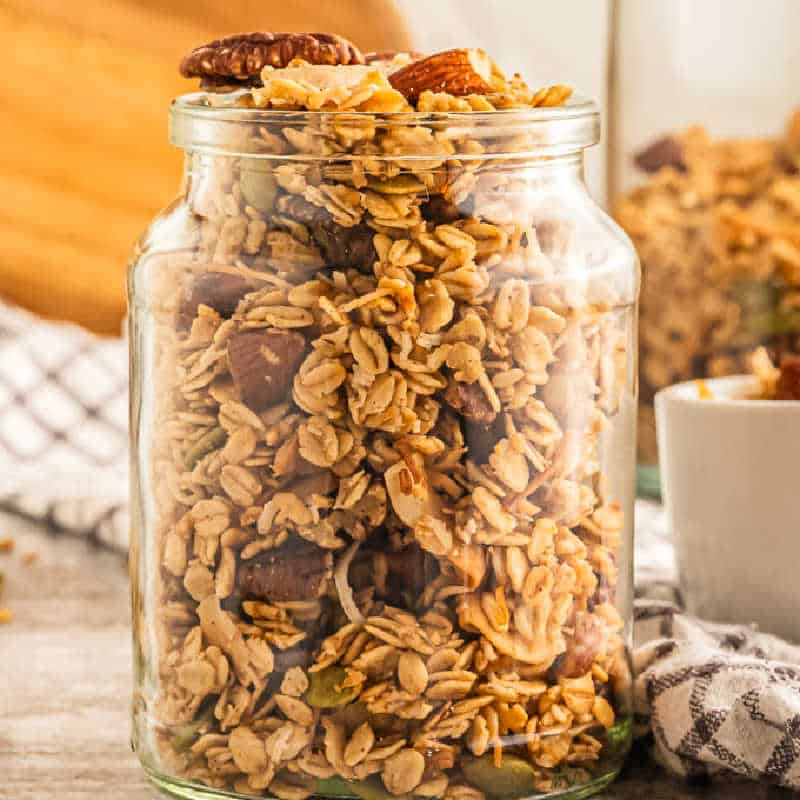
Homemade Granola
Equipment
Ingredients
- ½ cup coconut oil
- ½ cup maple syrup
- 2 teaspoon vanilla extract
- 1 teaspoon cinnamon
- 3 cups old fashioned rolled oats
- 1 cup pecans
- ½ cup almonds
- ½ cup shredded coconut
- ½ cup flaked coconut
- ¼ cup pumpkin seeds
- ¼ teaspoon salt
Instructions
- Preheat oven to 350F. Prepare a baking tray with parchment paper or other non-stick baking mat.
- Place melted coconut oil, maple syrup, vanilla extract, salt, and cinnamon in a large bowl. Whisk to combine.
- Add rolled oats and stir until oats are well coated.
- Add crushed pecans, crushed almonds, shredded coconut, flaked coconut and pumpkin seeds. Stir to combine.
- Place granola in the prepared baking tray and spread it out evenly but leave it touching.
- Bake it for 20 to 25 minutes or until granola is golden brown and crunchy.
- Remove from the oven and cool completely.
- Store it in a jar with a lid for up to two weeks.
Notes
- Be sure to use parchment paper for easy clean up!
- To get maximum clumps (which are the best part) make sure to press the granola together for baking.
- Add dried fruits at the end of baking so they don’t burn.
- Don’t over bake or it will not stick together. Cook just until it starts to brown. It will crisp up as it cools.
- Let the granola cool completely before breaking into clumps. This may take overnight if it’s humid at home.
- Serve the granola with yoghurt, fruits or add it to your favorite smoothie bowl.
- Add some dried fruit for a non-low-carb option.
- Feel free to use sliced almonds if you think they are too large.
- Use gluten-free rolled oats if desired.
- Replace maple syrup with honey if not under a vegan diet.
Nutrition
©TakeTwoTapas.com. Content and photographs are copyright protected. Sharing of this recipe is both encouraged and appreciated. Copying and/or pasting full recipes to any social media is strictly prohibited.
