Easy No Bake Peanut Butter Bars
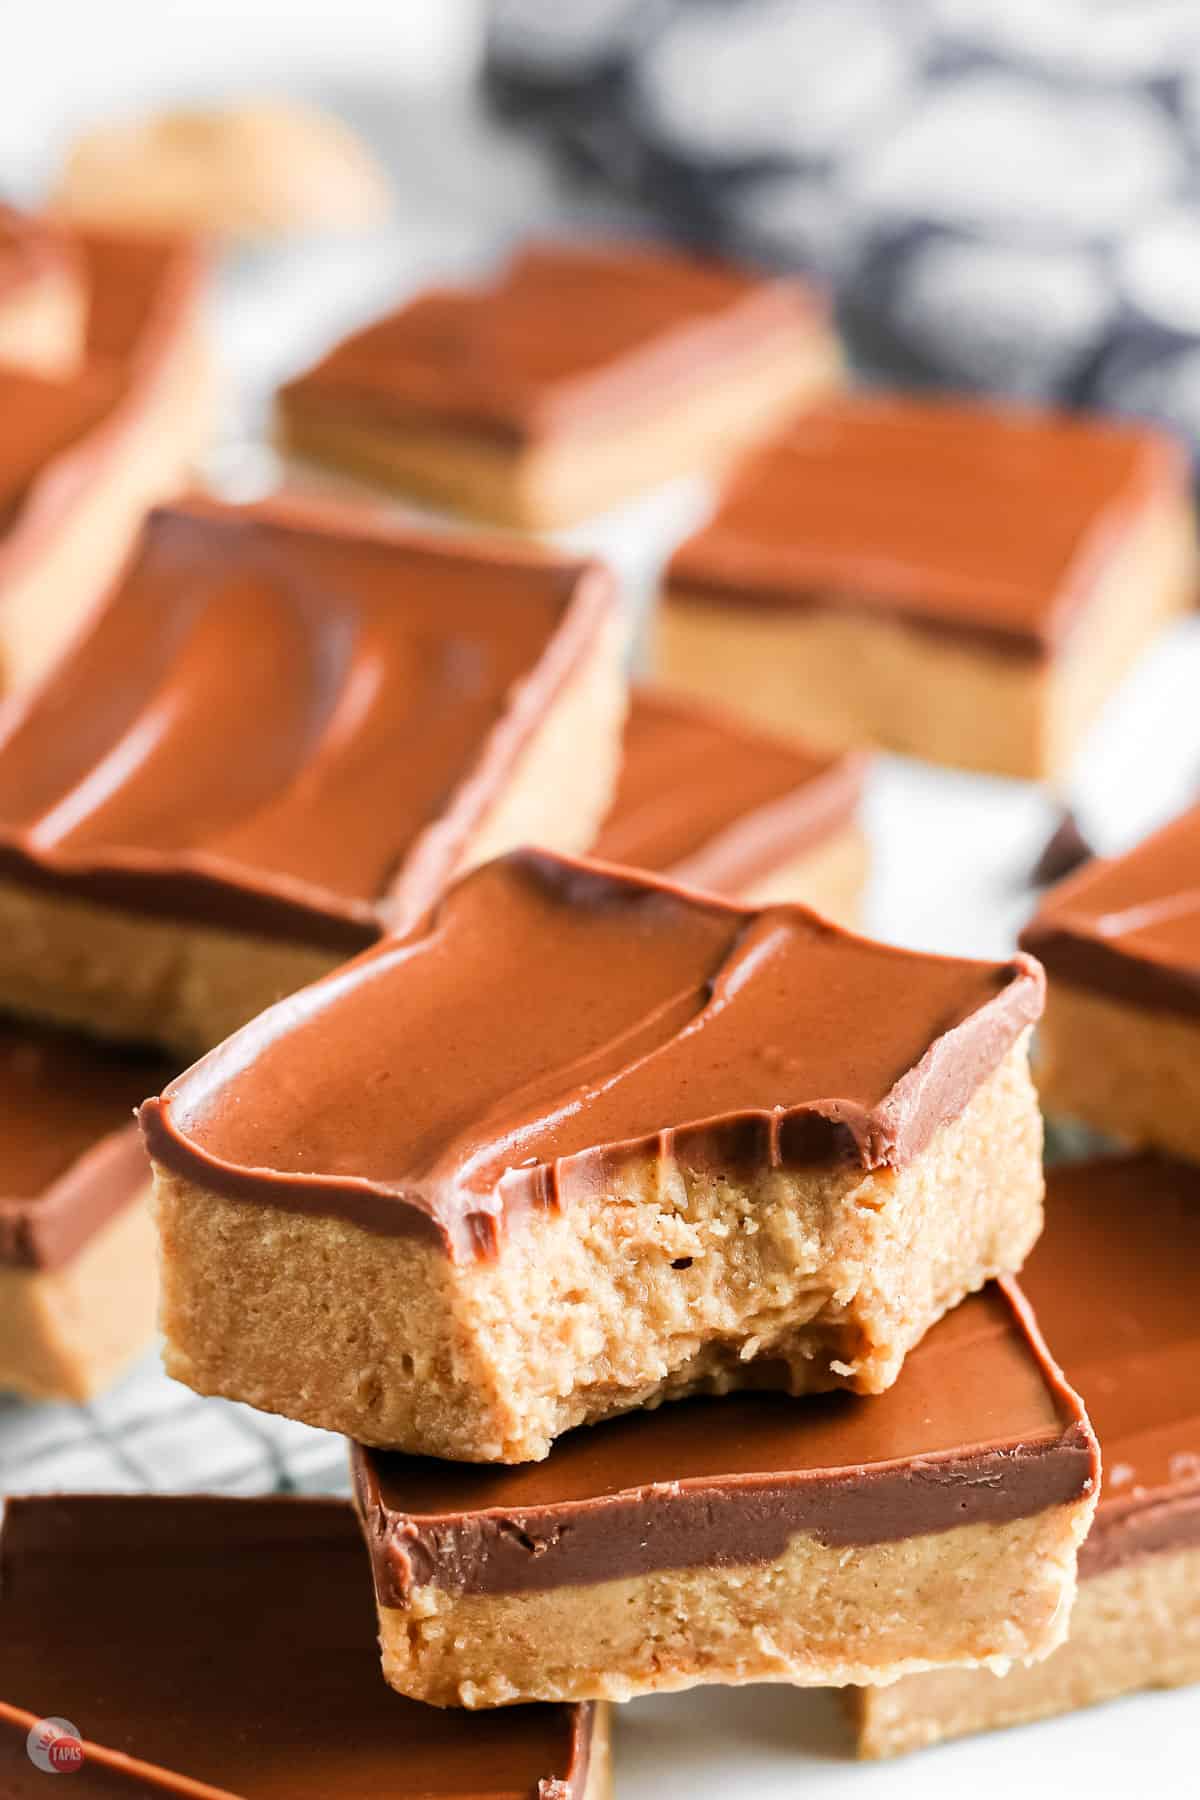
No-Bake Chocolate Peanut Butter Bars are a quick and easy treat for chocolate and peanut butter lovers! Only 5 pantry ingredients and a few minutes and you will be in peanut butter and chocolate heaven.
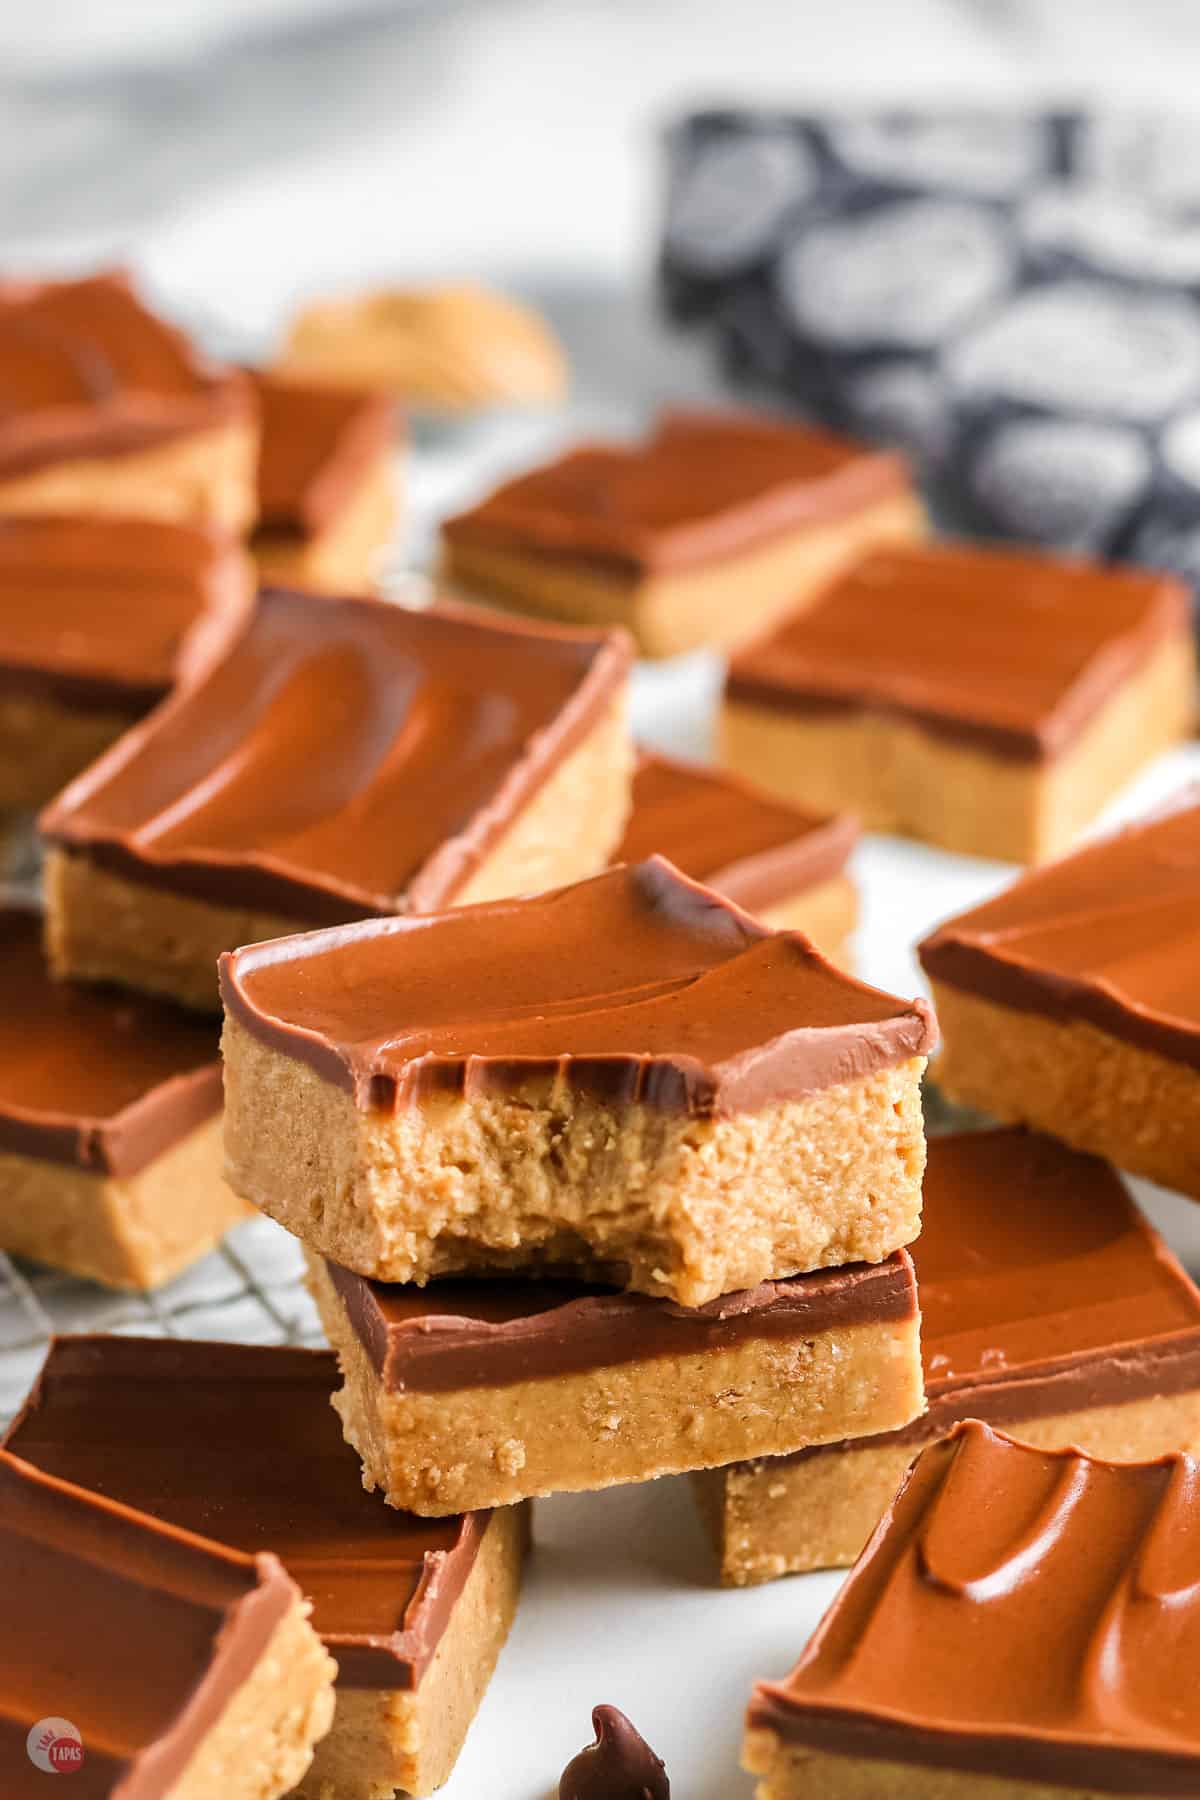
No Bake Peanut Butter Bars
So can we talk about flavor combinations? My favorite ones are pretzels & chocolate, cherry & cheesecake, basically anything sweet and salty, and most of all, peanut butter and chocolate.
ANYONE ELSE?
If you are like me, you probably have an entire shelf in your pantry with nothing but bags of chocolate chips and jars of peanut butter. But, what if it’s getting out of control or you have so much that is about to expire?
Do you find yourself thinking what can I do with a lot of peanut butter? Make a bunch of treats and give them away! I love to bake and cook as a stress relief. I know I’m weird!
But, I can’t have all that sitting around the house so I give it to neighbors or send it all to my husband’s office.
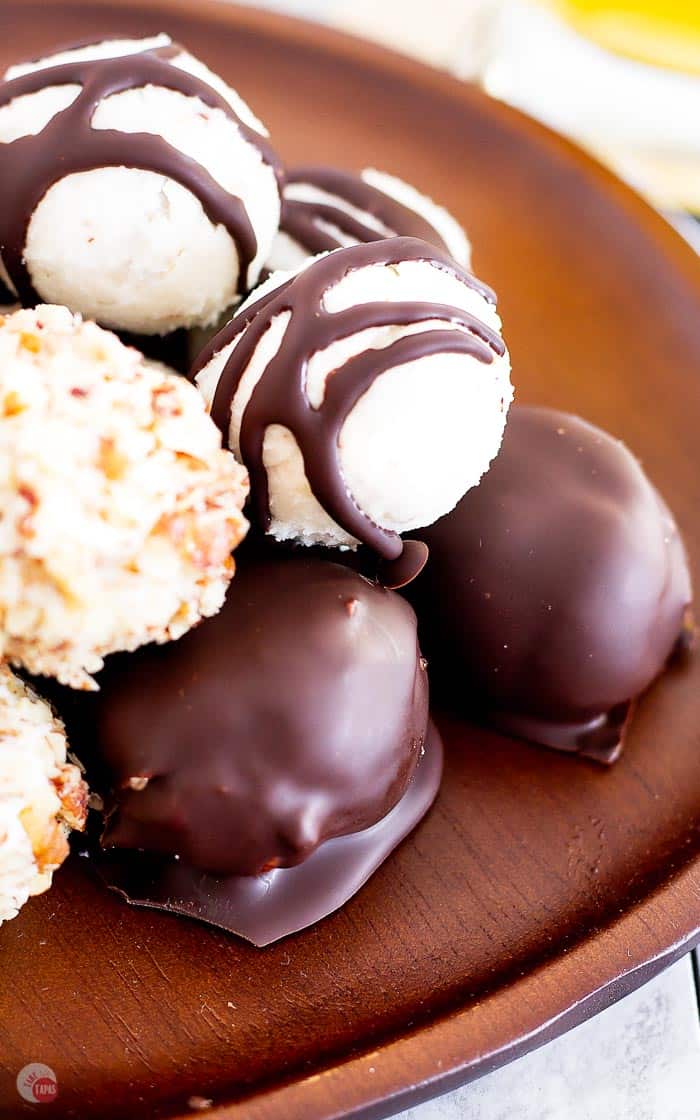
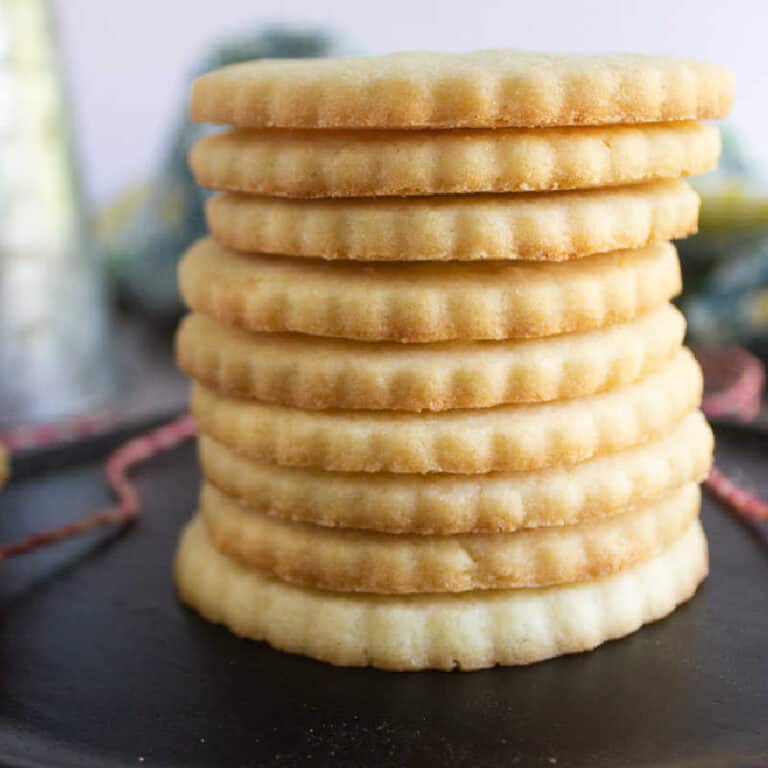
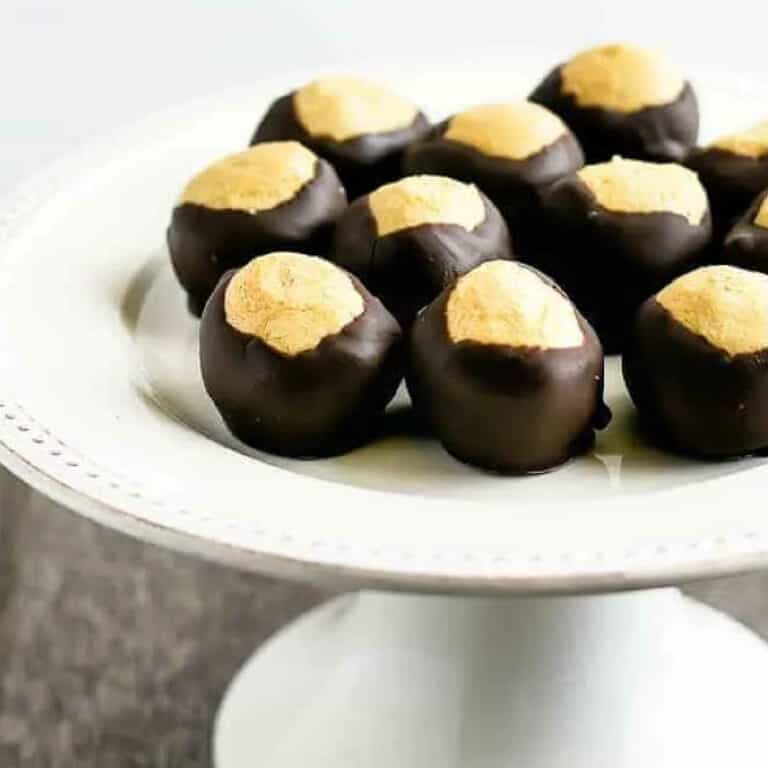
When I am really in the baking mood, I will also make these peanut butter cornflake bars, these Christmas peanut butter balls, these cereal bars, or these sugar cookie bars.
This post may contain affiliate links. As an Amazon Associate, I earn from qualifying purchases at no additional cost to you. Read my disclosure policy.
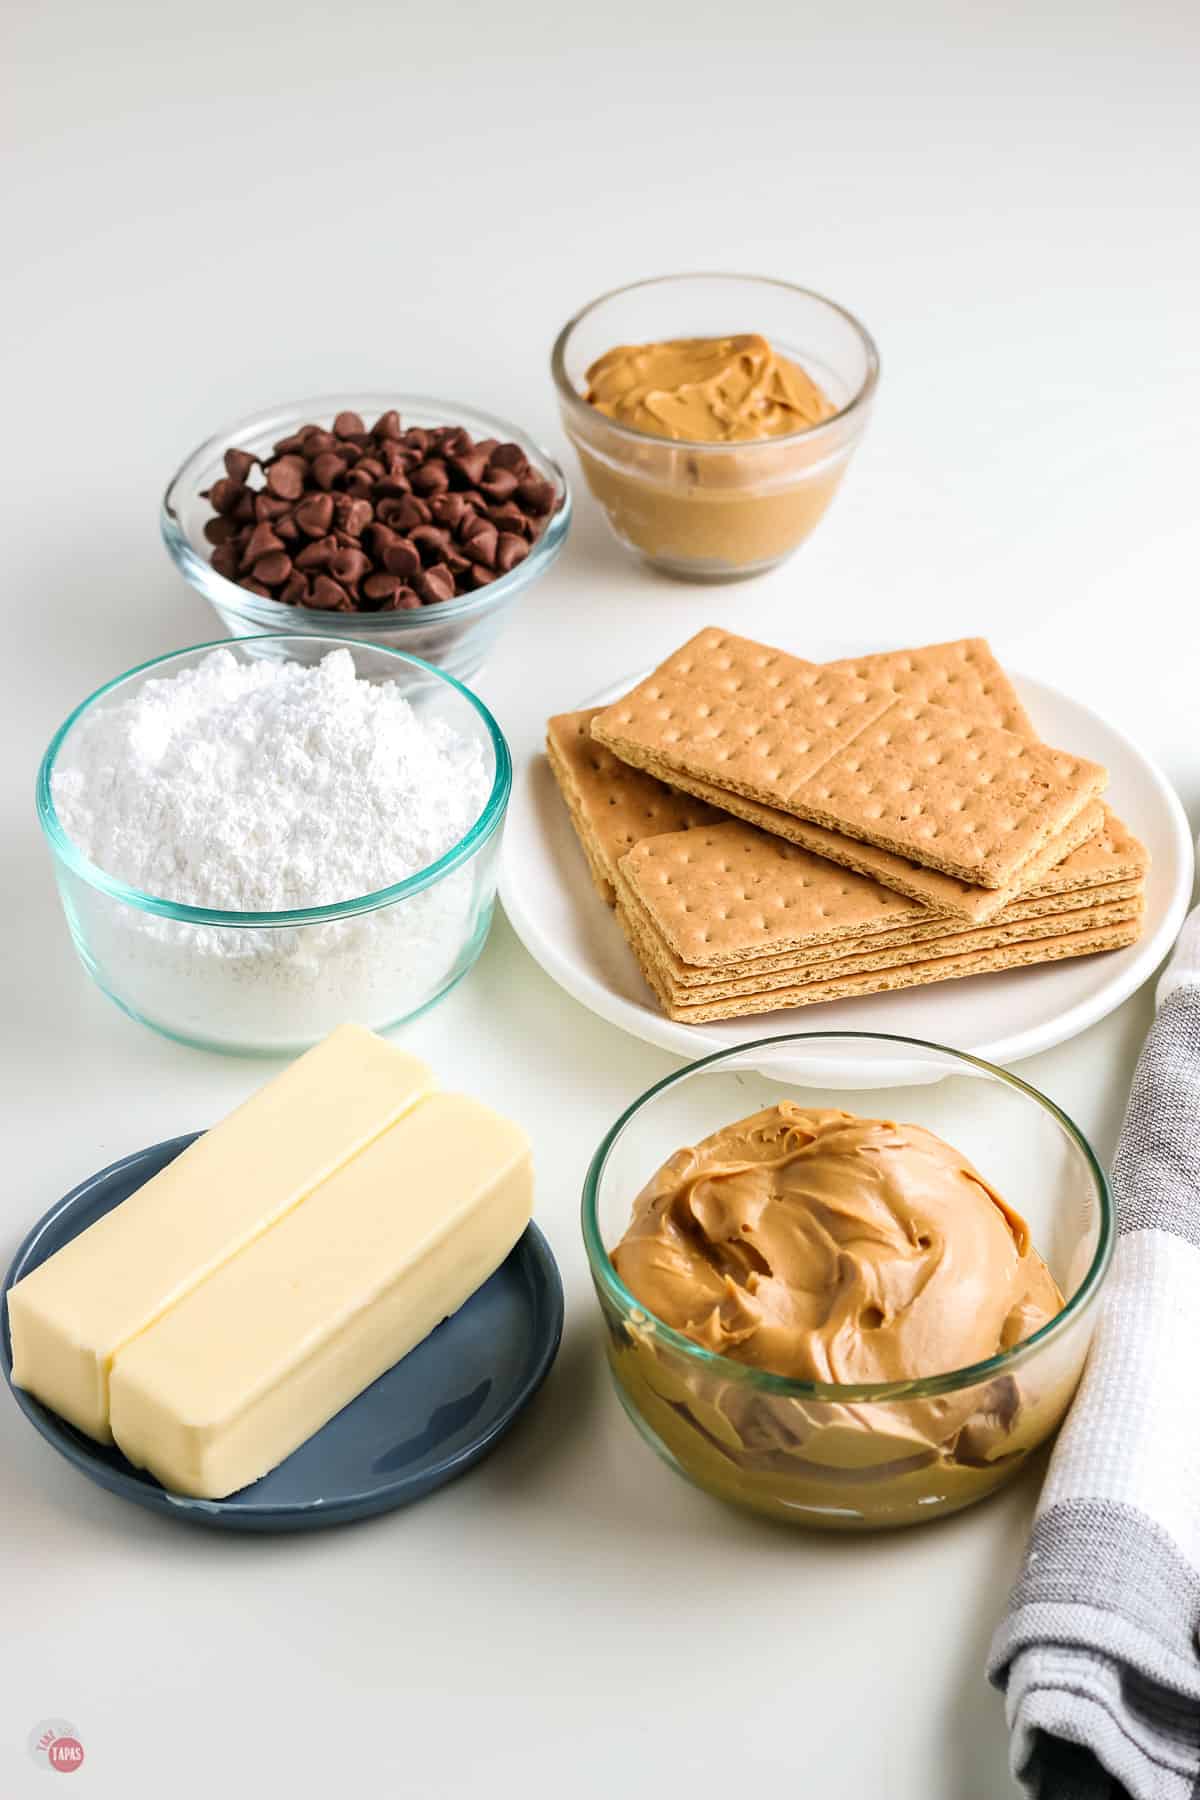
Ingredients Needed
Butter – Use unsalted butter since the peanut butter can have salt in it. But if you only have salted, that is fine. It will balance out the sweetness.
Peanut butter – I like to use creamy peanut butter, but you can use crunchy too. Just don’t use the extra crunchy as they won’t stick together. And do not use natural peanut butter. It separates and can be too oily.
Cracker crumbs – I like to use graham cracker crumbs but you can also use your favorite cracker or even cookies. My husband loves when I use gingersnaps.
Sugar – Powdered sugar.
Chocolate chips – I like to use semi-sweet chocolate chips. You can substitute dark or milk chocolate too.
For more insider tips, tricks, and a behind the scenes look, follow me on Pinterest, Facebook, Instagram, & X.
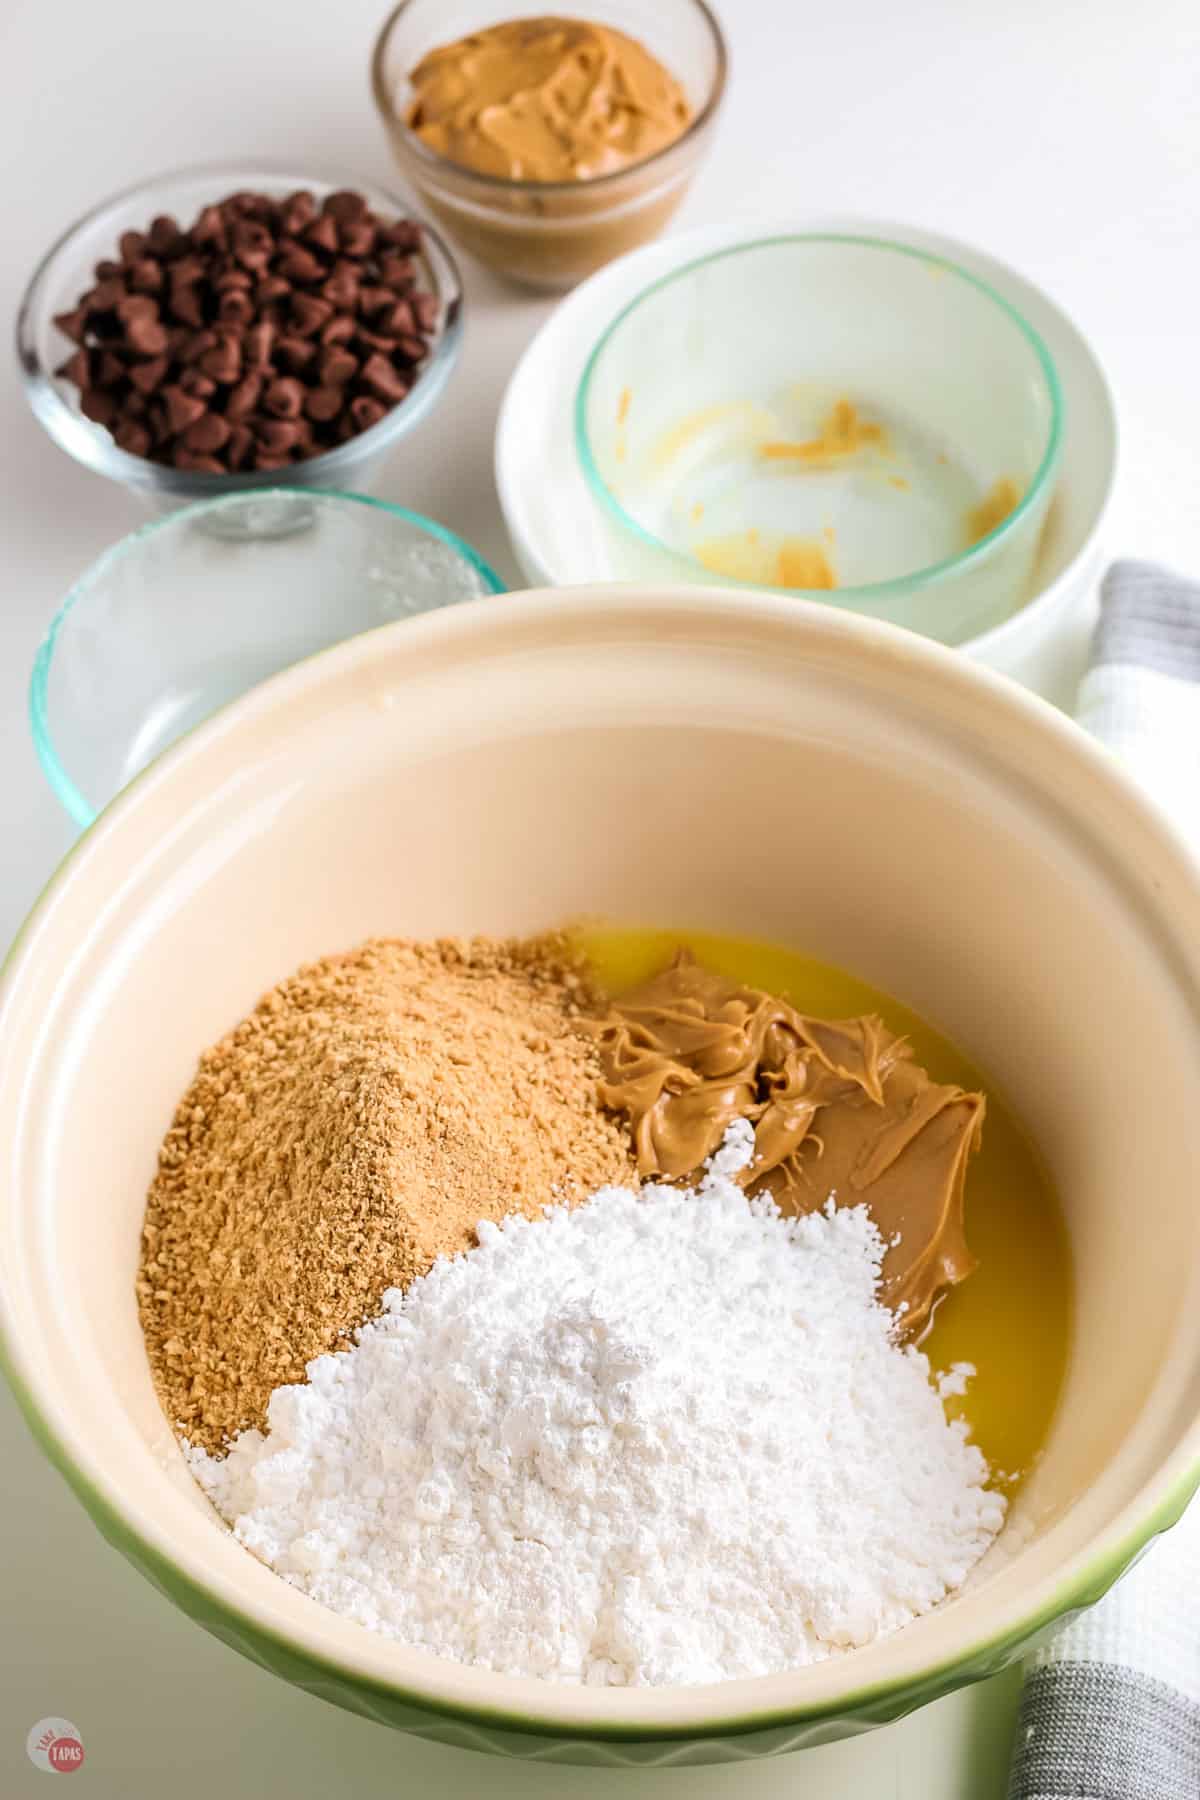
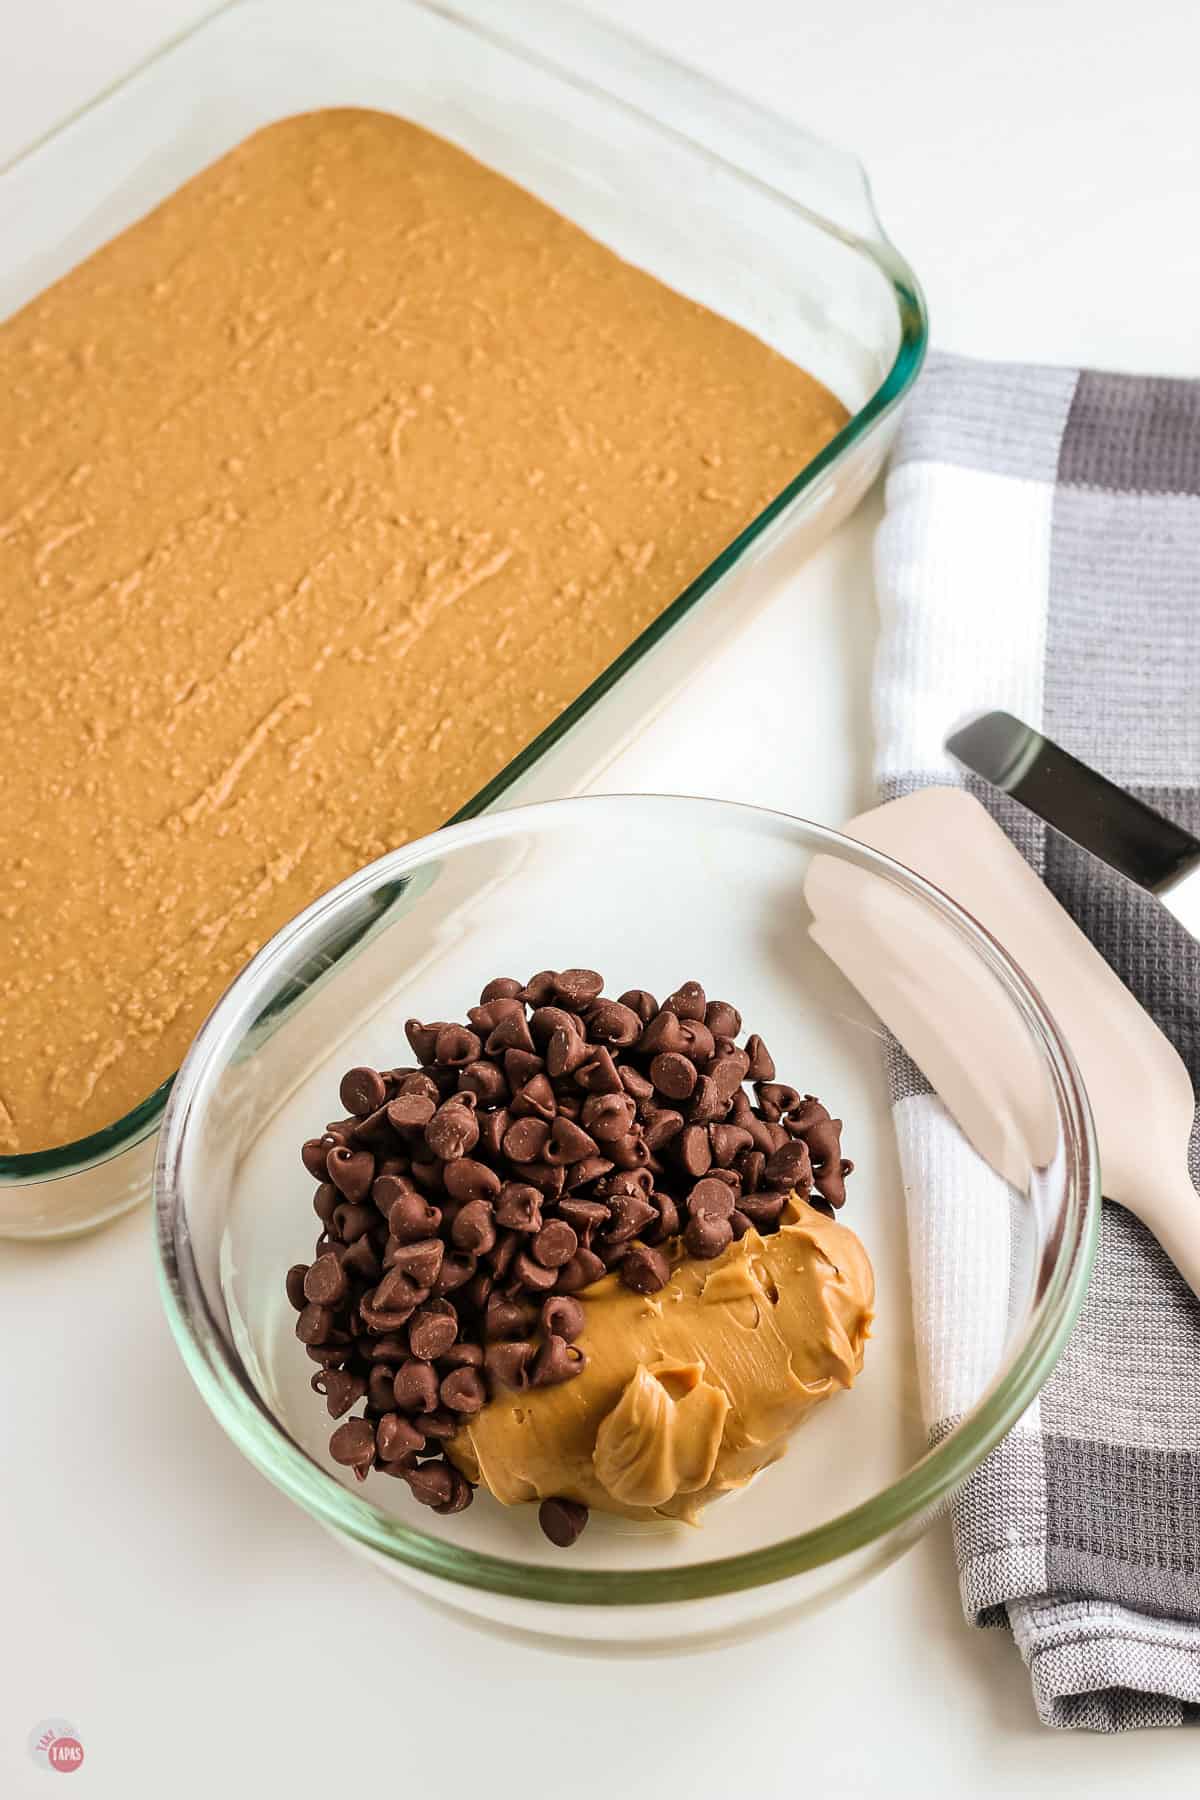
How to Make No Bake Peanut Butter Bars
First: Grease or line the 9×13 dish. Combine butter, graham cracker crumbs, peanut butter, and powdered sugar. Stir until smooth.
Second: Spread the peanut butter mixture evenly into the prepared pan.
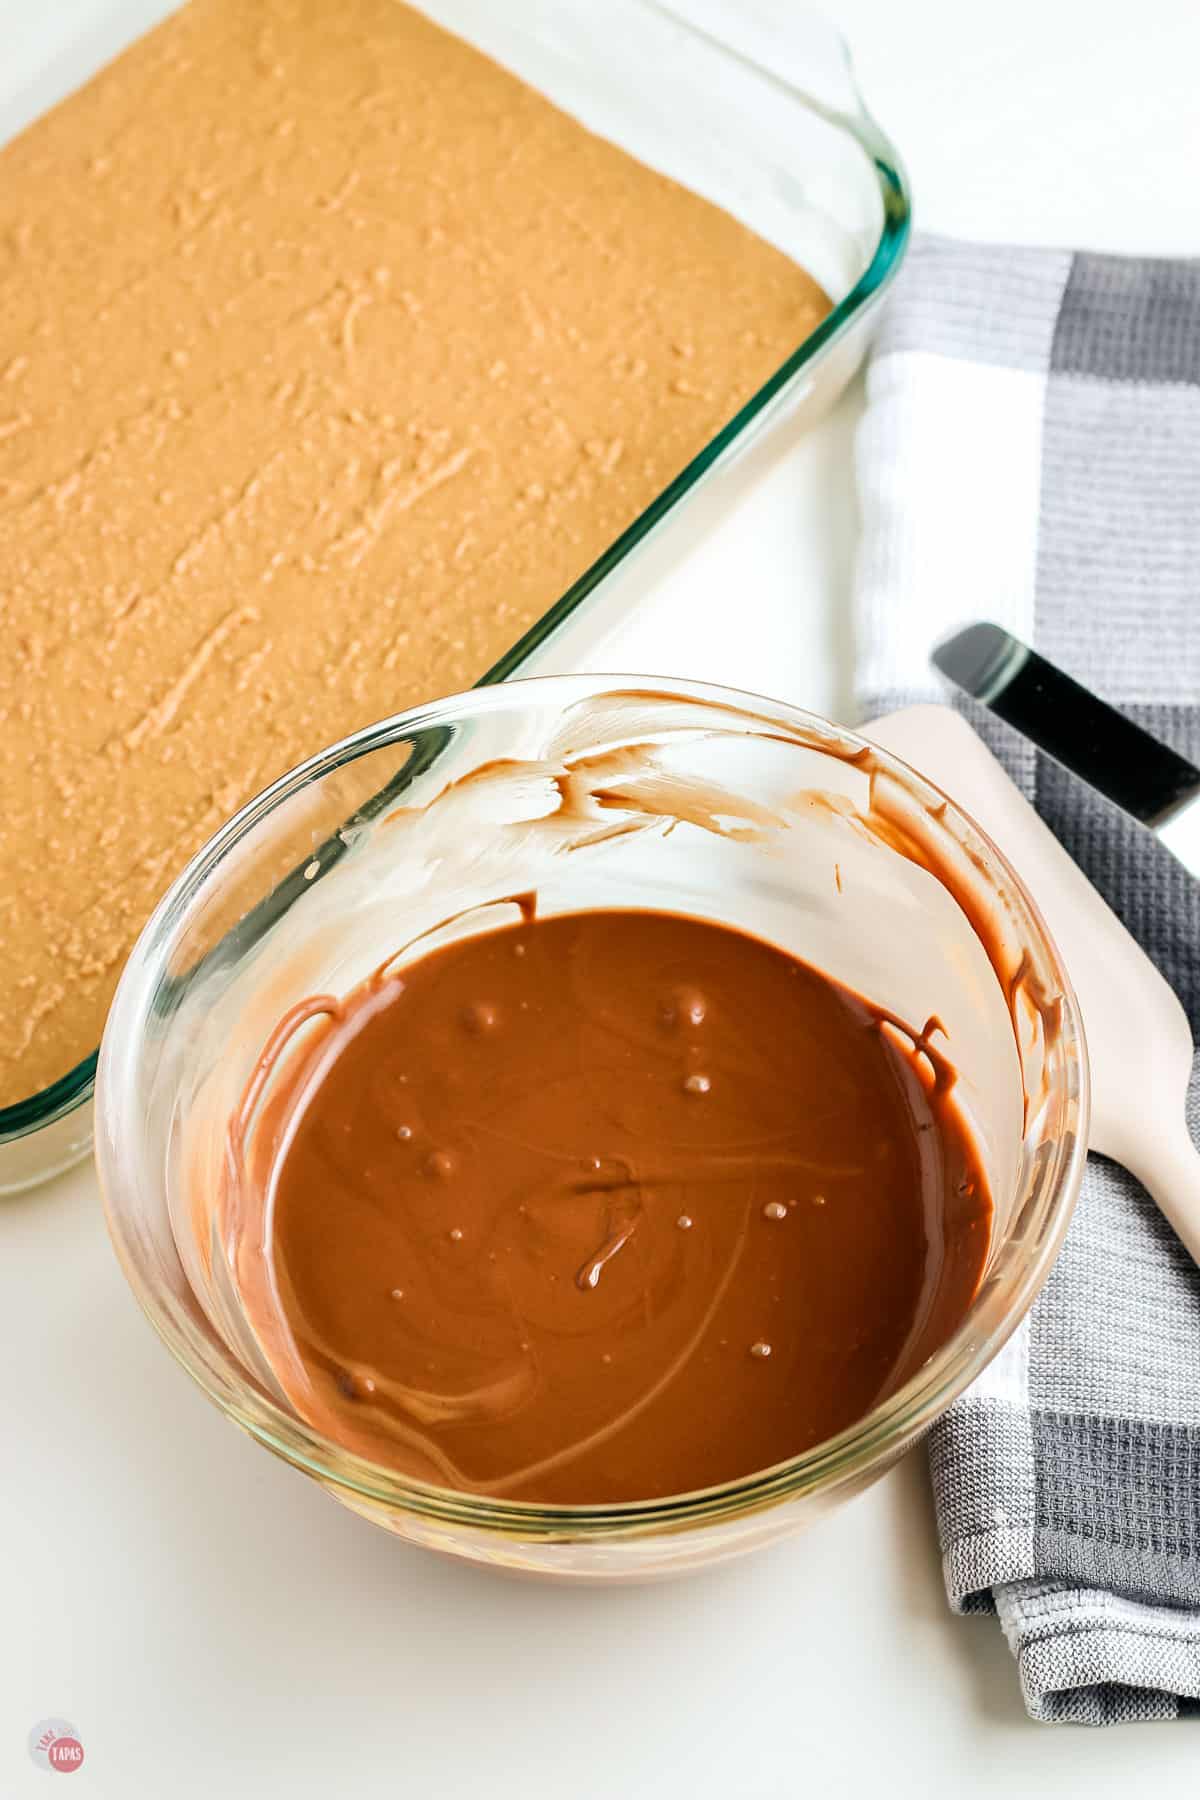
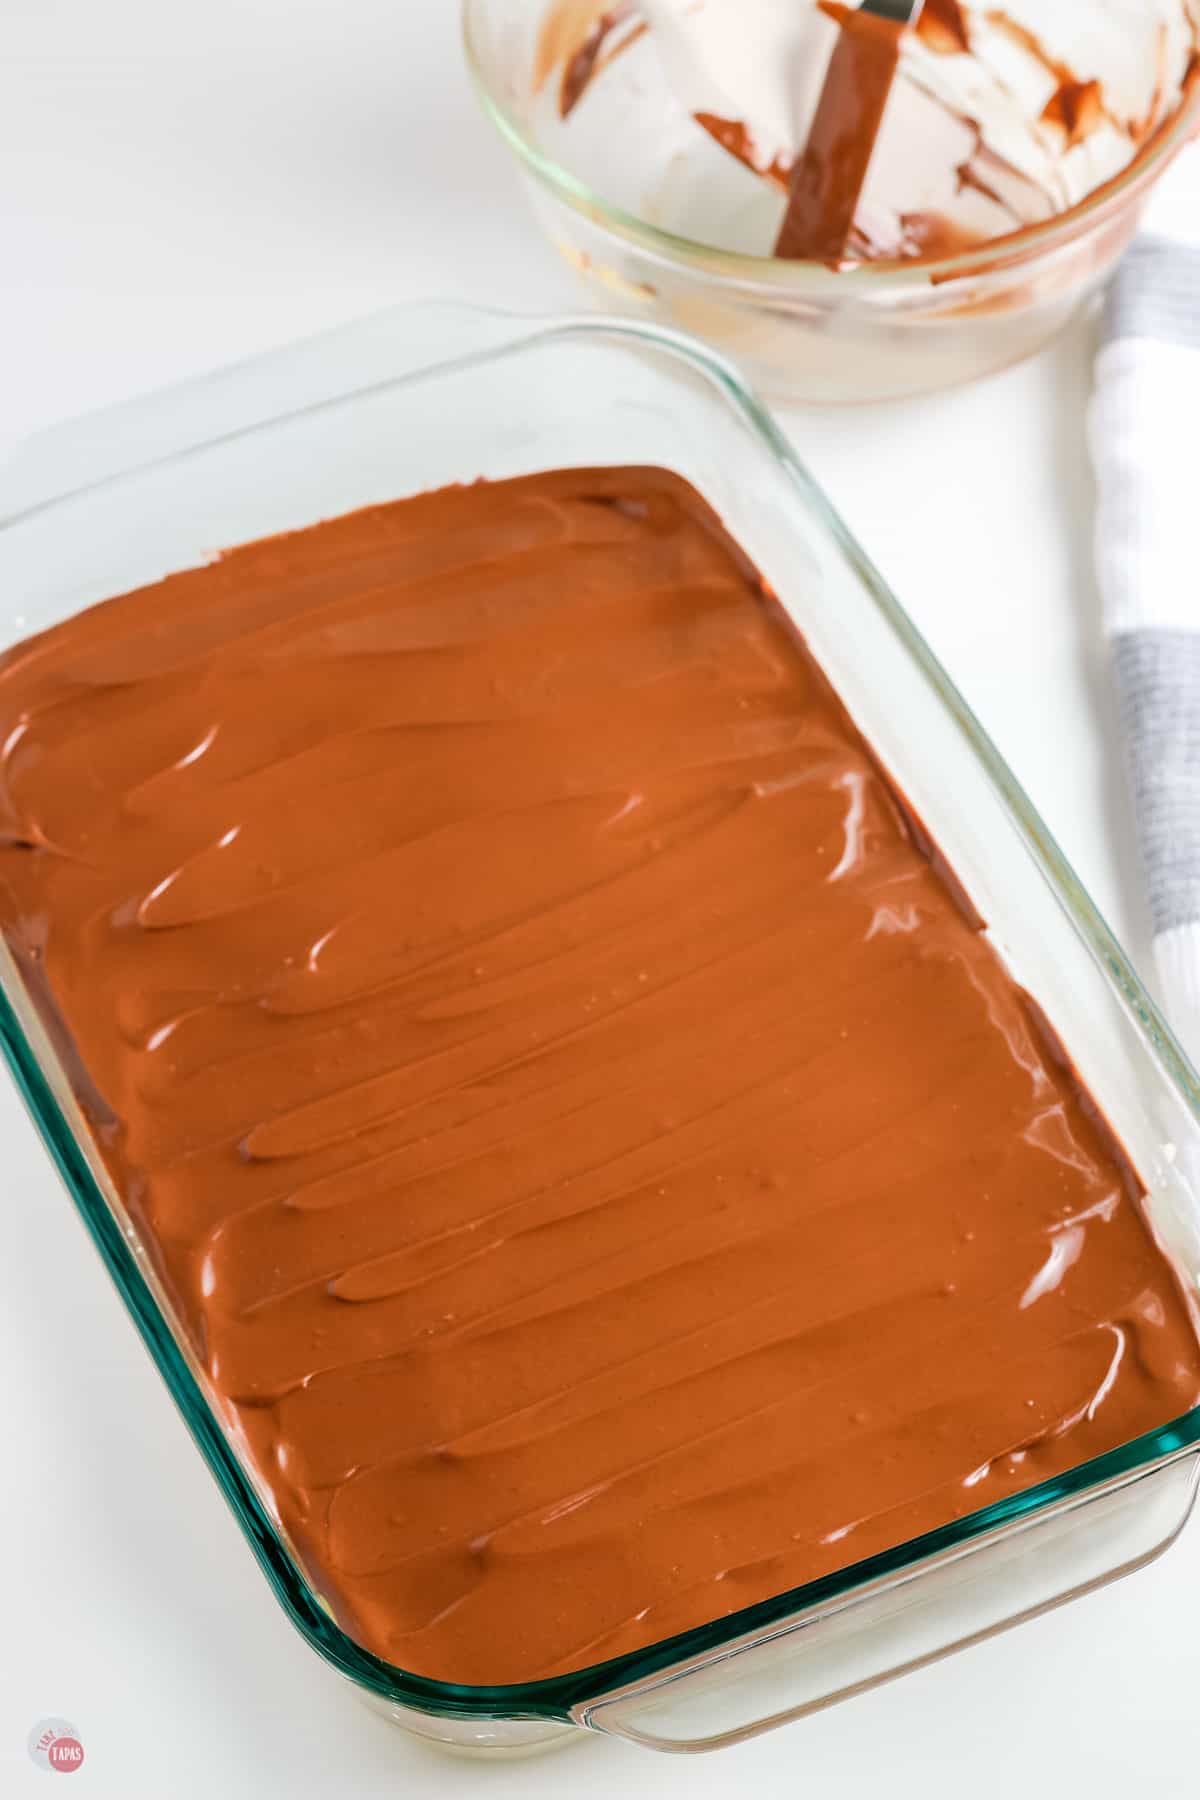
Third: Make the chocolate topping by melting the chocolate chips and peanut butter at intervals, stirring in between. Stir until smooth and no more lumps remain.
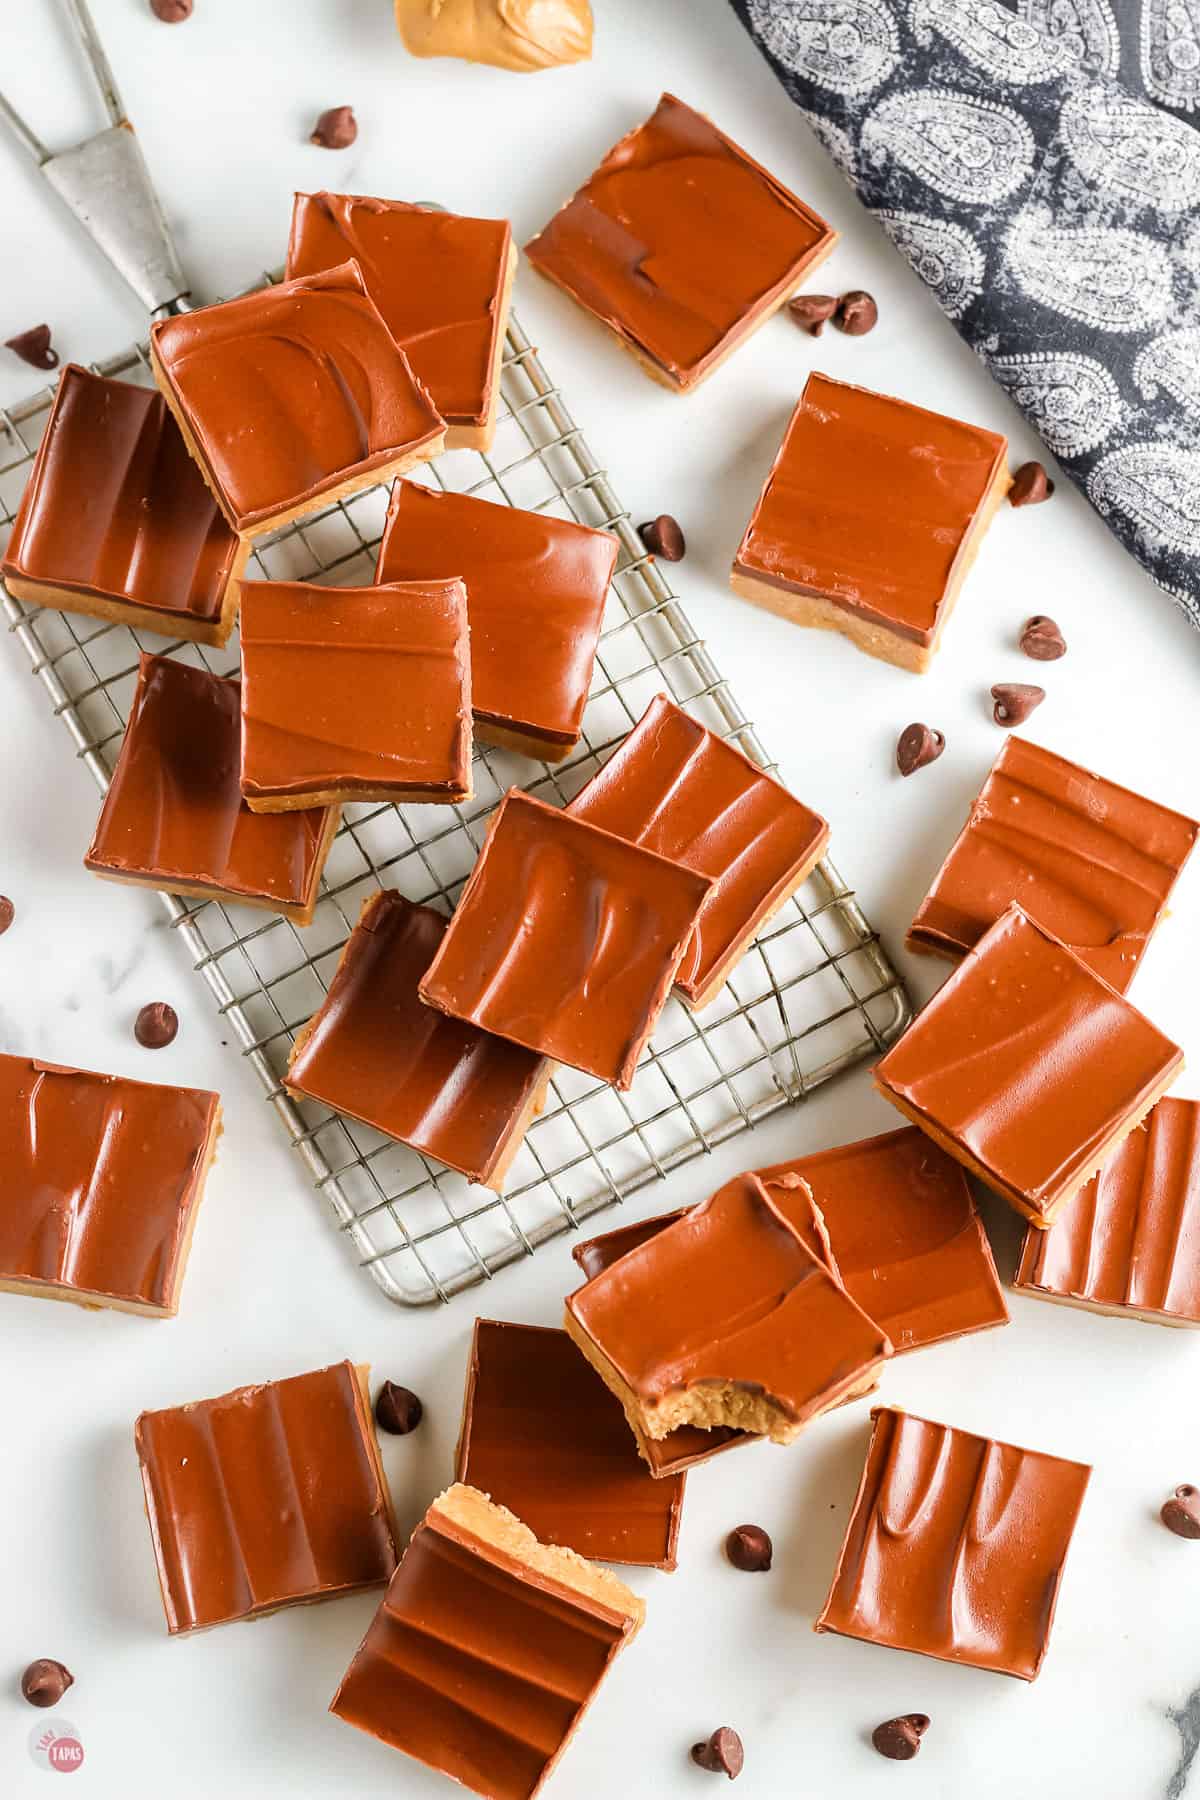
Fourth: Spread over the peanut butter layer. Chill in the fridge until firm. Roughly 2 hours. When ready, cut and serve!
For the full recipe and detailed instructions, please refer to the recipe card at the bottom of the post.
How long do they last?
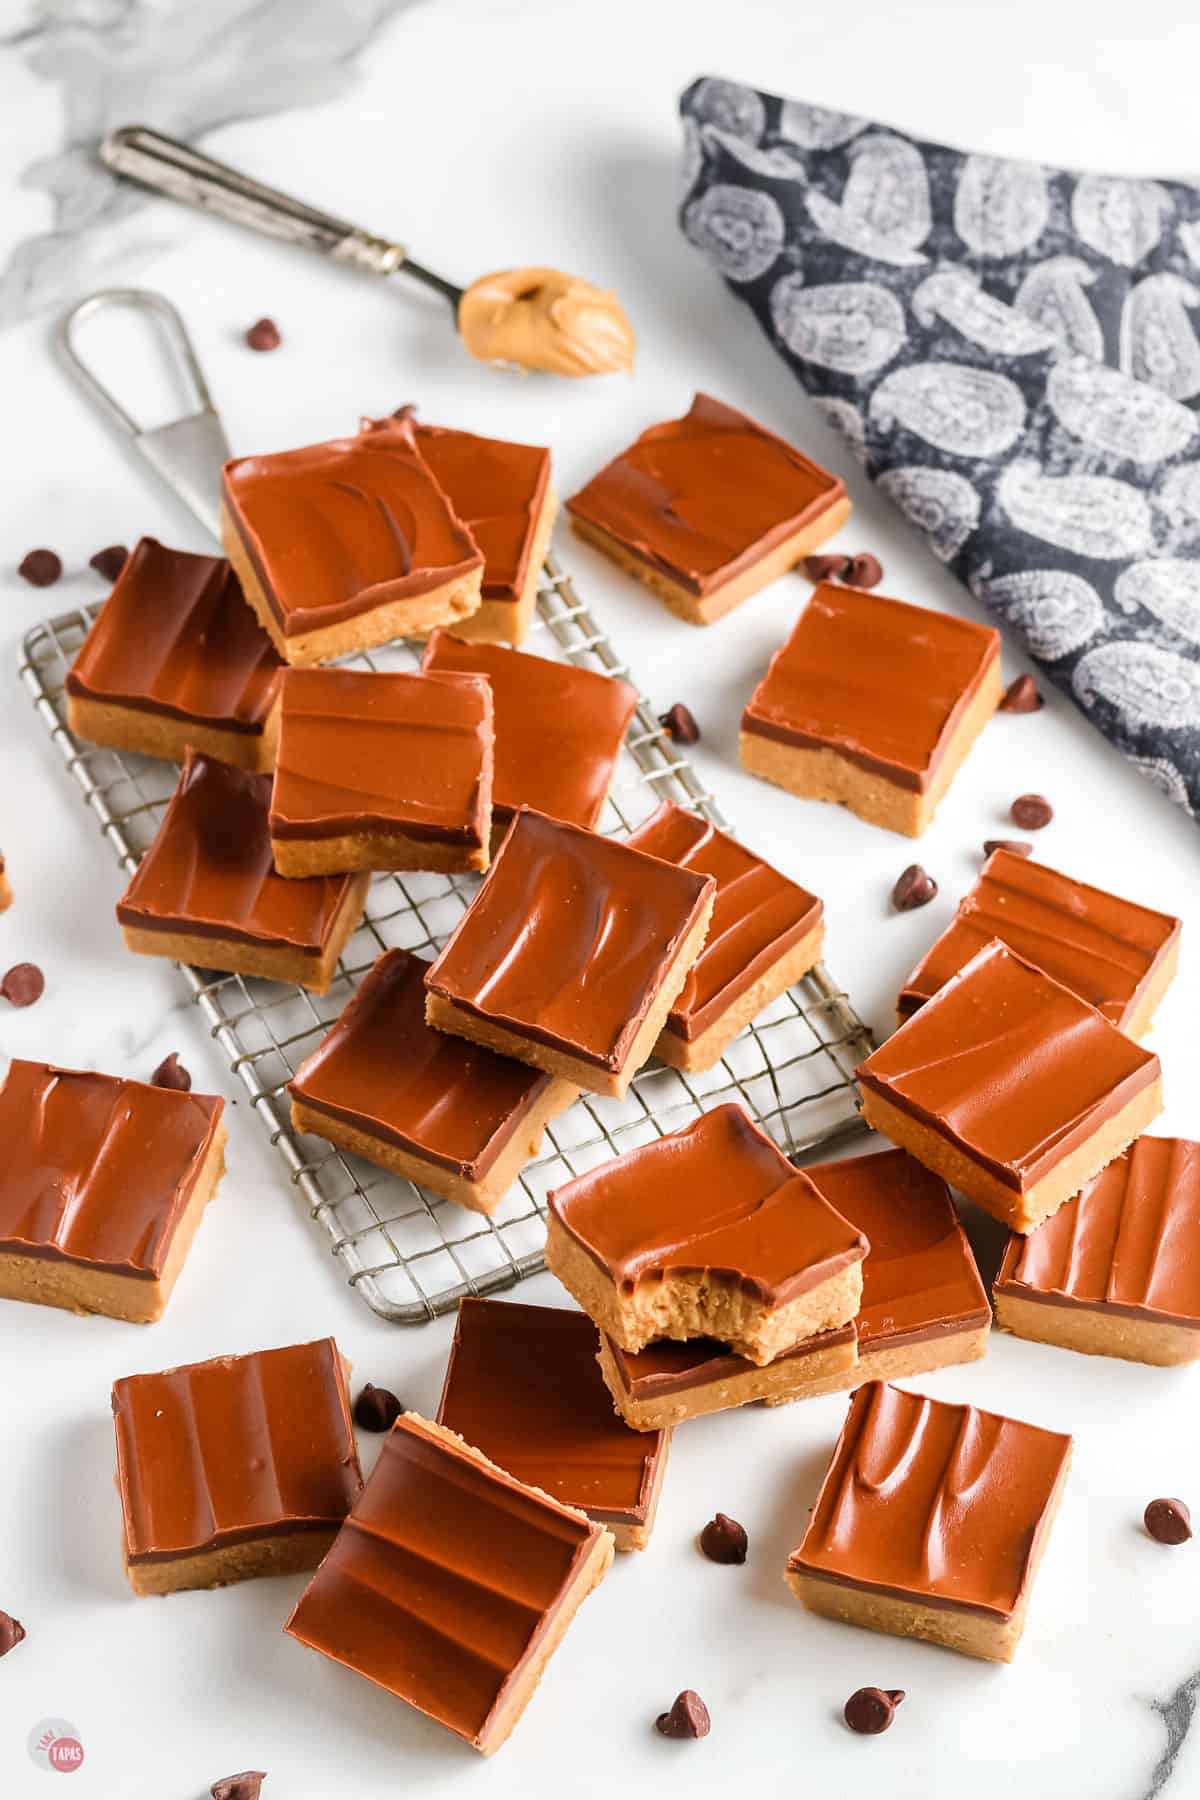
These Reese’s bars will keep for up to a week in the fridge, if they last that long. I think they are best enjoyed chilled instead of room temperature!
You can freeze them for longer storage. Slice and separate them on a lined baking sheet. Freeze until firm. Transfer to a freezer safe bag or container.
Be sure to place sheets of parchment or wax paper between layers if stacking to keep them from sticking together.
Can I substitute the graham crackers?
- Cookie Cereal (Cookie Crisp, Cheerios, Chex)
- Wafer Cookies (Nilla, chocolate)
- Oreos (without filling)
- Teddy Grahams (cinnamon, chocolate)
- Pretzels (sweet & salty is awesome!)
- Pecan Sandies, Gingersnaps, Nutter Butter cookies, etc.
Can I substitute out the chips?
Most people loves these bars because they are the perfect classic combination of chocolate and peanut butter. But if you are feeling a little crazy, try substituting the peanut butter for butterscotch chips.
You can even switch up flavors with the topping. Instead of dark chocolate chips, try butterscotch, white chocolate, or milk chocolate chips tastes great! If I want them really rich, I top them with this Chocolate Ganache Frosting instead. SO good!!
Can I use crunchy peanut butter instead of creamy?
Crunch peanut butter is perfect and adds a little texture to the bars! If you want more protein, use PB2. Be sure to make it into peanut butter before you use it in the recipe.
Can I use an artificial sweetener?
If you want to switch out the powdered sugar, feel free to use your favorite artificial sweetener. I love Swerve because it has the same texture and amounts as powdered sugar.
Tapas Tips & Tricks
- Line your pan with parchment paper for easy removal and clean up!
- If you don’t want to use peanuts feel free to use another nut butter like almond, cashew, pecans, or walnuts.
- Gluten free? Use crumbs from your favorite snacks like cereal, cookies, or crackers. Make sure your crumbs are fine and no big chunks remain. Use a food processor if needed.
- Peanut butter layer too runny? Add extra powdered sugar (1/4 cup) at a time until consistency is right. *Make sure the it’s not too hot in the kitchen*
- Lumpy bars? Try creaming butter and nut butter first. Then slowly add in the crumb and sugar mixture.
- Don’t need this many bars? Cut the recipe in half and use an 8×8 pan. I always want a ton of these so I always double it:)
- Some say cutting with a plastic knife is better. Just be sure to clean your knife between cuts!
- If you use natural peanut butter or other nut butter, you will need to keep these stored in the fridge after the initial chill time.
If you love this recipe as much as I do, please leave us a five-star review in the comment section below. Thanks!
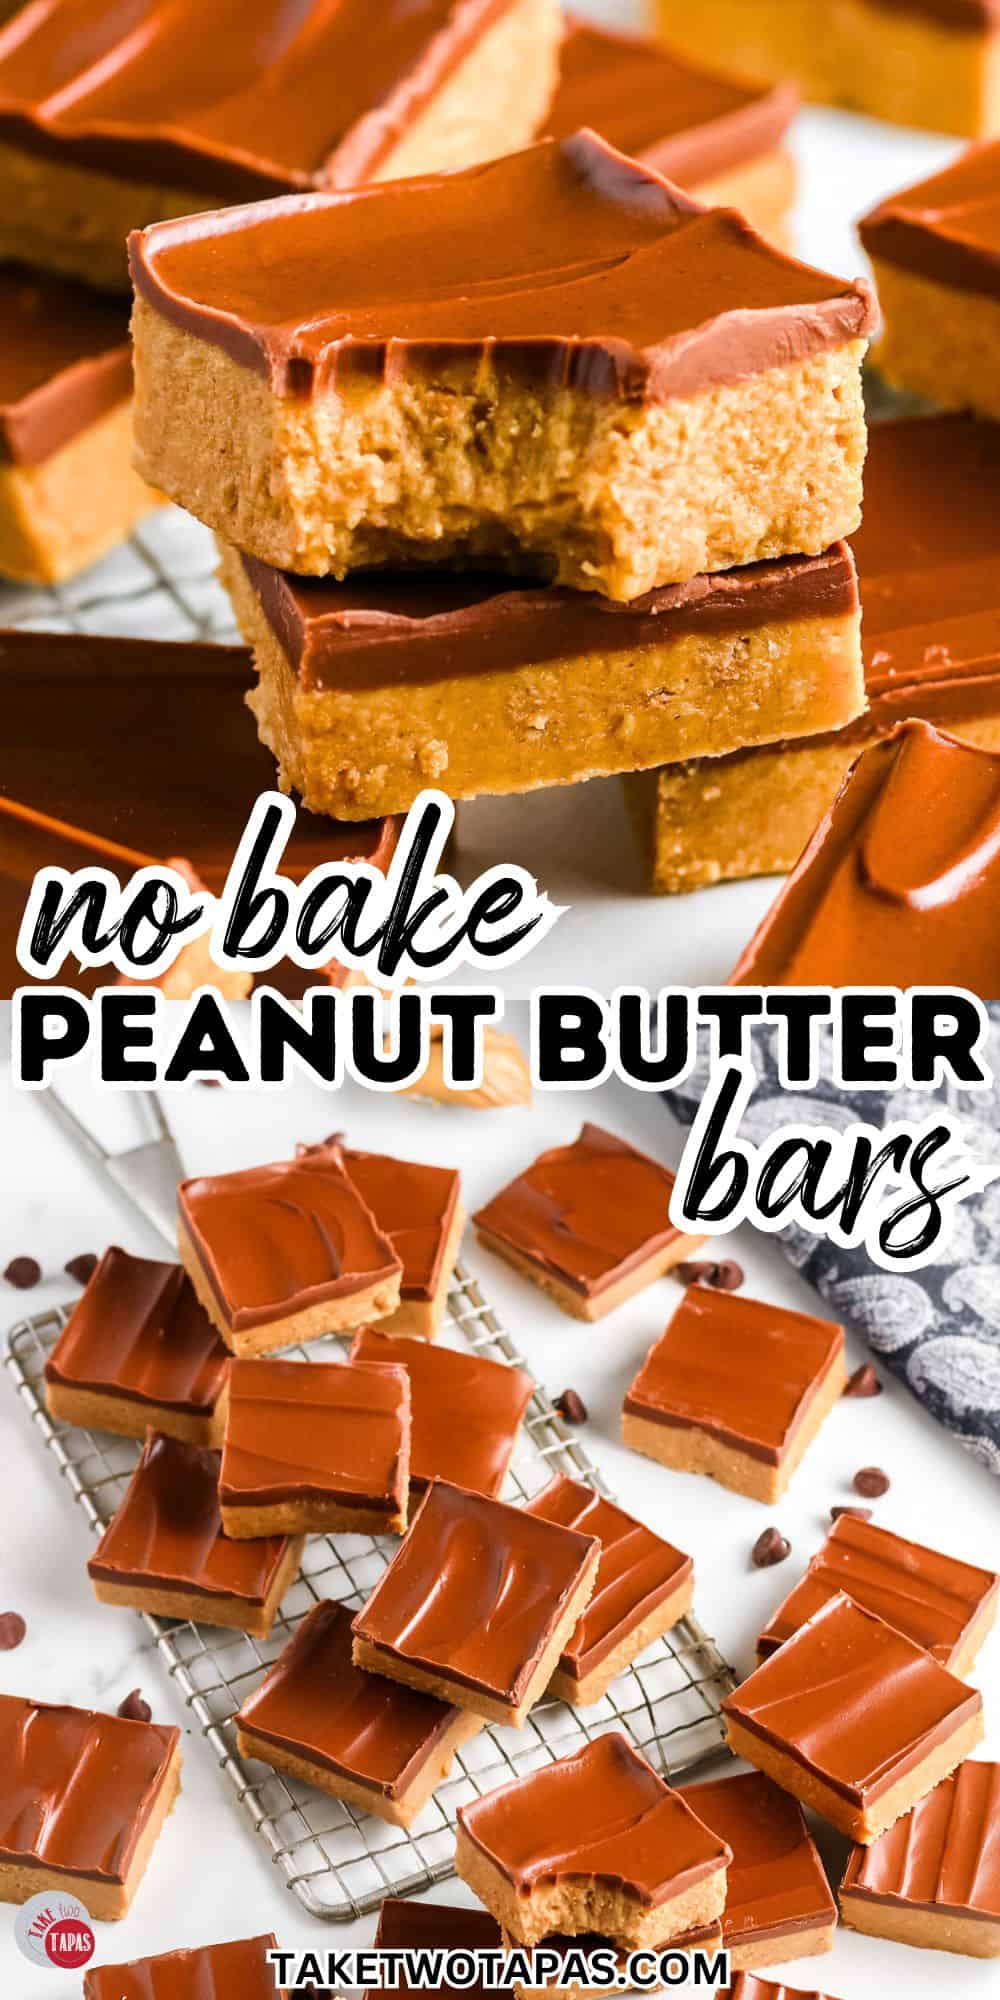
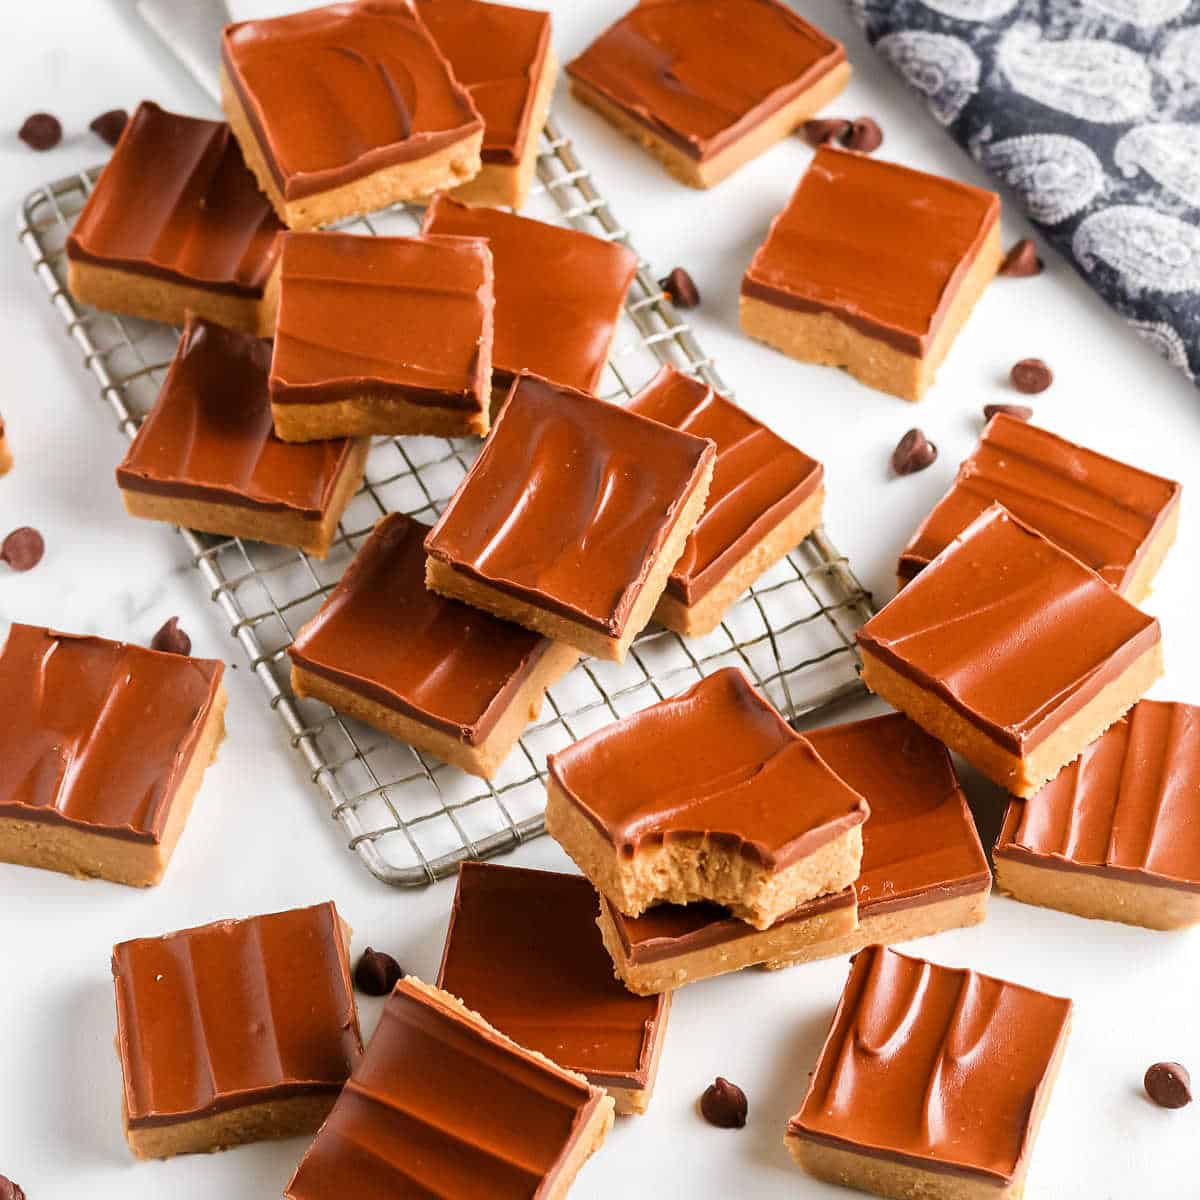
These no bake peanut butter bars are so easy to make and taste like a big peanut butter cup. Keep them in the fridge for a sweet and cool treat.
No Bake Peanut Butter Bars
Ingredients
- 1 cup butter 2 sticks, melted
- 1 ½ cups peanut butter creamy
- 2 cups graham cracker crumbs 12 crackers
- 2 cups powdered sugar
- ⅔ cup peanut butter
- 1 cup chocolate chips
Instructions
- Grease or line the 9×13 dish.
- Combine butter, graham cracker crumbs, peanut butter, and powdered sugar. Stir until smooth.
- Spread the peanut butter mixture evenly into the prepared pan.
- Make the chocolate topping by melting the chocolate chips and peanut butter at intervals, stirring in between.
- Stir until smooth and no more lumps remain. Spread over the peanut butter layer.
- Chill in the fridge until firm. Roughly 2 hours. When ready, cut and serve!
Notes
- Line your pan with parchment paper for easy removal and clean up!
- If you don’t want to use peanuts feel free to use another nut butter like almond, cashew, pecans, or walnuts.
- Gluten free? Use crumbs from your favorite snacks like cereal, cookies, or crackers. Make sure your crumbs are fine and no big chunks remain. Use a food processor if needed.
- Peanut butter layer too runny? Add extra powdered sugar (1/4 cup) at a time until consistency is right. *Make sure the it’s not too hot in the kitchen*
- Lumpy bars? Try creaming butter and nut butter first. Then slowly add in the crumb and sugar mixture.
- Don’t need this many bars? Cut the recipe in half and use an 8×8 pan. I always want a ton of these so I always double it:)
- Some say cutting with a plastic knife is better. Just be sure to clean your knife between cuts!
- If you use natural peanut butter or other nut butter, you will need to keep these stored in the fridge after the initial chill time.
Nutrition
©TakeTwoTapas.com. Content and photographs are copyright protected. Sharing of this recipe is both encouraged and appreciated. Copying and/or pasting full recipes to any social media is strictly prohibited.
.

Talk about a yummy treat! I love how easy these are to make and my hubby loves them!!!
I took these to my daughters for a football get together this past weekend and I didn’t even get one!! Everyone wanted the recipe. Maybe they will share with ME when they make them??
These are so good…what an awesome treat! I will be making them again!
Peanut butter and chocolate is the best combination…these are out of this world good!
I love how easy this recipe is to make! It’s such a hit at our house!
I just made a batch of these and I swear they disappeared right before my eyes. I loved how easy they were too!
These are so easy to make and I loved all of the great and useful tips!