Roasted Garlic Dip
This creamy Roasted Garlic Dip is packed with flavor. Creamy, garlicky, and easy to make. Perfect for parties or a flavorful snack.
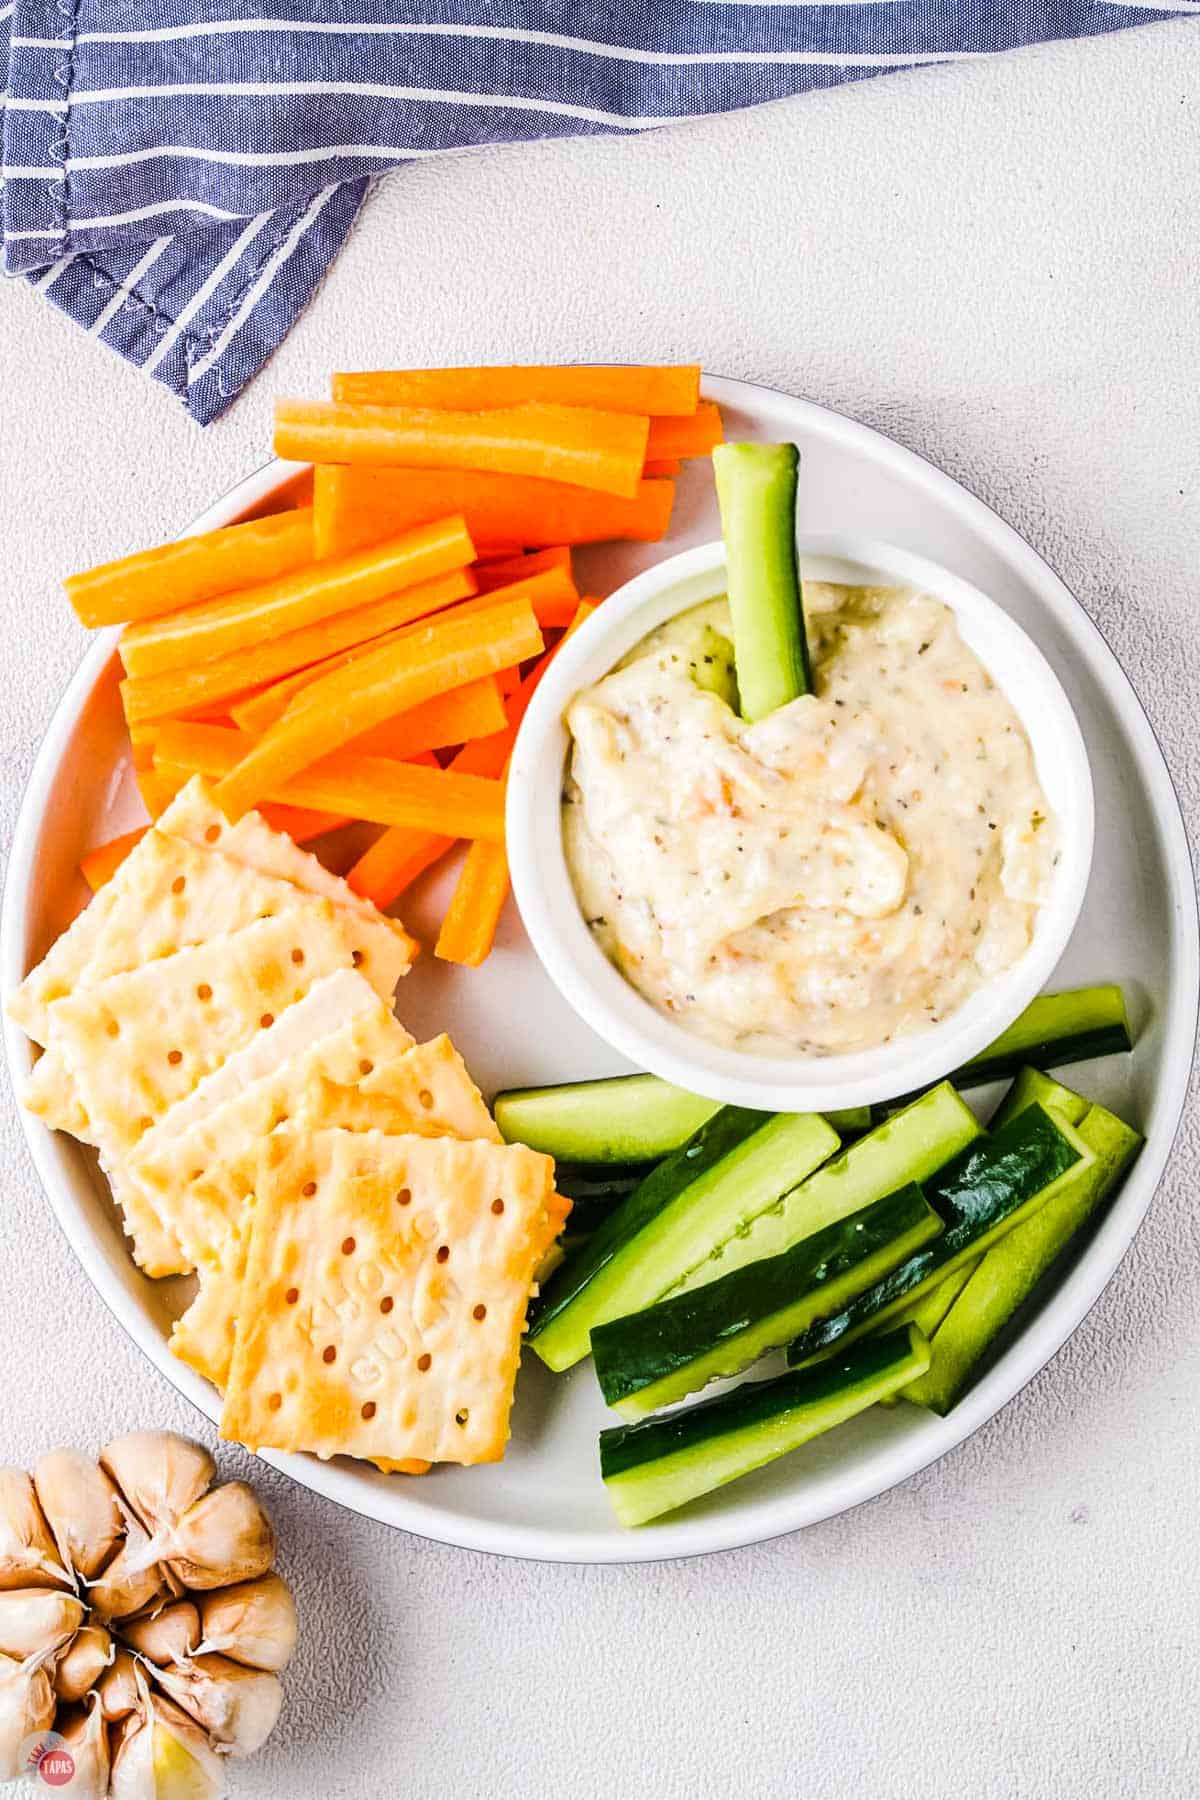
Easy Roasted Garlic Dip Recipe
If you haven’t roasted garlic before, you are in for a treat! I love the smell of garlic, especially simmering in a pan with olive oil and onions. I often make it as a simple sauce for spaghetti noodles.
But roasting a whole bulb of garlic brings the flavor to a whole other level. The individual cloves turn soft and golden brown with a sweeter and buttery flavor that is more mild than the raw version. Think caramelized flavor…
By adding it to traditional dip ingredients like mayo and sour cream, you make a garlicky dip that will turn everyone into garlic lovers!
Simple to make, with amazing flavor, it’s the perfect dip for any occasion.
Once you get the hang of roasting garlic, you can add it to other dips like this white bean dip, olive oil bread dip, or hummus.
This post may contain affiliate links. As an Amazon Associate, I earn from qualifying purchases at no additional cost to you. Read my disclosure policy.
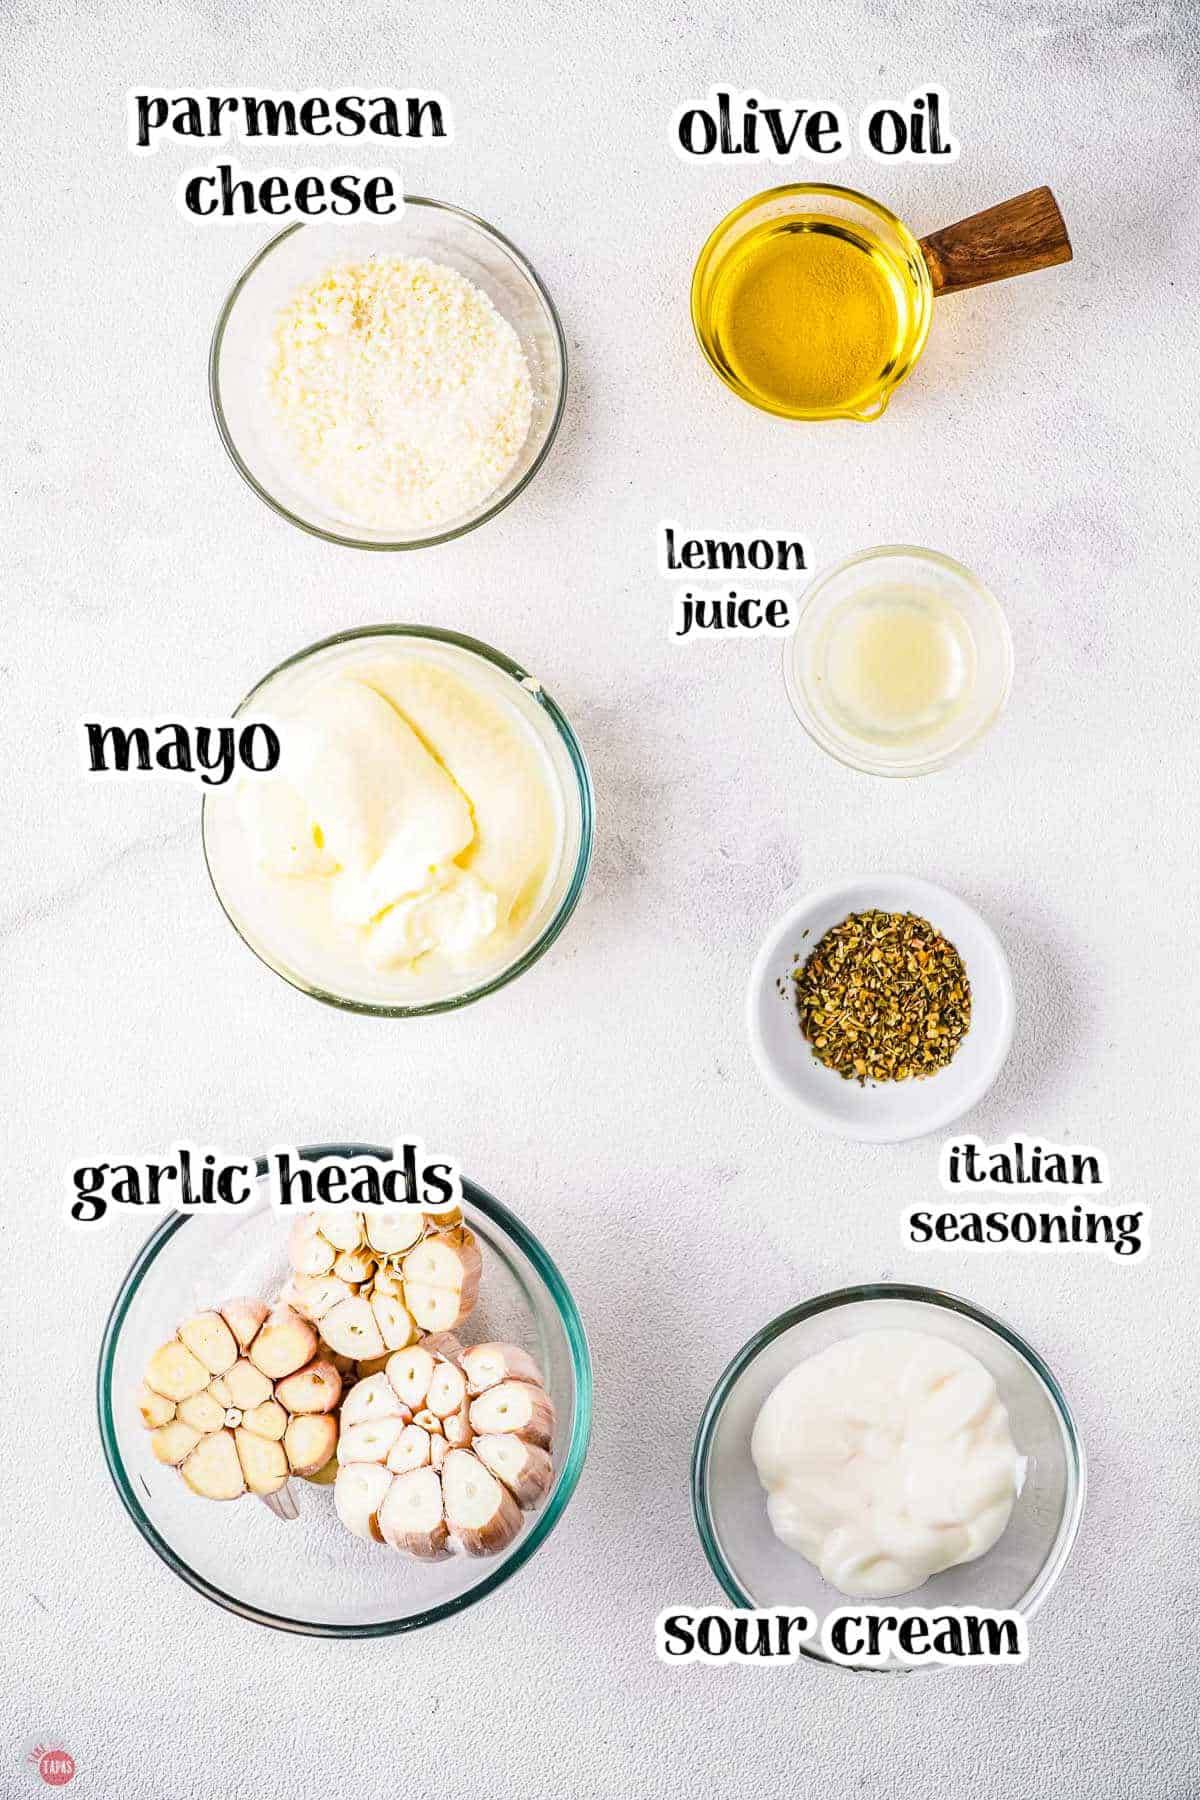
Ingredients Needed
Garlic – I use whole garlic heads. Be sure to find ones that are tight, firm, and not mushy.
Mayonnaise – Use your favorite. I like Duke’s as it’s the creamiest. I don’t recommend Miracle Whip.
Sour Cream – Substitute plain Greek yogurt if needed.
Seasonings – Homemade Italian seasoning tastes the best or substitute ranch mix.
Lemon juice – Fresh or bottled will work. Or substitute lemon zest.
Cheese – Shredded parmesan cheese has a nice nutty flavor or substitute mozzarella cheese.
Olive oil – Use peanut oil or avocado oil if you prefer.
For more insider tips, tricks, and a behind the scenes look, follow me on Pinterest, Facebook, Instagram, & X.
How to Make Roasted Garlic Dip
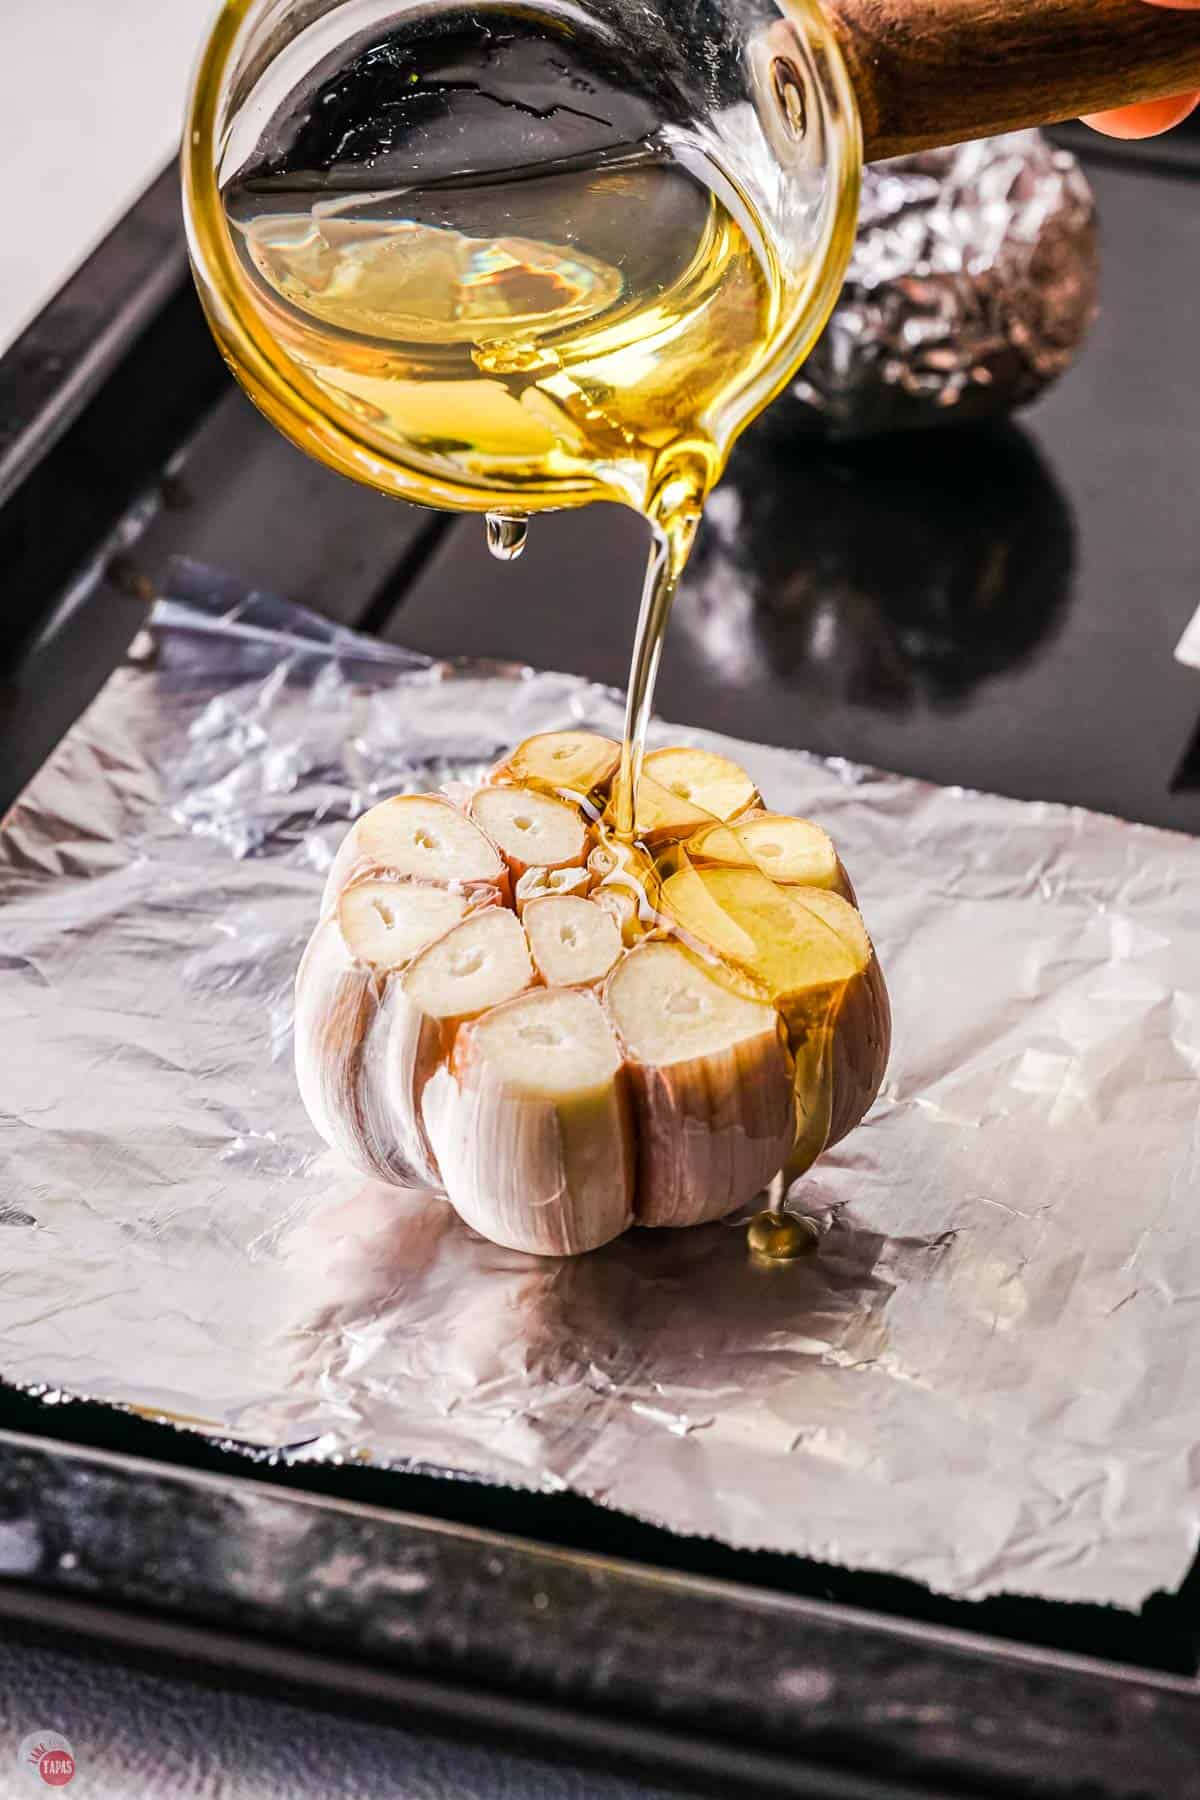
First: Preheat your oven to 400F. Trim the tops off the heads of garlic, removing just enough skin so the tops of the garlic cloves are showing.
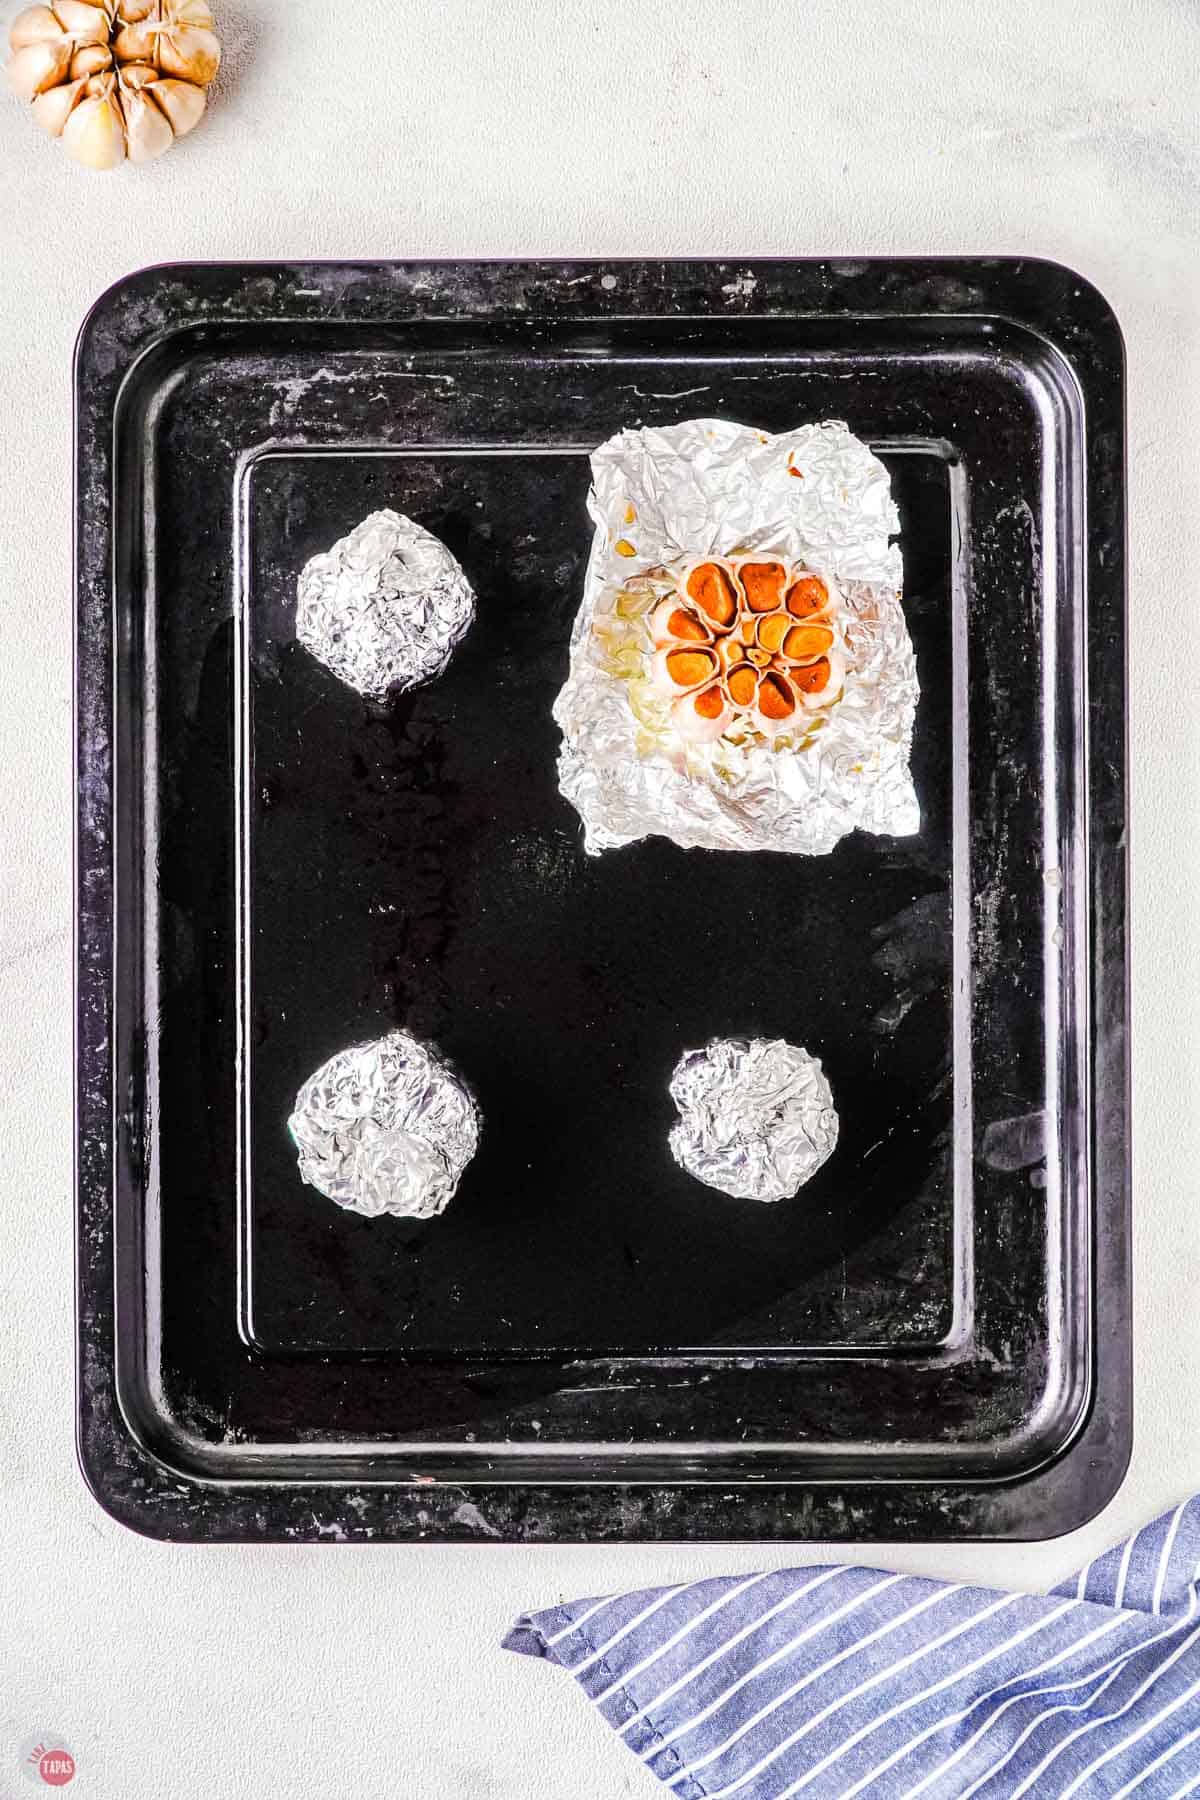
Second: Place each whole head of garlic on a piece of aluminum foil on a baking sheet. Drizzle the olive oil over the exposed cloves. Wrap the foil around the bulbs, sealing them.
Third: Bake the wrapped garlic in the oven for 45 minutes or until the cloves become soft. Once done, remove the garlic from the oven and let it cool.
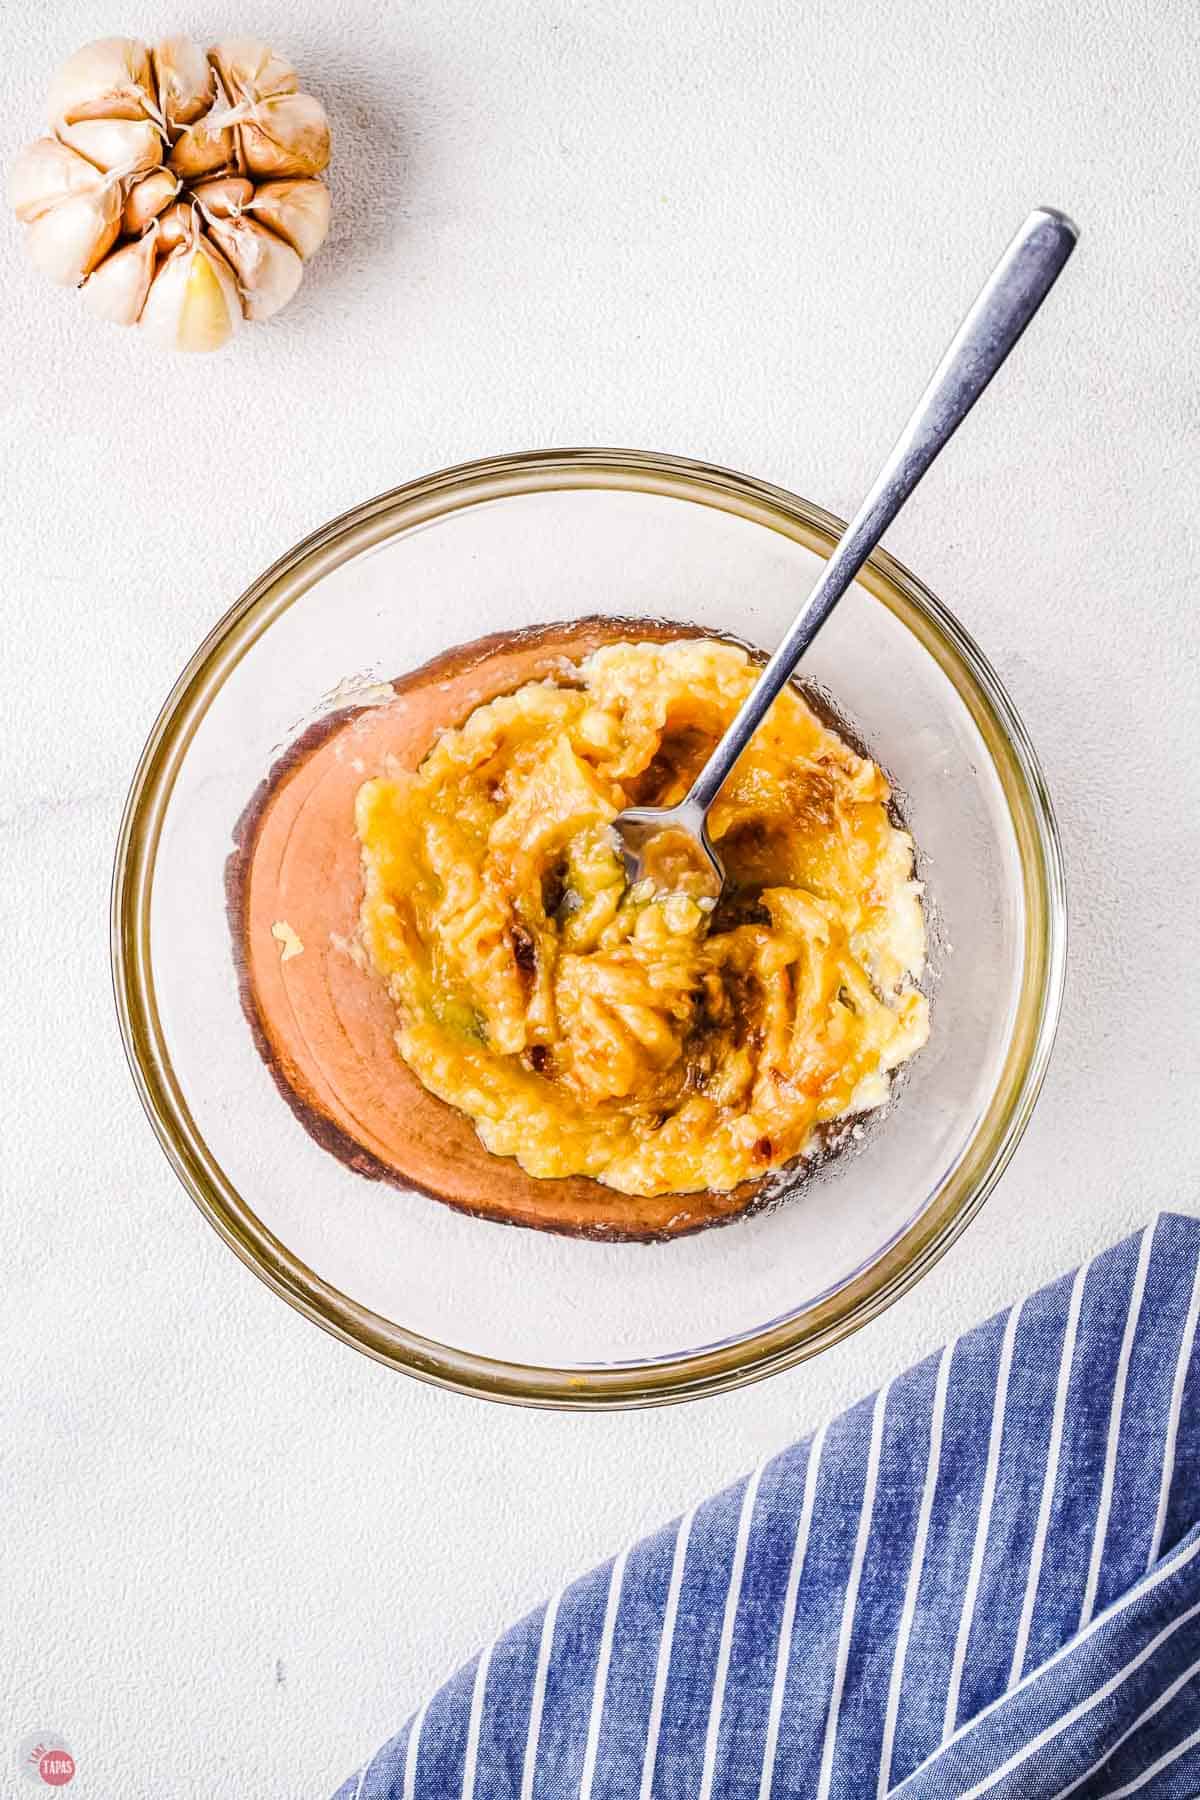
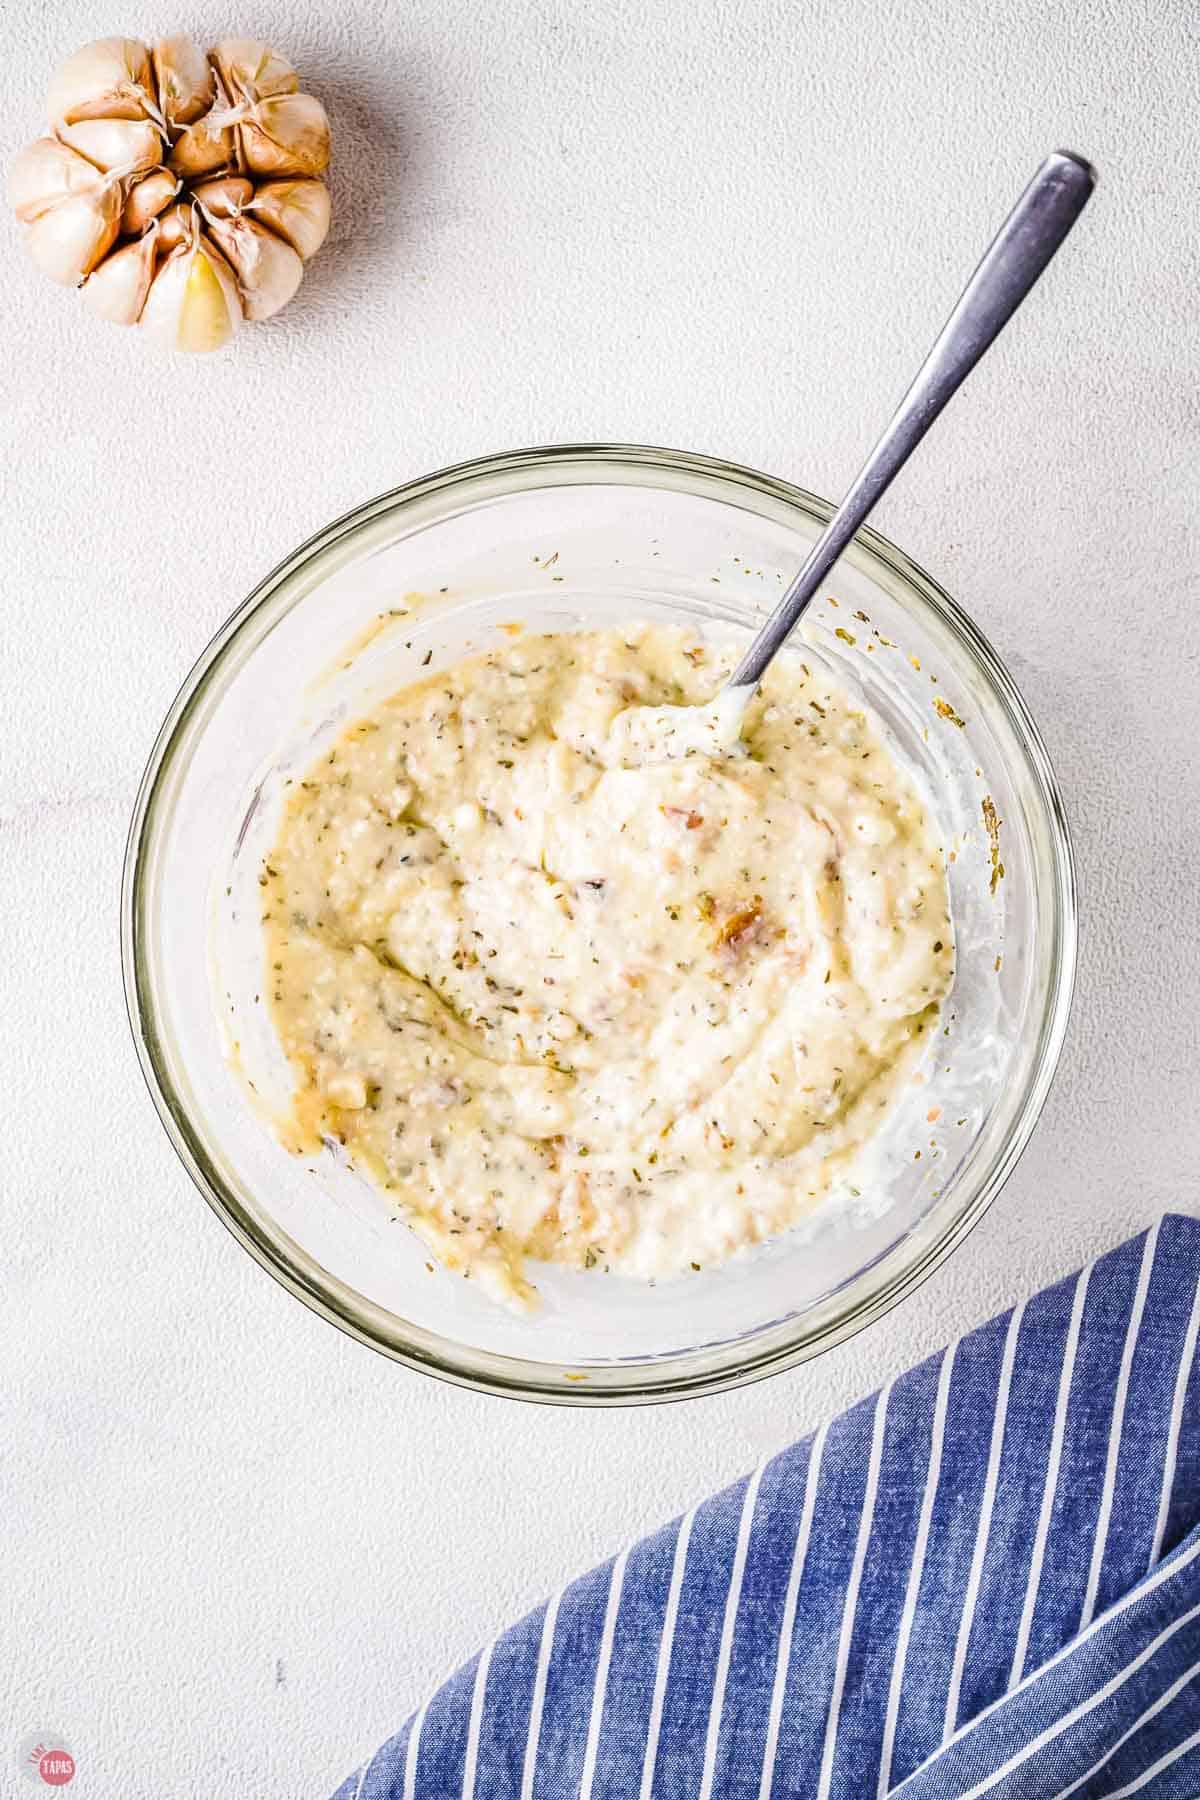
Fourth: Gently squeeze the cloves to extract the roasted garlic from the skins and place in a mixing bowl. Use a fork to mash them into a paste.
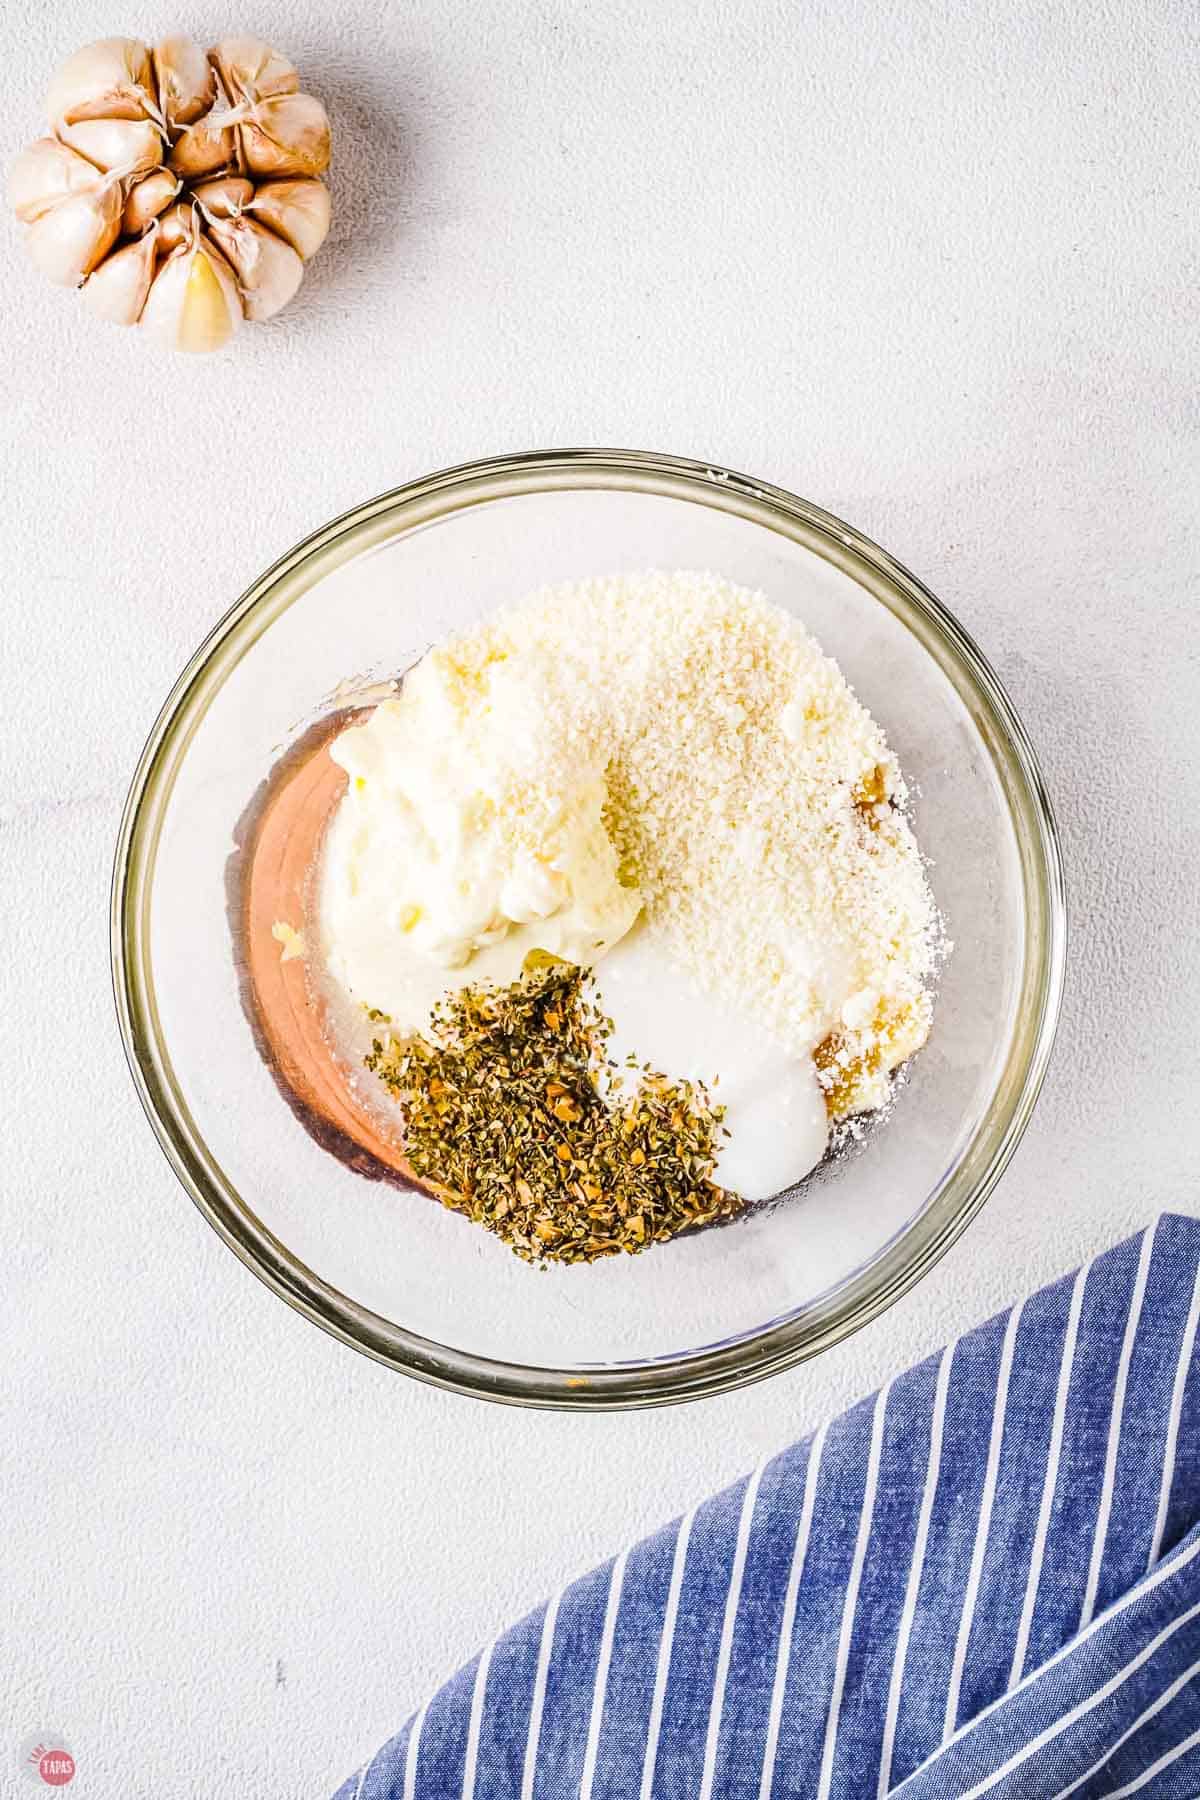
Fifth: Add in the remaining ingredients and stir to make the dip. Chill and serve.
For the full recipe and detailed instructions, please refer to the recipe card at the bottom of the post.
Serving Suggestions
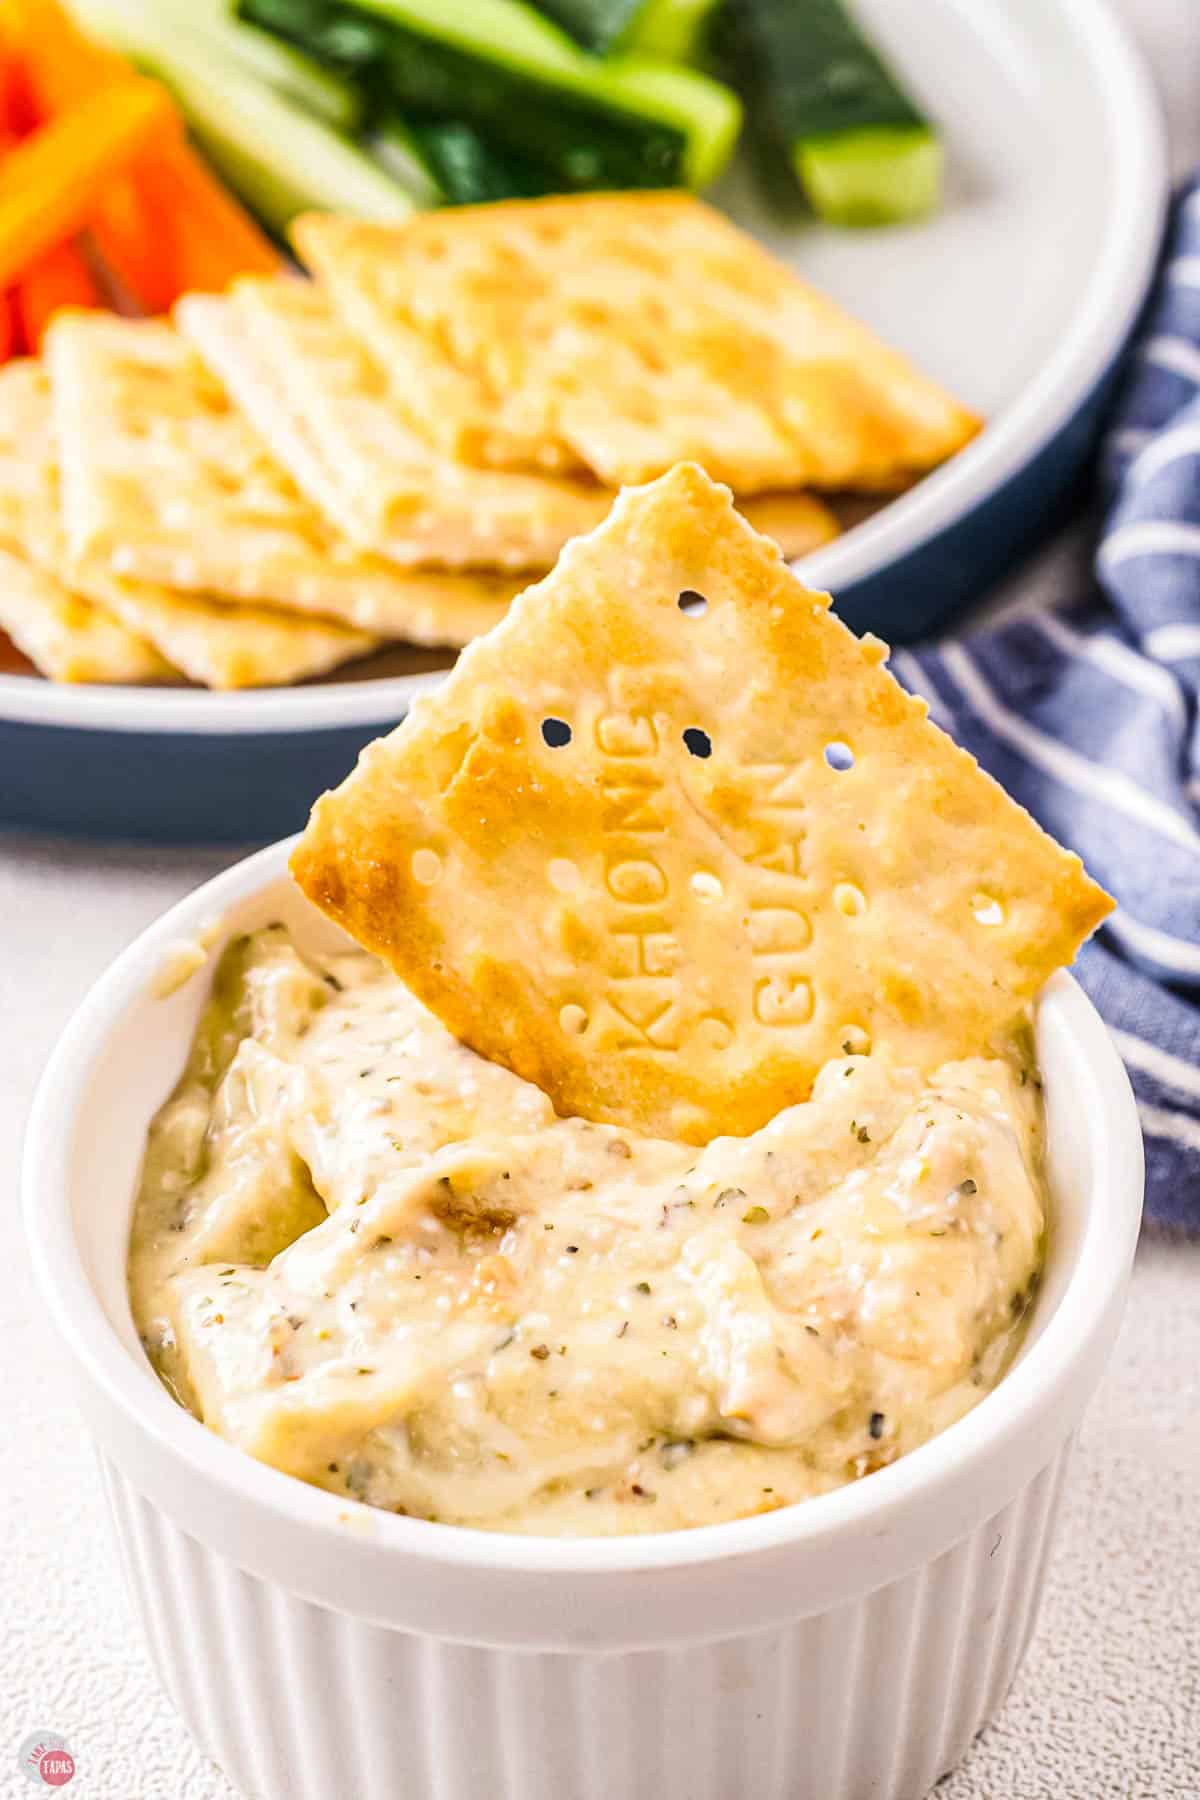
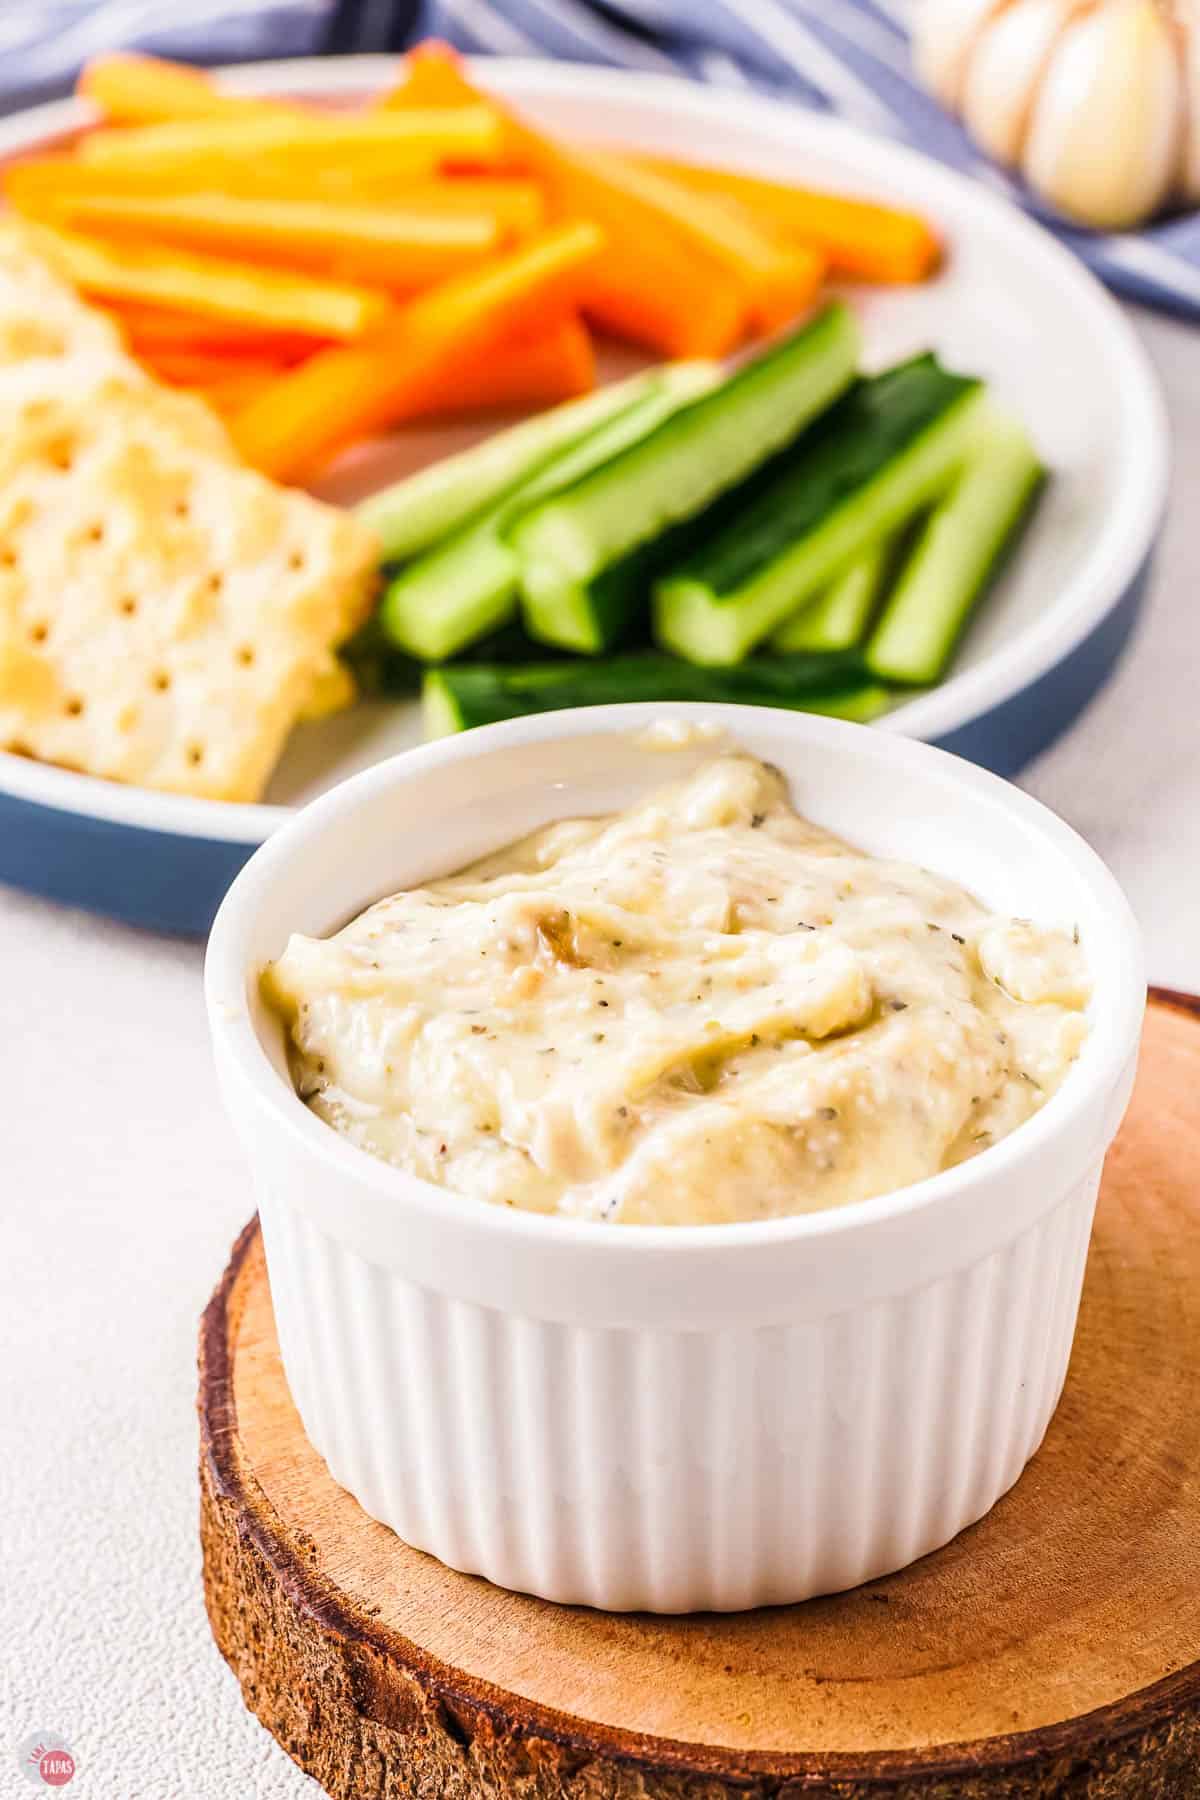
- Serve it with dippers like fresh veggies like broccoli floret, carrot sticks, or cucumber slices.
- Crackers, potato chips, and crusty bread slices are also great dippers.
- Use as a spread on sandwiches and burgers.
- As a topping for baked potatoes, stuffed mushrooms, etc.
- Dip for chicken wings or chicken tenders.
How long does it last?
If you happen to have any leftovers, store the dip in an airtight container in the refrigerator for 2 days.
Does roasting garlic bring out the flavor?
Raw garlic can be strong and slightly spicy. Roasting it brings out a sweeter and nuttier flavor.
It also makes it soft and easy to spread or mix into other dishes like mashed potatoes. YUM!
Tapas Tips & Tricks
- Use garlic bulbs that are firm, tightly wrapped in their skin, and not sprouting any leaves.
- About 3/4 of the way through cooking time, give the heads a squeeze to see if they are soft. You don’t want to overcook them or they turn bitter.
- Squeeze gently when getting the roasted garlic cloves out of their skins. They should just slide out.
- Substitute softened cream cheese for the mayo if you want it thicker.
- Taste the dip and season with salt and pepper if needed. Or add a few spices like red pepper flakes or cayenne pepper.
- If it seems too rich, brighten it up with a little more lemon juice.
- Sprinkle in fresh herbs like chopped fresh parsley or mix it with this cream cheese dip for crackers.
- Let it chill for a little bit so the flavors can mix. It’s best to make it the day before you are planning on serving it.
If you love this recipe as much as I do, please leave us a five-star review in the comment section below. Thanks!
This easy and creamy Roasted Garlic Dip is perfect for any occasion. Full of flavor and can be used in so many ways other than a dip too!
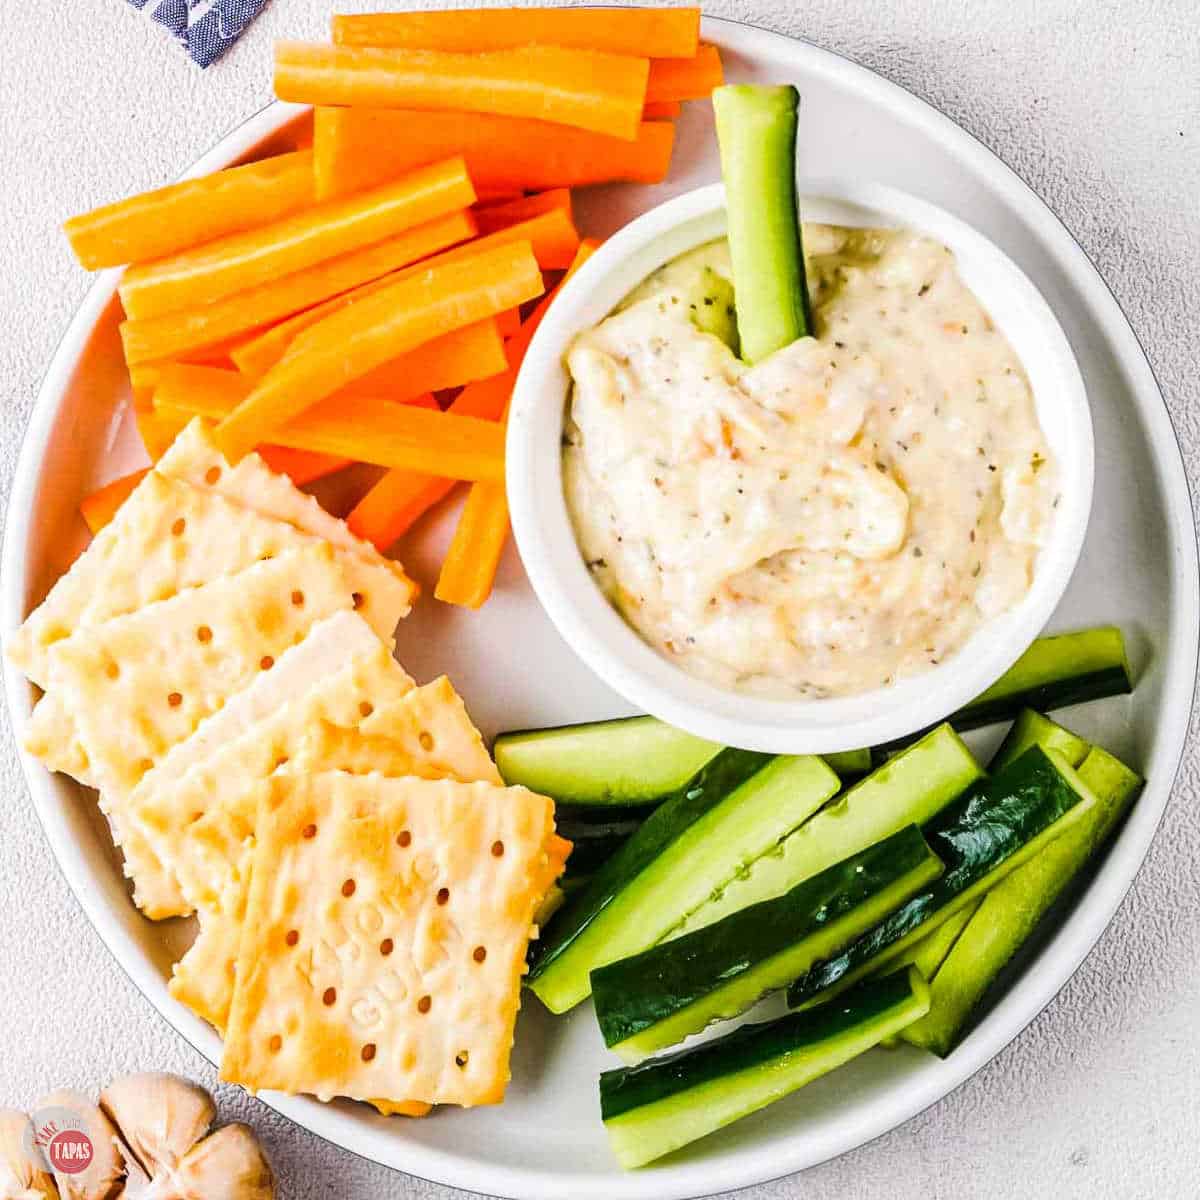
Roasted Garlic Dip
Ingredients
- 3 tablespoons olive oil
- 4 heads of garlic tops trimmed off
- 1 cup sour cream
- ¼ cup mayo
- 2 teaspoons Italian seasoning
- 1 tablespoon lemon juice
- ¼ cup shredded parmesan cheese
Instructions
- Preheat the oven to 400F.
- Trim the tops off the heads of garlic (just enough so the individual cloves have some skin removed)
- Place each head in some aluminum foil.
- Drizzle the olive oil over the open heads of garlic.
- Wrap the foil around the heads, sealing them in.
- Bake in the oven for 45 minutes or until the cloves are soft.
- Remove from the oven and let cool.
- Gently squeeze the cloves to remove the roasted garlic from the skins.
- Place in a mixing bowl and mash with the back of a fork until they are almost a paste.
- Mix in the remaining ingredients to form a dip.
- Serve with crackers, chips, or fresh veggies.
Notes
- Use garlic bulbs that are firm, tightly wrapped in their skin, and not sprouting any leaves.
- About 3/4 of the way through cooking time, give the heads a squeeze to see if they are soft. You don't want to overcook them or they turn bitter.
- Squeeze gently when getting the roasted garlic cloves out of their skins. They should just slide out.
- Substitute softened cream cheese for the mayo if you want it thicker.
- Taste the dip and season with salt and pepper if needed. Or add a few spices like red pepper flakes or cayenne pepper.
- If it seems too rich, brighten it up with a little more lemon juice.
- Sprinkle in fresh herbs like chopped fresh parsley.
- Let it chill for a little bit so the flavors can mix. It's best to make it the day before you are planning on serving it.
Nutrition
©TakeTwoTapas.com. Content and photographs are copyright protected. Sharing of this recipe is both encouraged and appreciated. Copying and/or pasting full recipes to any social media is strictly prohibited.

