Summer Snack Board
If you’re ready to become the ultimate hostess, this Summer Snack Board will do just that. This spread is put together with a variety of healthy snacks that your family and friends will love any time of the day!
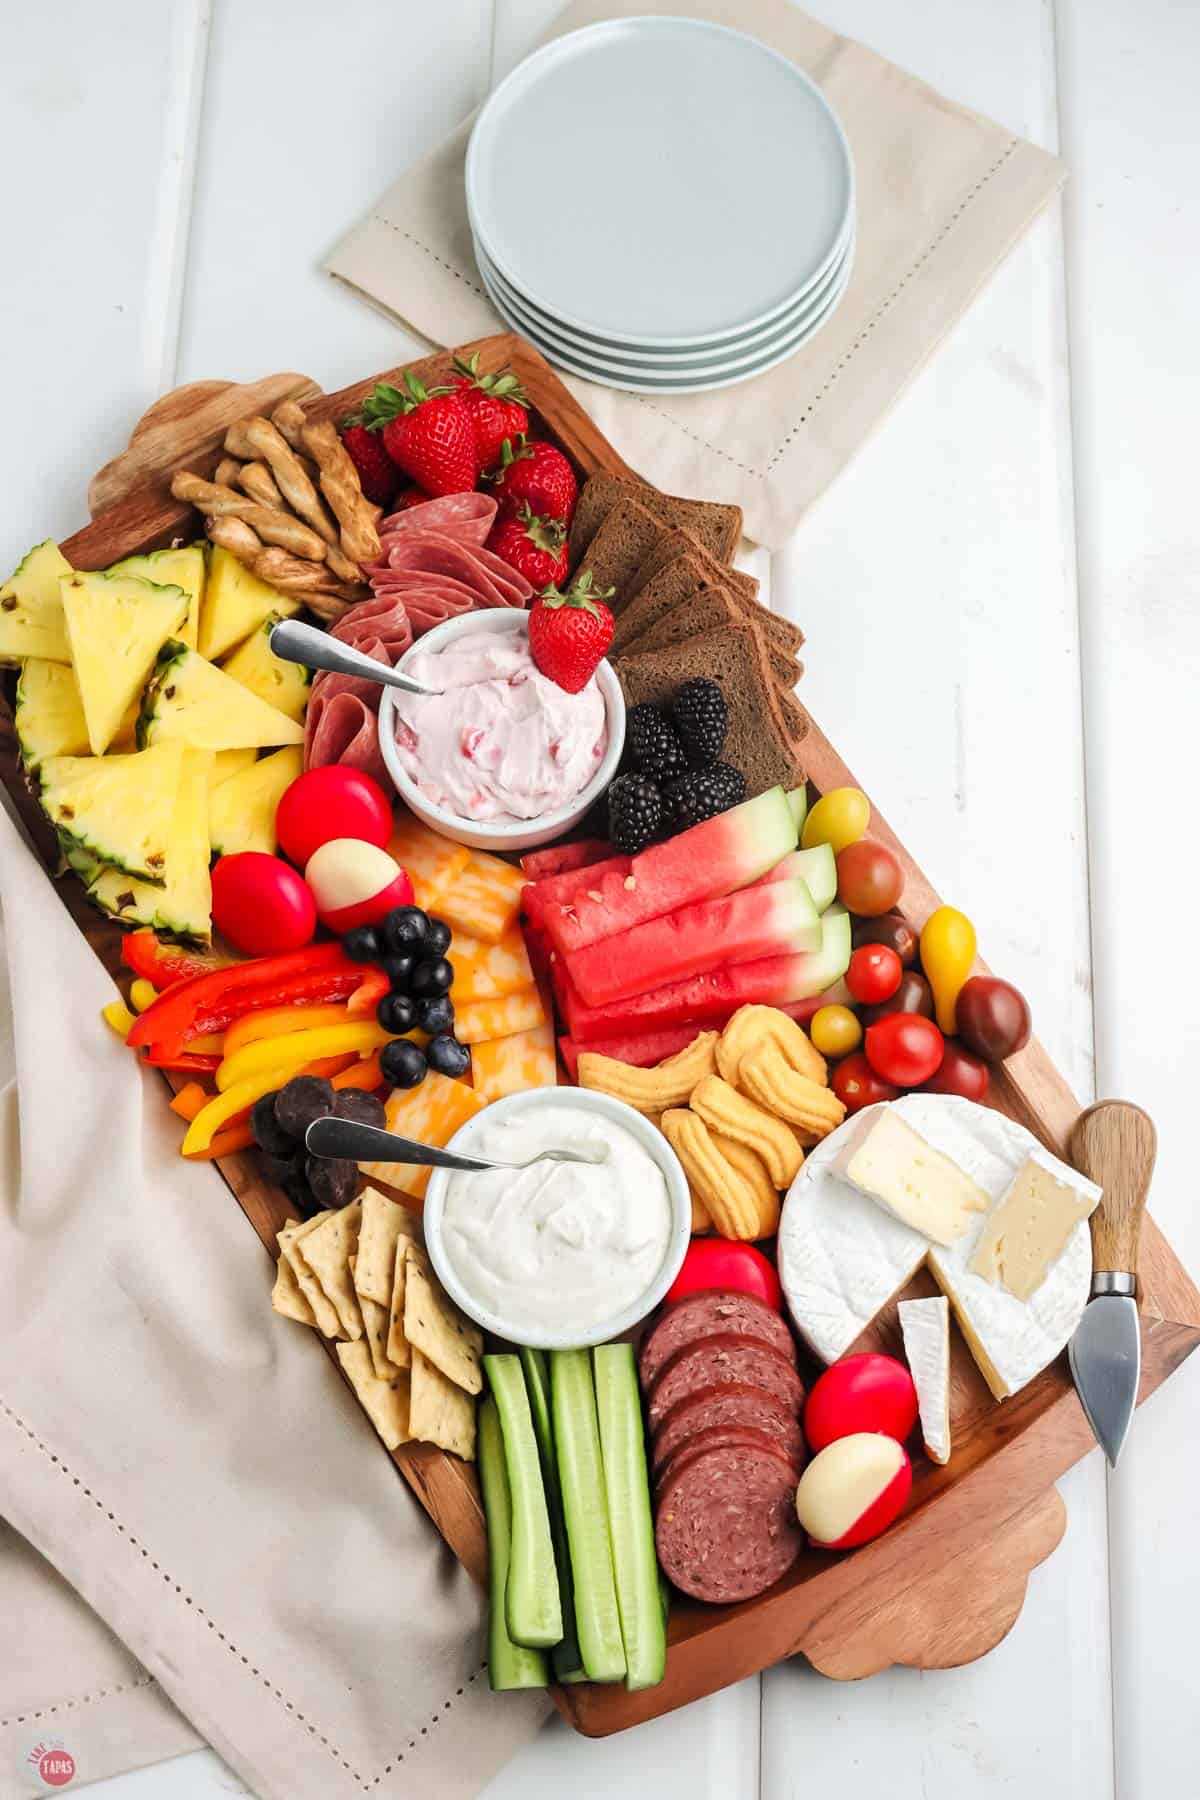
Summer Snacks
Snack boards are one of my favorite ways to put out a spread for friends, family, and even just myself when I am hanging out reading a book. I love picking out my favorite ingredients and then piling up on a board or plate. And the best thing is that you can use anything!
You might also recognize this snack board as a basic charcuterie board. So which is it? Snack tray? Charcuterie board? They are really one in the same and they are so versatile!
Add in different dips, cheeses, meats, fruits, crackers, cookies, chips, etc. It’s so easy to throw together a variety of summer snacks for everyone to enjoy and a great way to use up leftovers.
These can make the perfect appetizer or you can even make several different kinds of boards to keep the entire occasion light and satisfying. This will keep you snacking on those hot summer days.
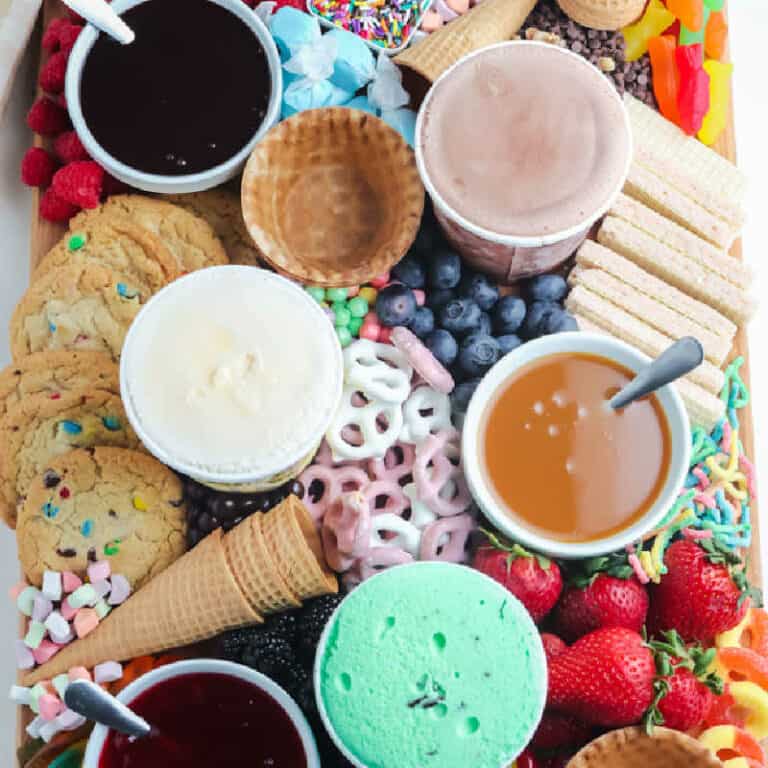
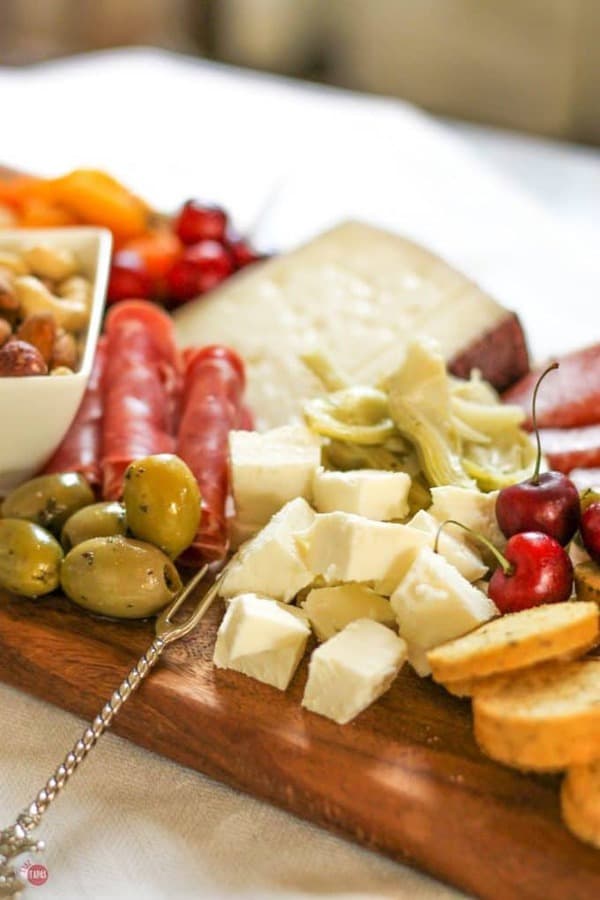
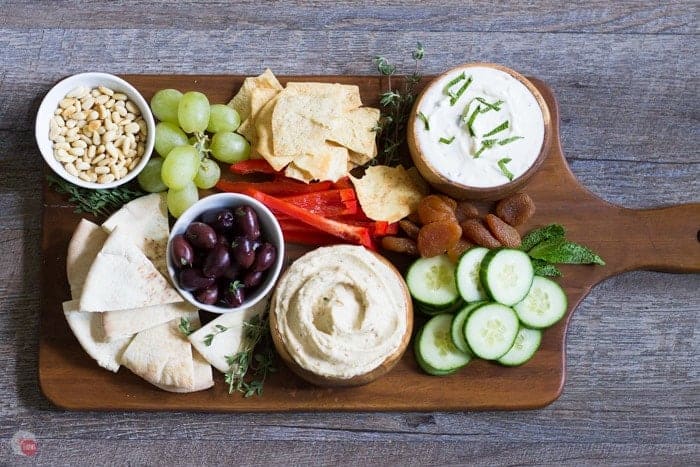
Some of my favorite boards are this summer antipasto board, this ice cream sundae board, this crudite platter and this mezze platter. Perfect for a hot day!
This post may contain affiliate links. As an Amazon Associate, I earn from qualifying purchases at no additional cost to you. Read my disclosure policy.
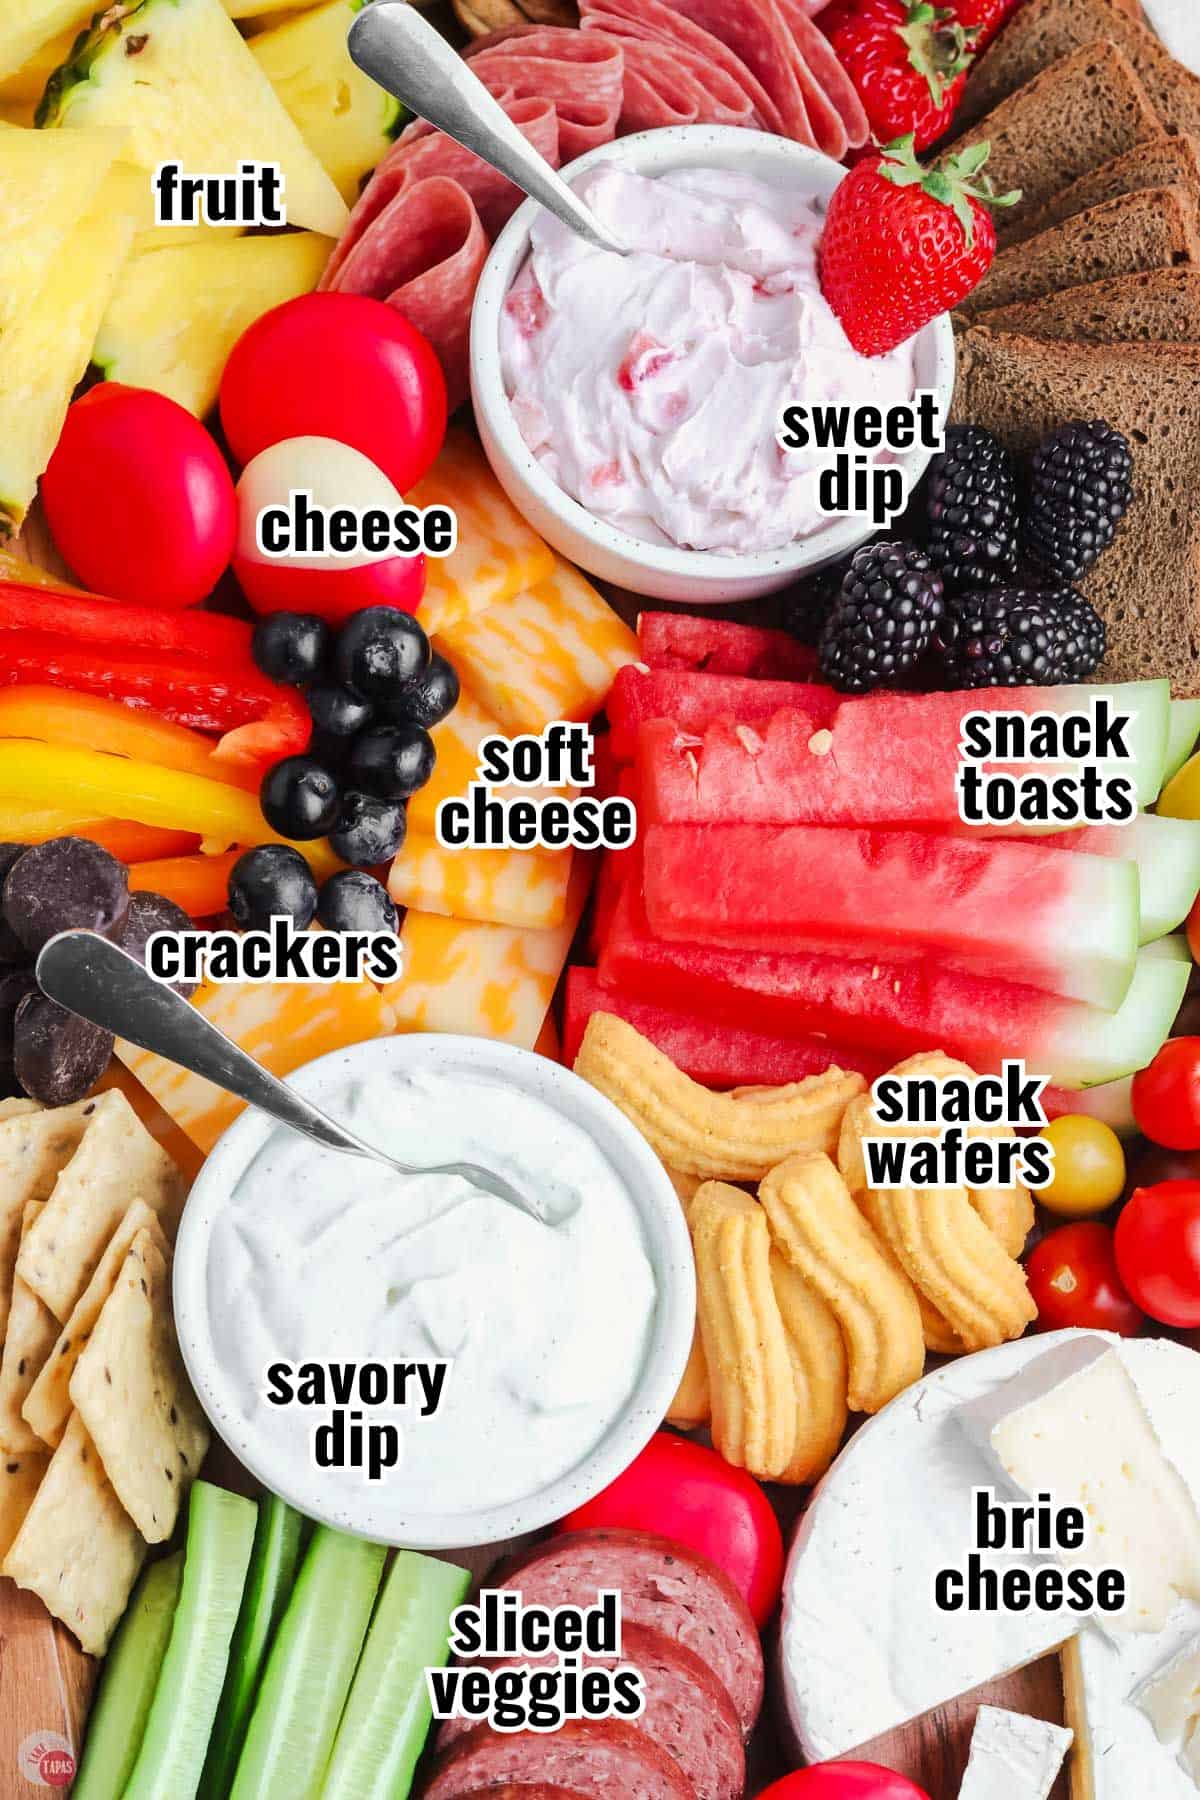
Ingredients Needed
- Fresh vegetables
- Fresh fruit
- Bread
- Crackers
- Cheese
- Creamy dips
- Meats
- Sweet treats
For more insider tips, tricks, and a behind the scenes look, follow me on Pinterest, Facebook, Instagram, & X.
There is no right or wrong way to things here, but this is the easiest way I have found to put together a snack board and it really does make a world of difference.
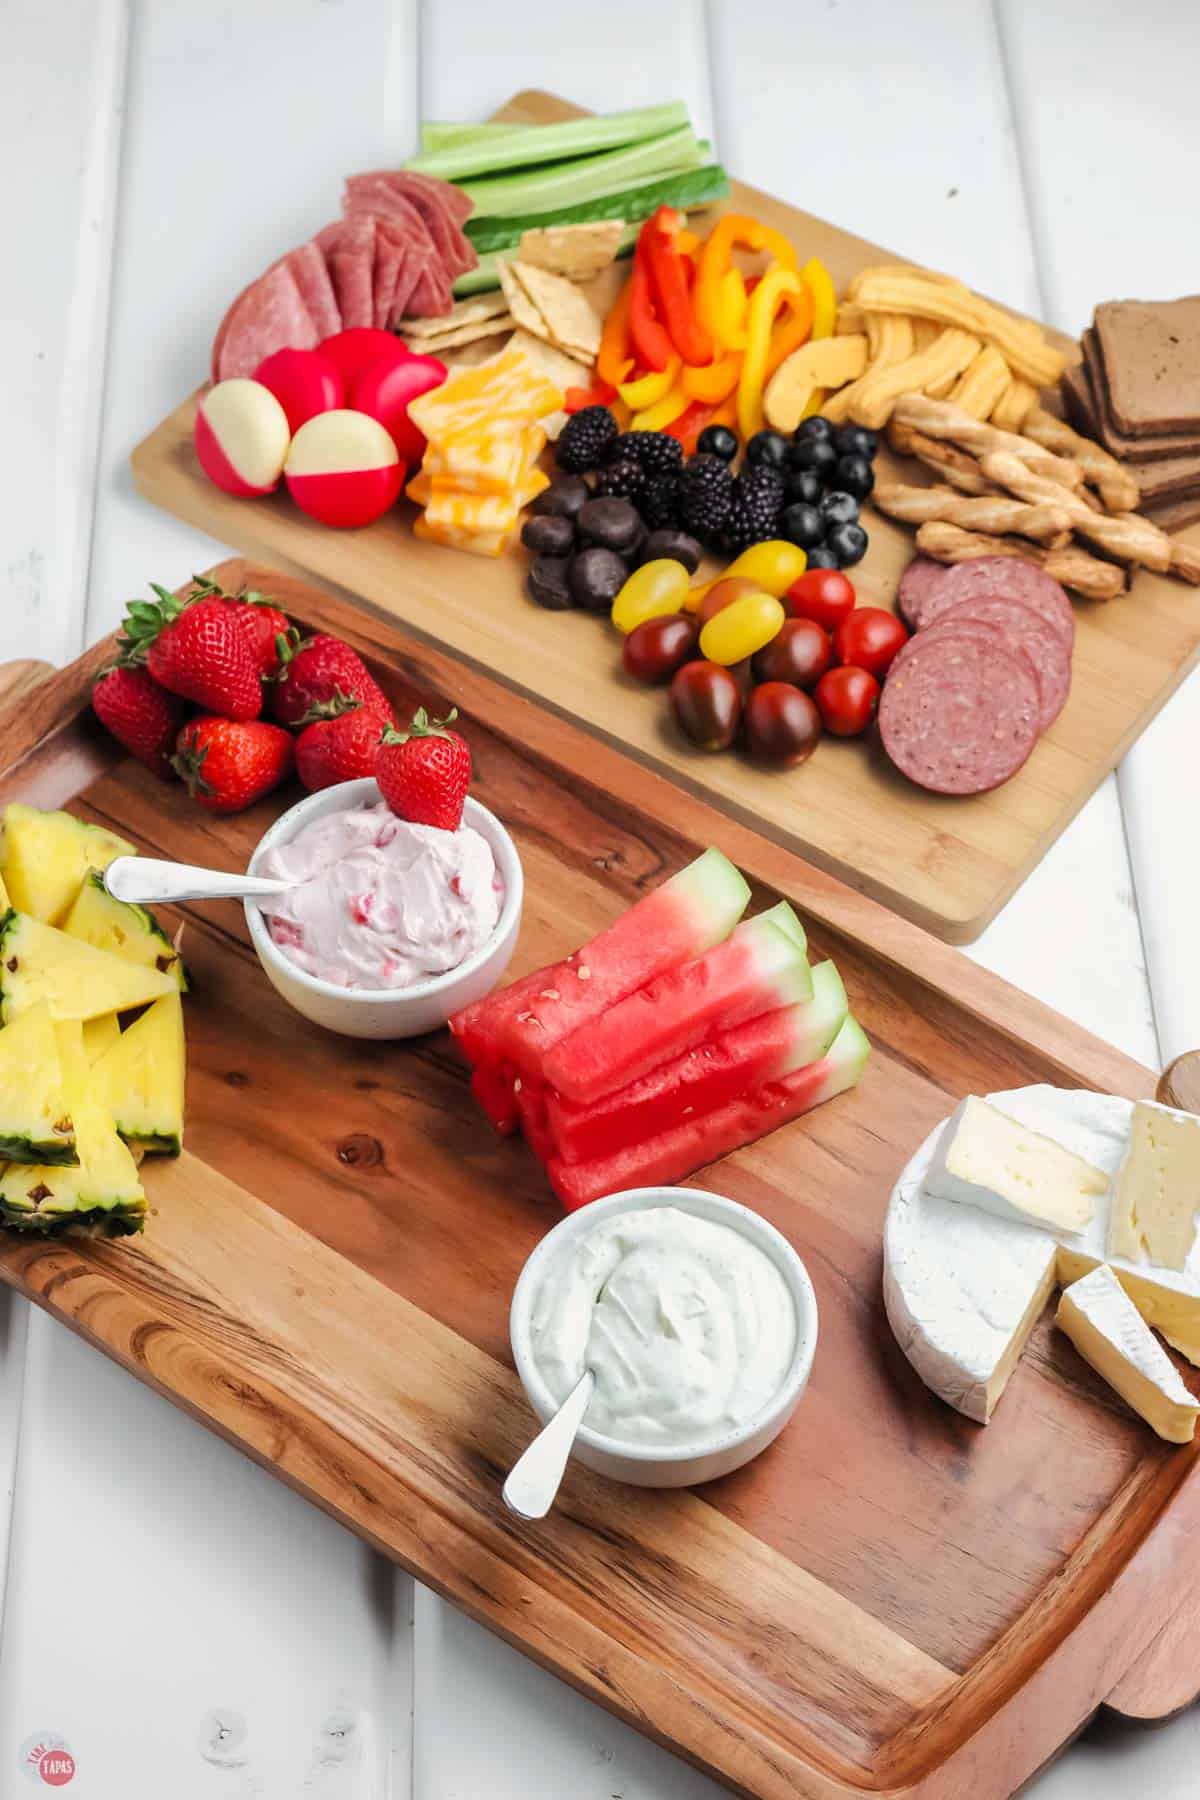
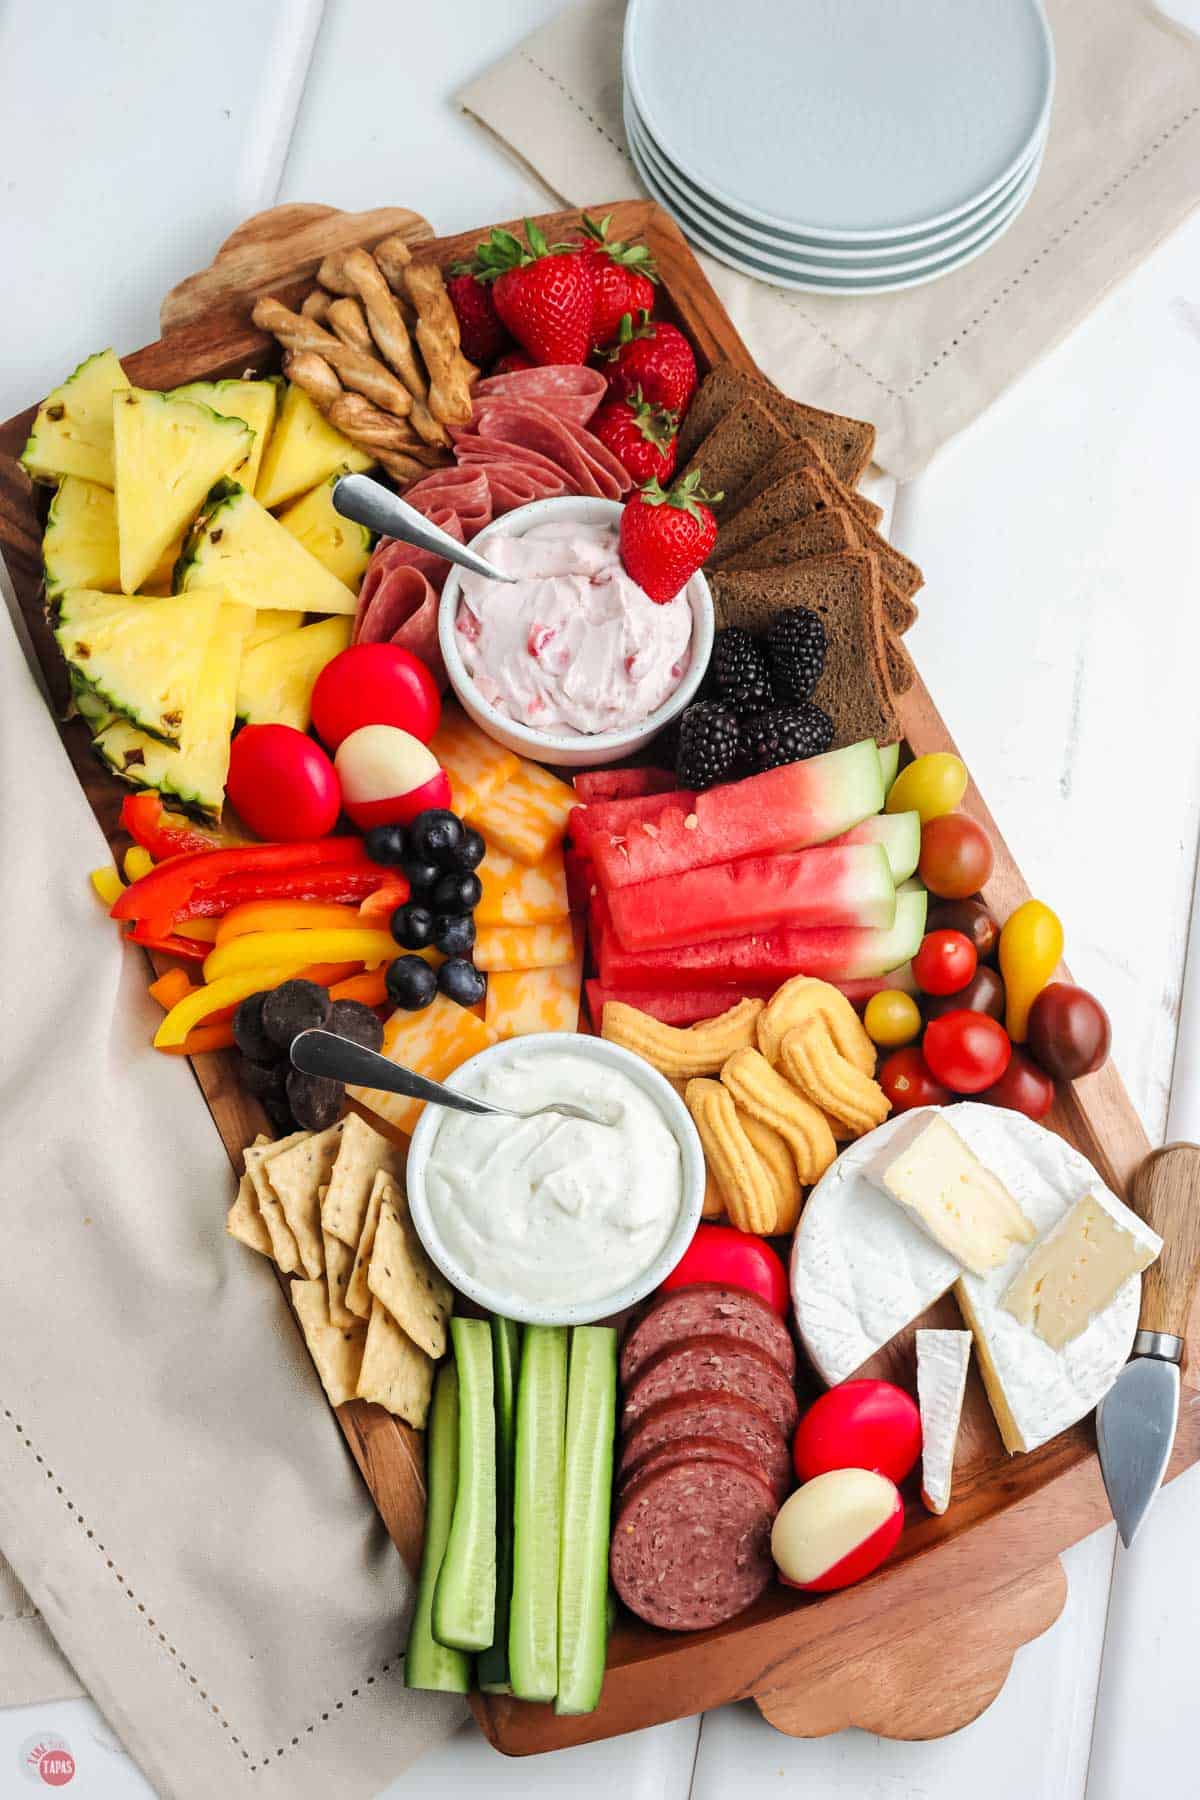
How to Make a Summer Snack Board
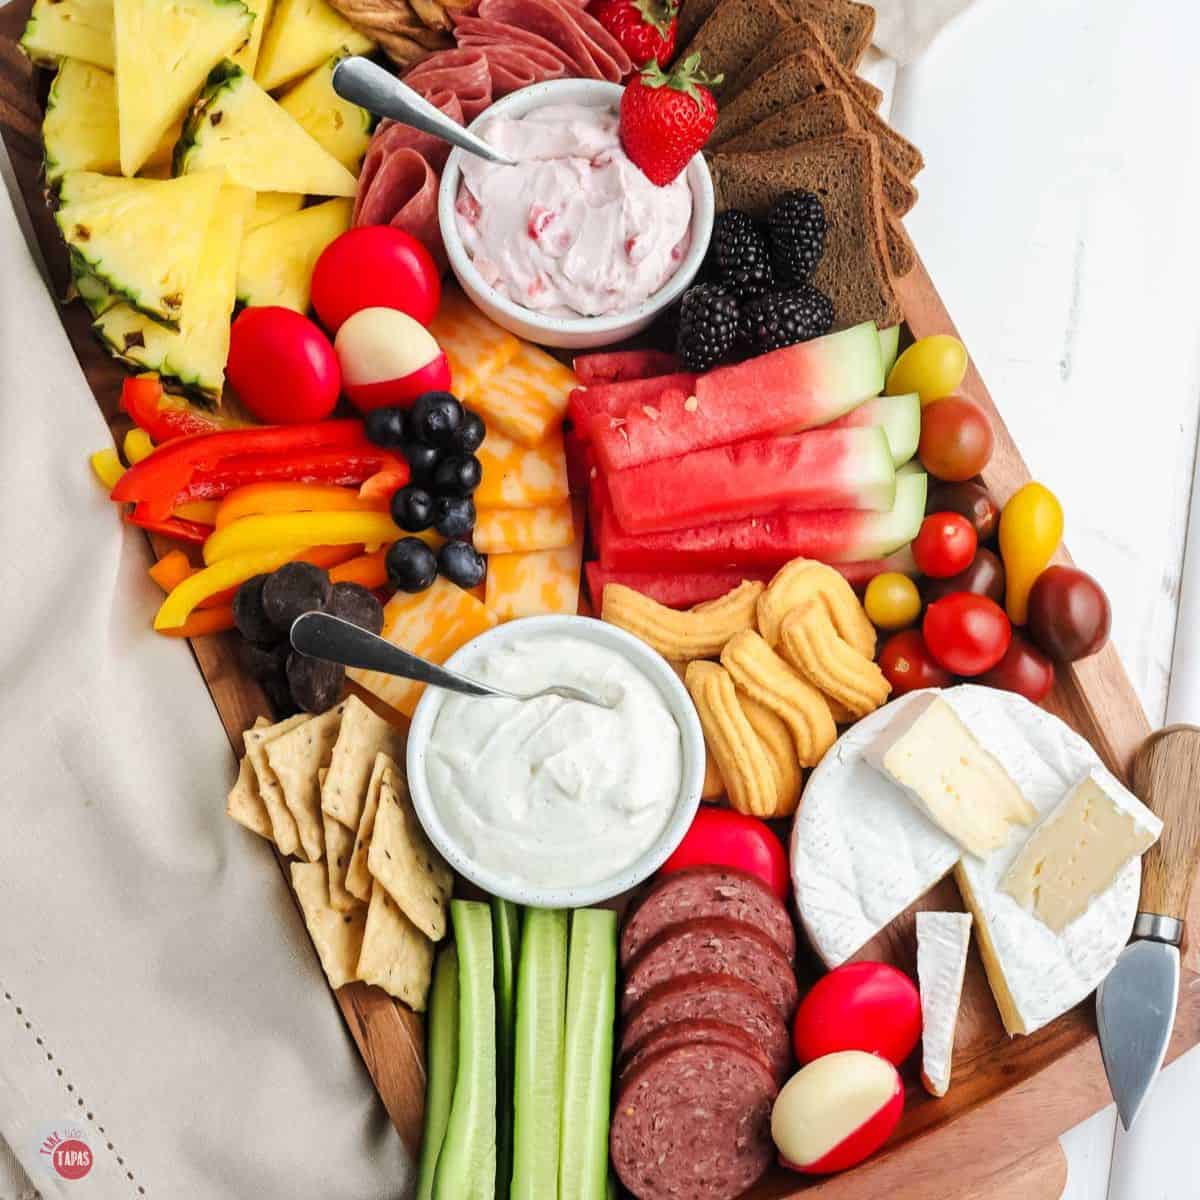
First: Start with large board, using one with edges is easiest. Place the bowls for the dips on first and the Brie cheese or other cheese you’re using.
Second: Add the largest items like the watermelon and pineapple slices. Spreading out to more than one spot on the board if possible.
Third: Next, add the medium size items like the crackers, bread, small cheese cubes, and sliced salami. Add in other medium items like vegetables and other fruits.
Fourth: Fill holes with smallest items like grape tomatoes, blueberries, blackberries, cheese straws and chocolates. Cover and store or serve immediately.
For the full recipe and detailed instructions, please refer to the recipe card at the bottom of the post.
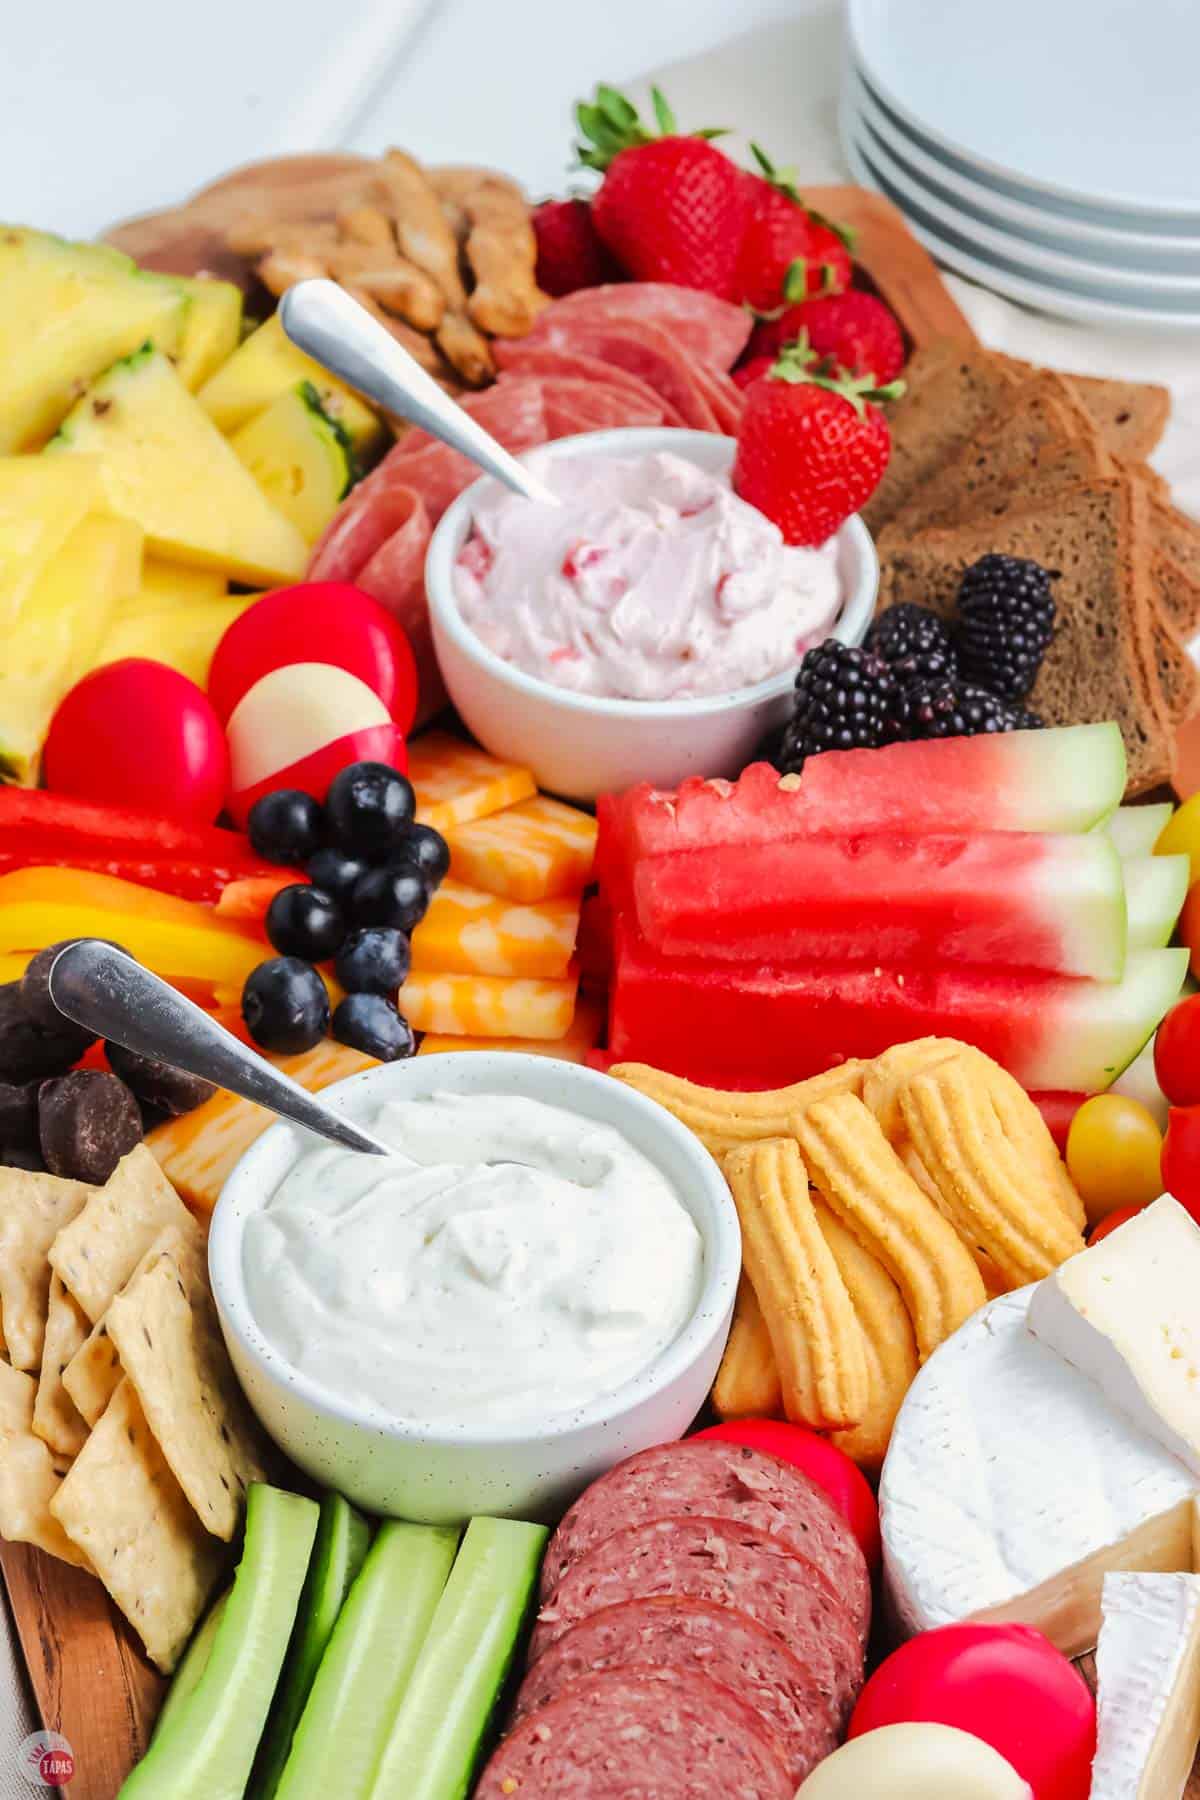
Easy Summer Snacks to Include
Veggies – Baby carrots, cucumber slices, bell peppers, cherry tomatoes,
Favorite fruits – Strawberries, other berries, red or green grapes, melon, pineapple, apples, oranges, etc.
Crackers – I like a variety of crackers and small slices of toasted bread. I love some small Pumpernickel toasts.
Meats – These are totally optional but a few slices of turkey rolled up or slices of salami.
Sweet treats – I love to add some granola bars, dark chocolate chips, mini peanut butter cups, or mints.
These are some of my favorite ingredients to put on my board. But you really can’t go wrong here. I love a good chex mix myself. Just don’t forget to throw in some sweet treats to go along with those healthy summer snacks.
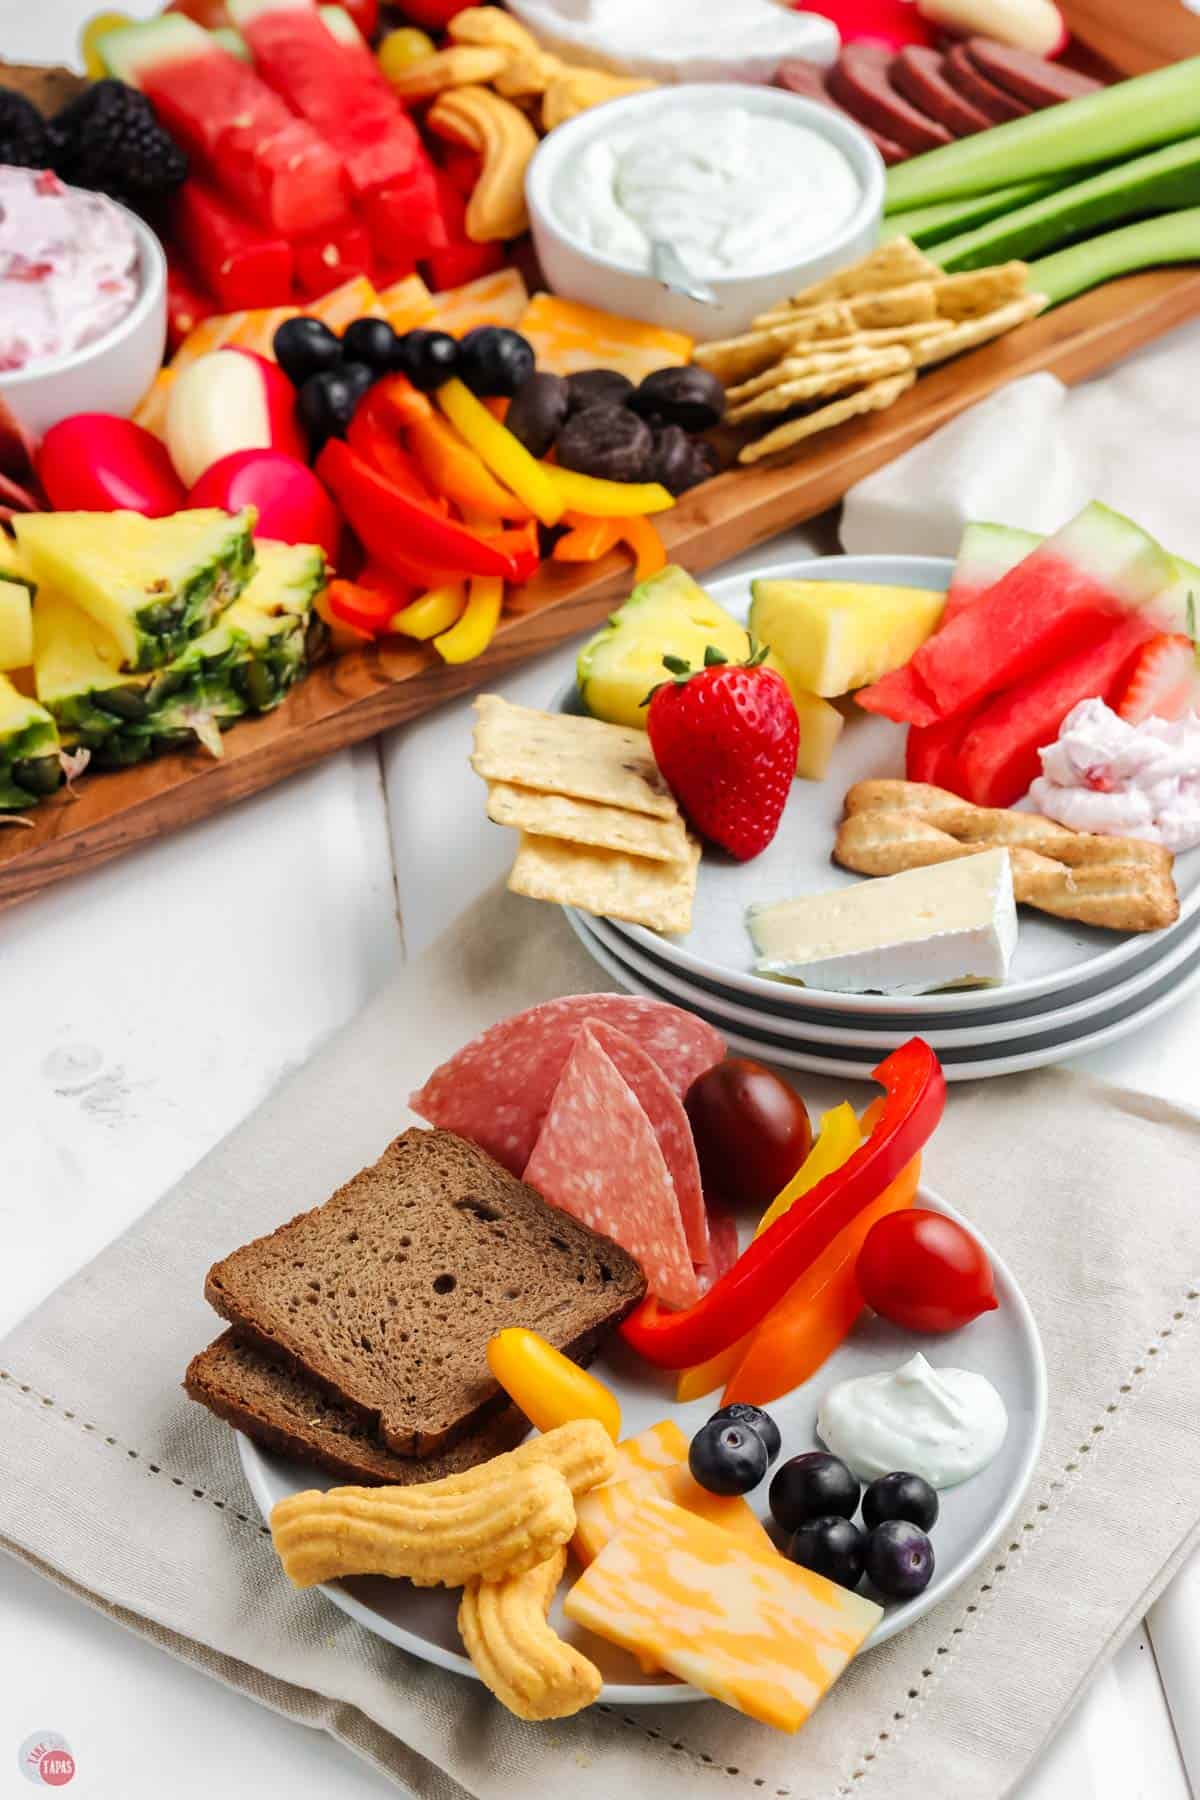
How long does it last?
You can make this board in the morning and store it in the fridge until ready to enjoy. Or you can prep all the ingredients and store in airtight containers in the fridge in airtight containers for up to 3 days.
This will save you time when you’re ready to put the board together.
How do I keep it cold on a hot day?
A fun wood board is great for displaying but it won’t keep your snacks cold on a warm summer day. Try using a regular plate or a plastic or metal tray to build your snack board.
Place on top of ice or an ice block to keep it cold. Or store it in a cooler. Here are a few of my favorite serving helpers for this time of year.
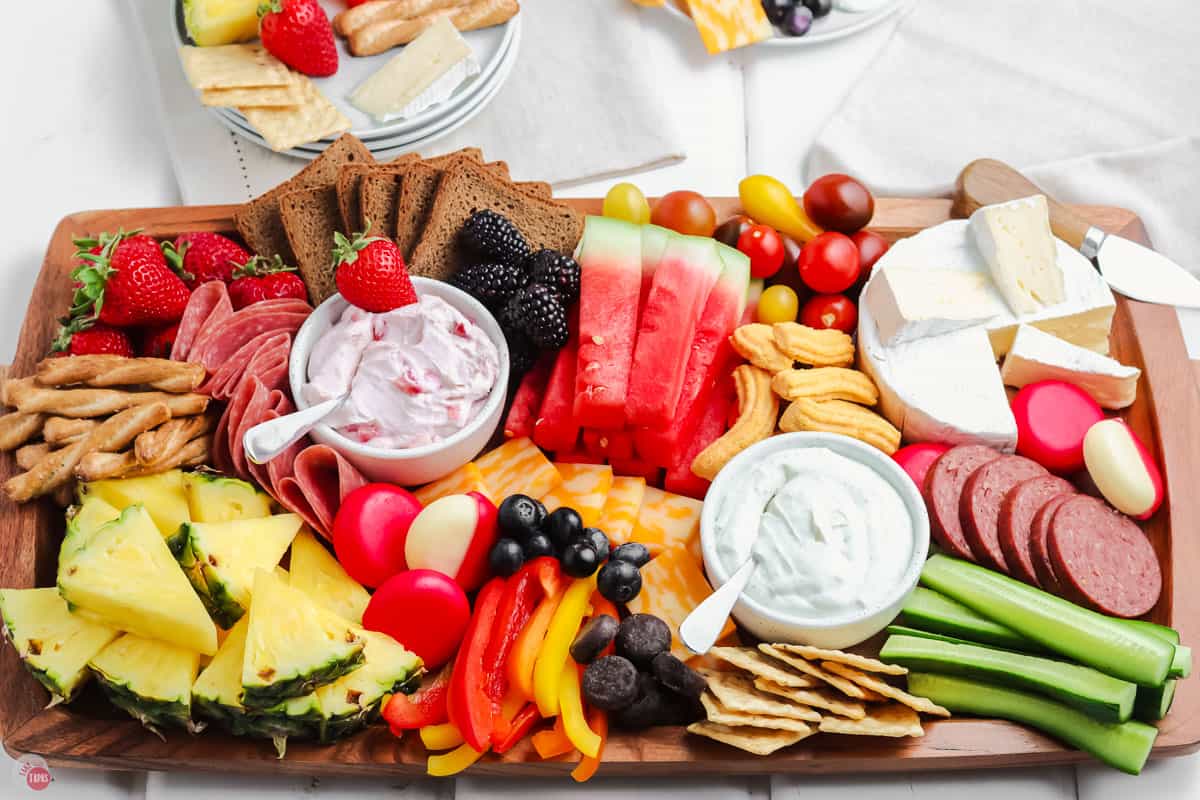
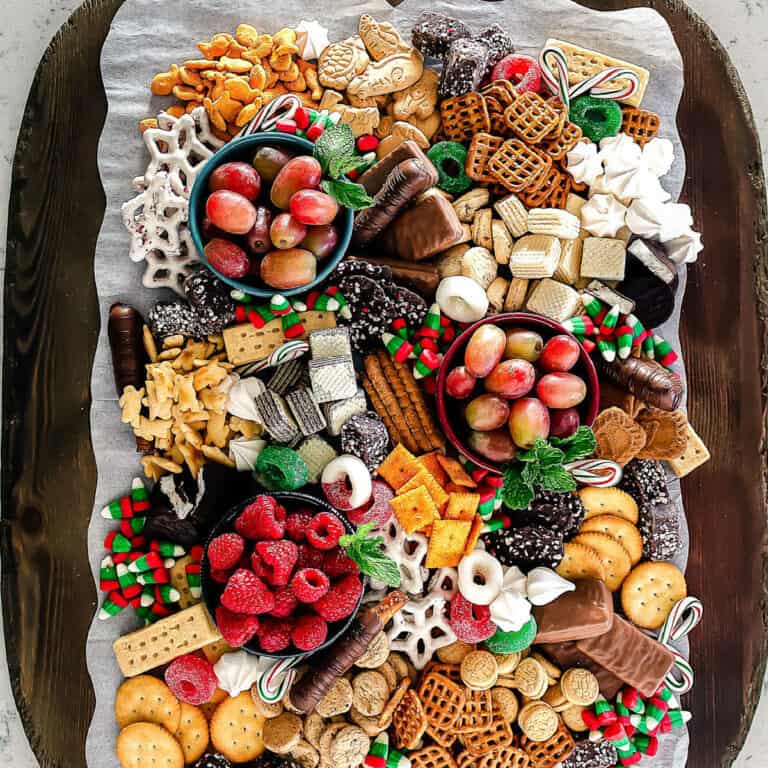
Festive Snacks
Tapas Tips & Tricks
- Prep/chop/slice everything ahead of time. This makes for very quick & easy assembling.
- Make sure your board is big enough to hold everything! One with a lip or rim is best.
- I like to start with bowls and then fill in around them. I’ve tried it the other way and trust me, it makes a mess.
- Use a combo of store bought and fresh items.
- Fill in gaps on your board with more nuts and dried fruits. Or some lettuce leaves for some extra color.
- Get a little of everything (sweet, spicy, salty, savory, crunchy). Keep your people coming back for more!
- Don’t forget toddler snacks like Cherrios or Goldfish crackers.
- Use bright-colored fruits and veggies like on this watermelon pizza.
If you love this recipe as much as I do, please leave us a five-star review in the comment section below. Thanks!
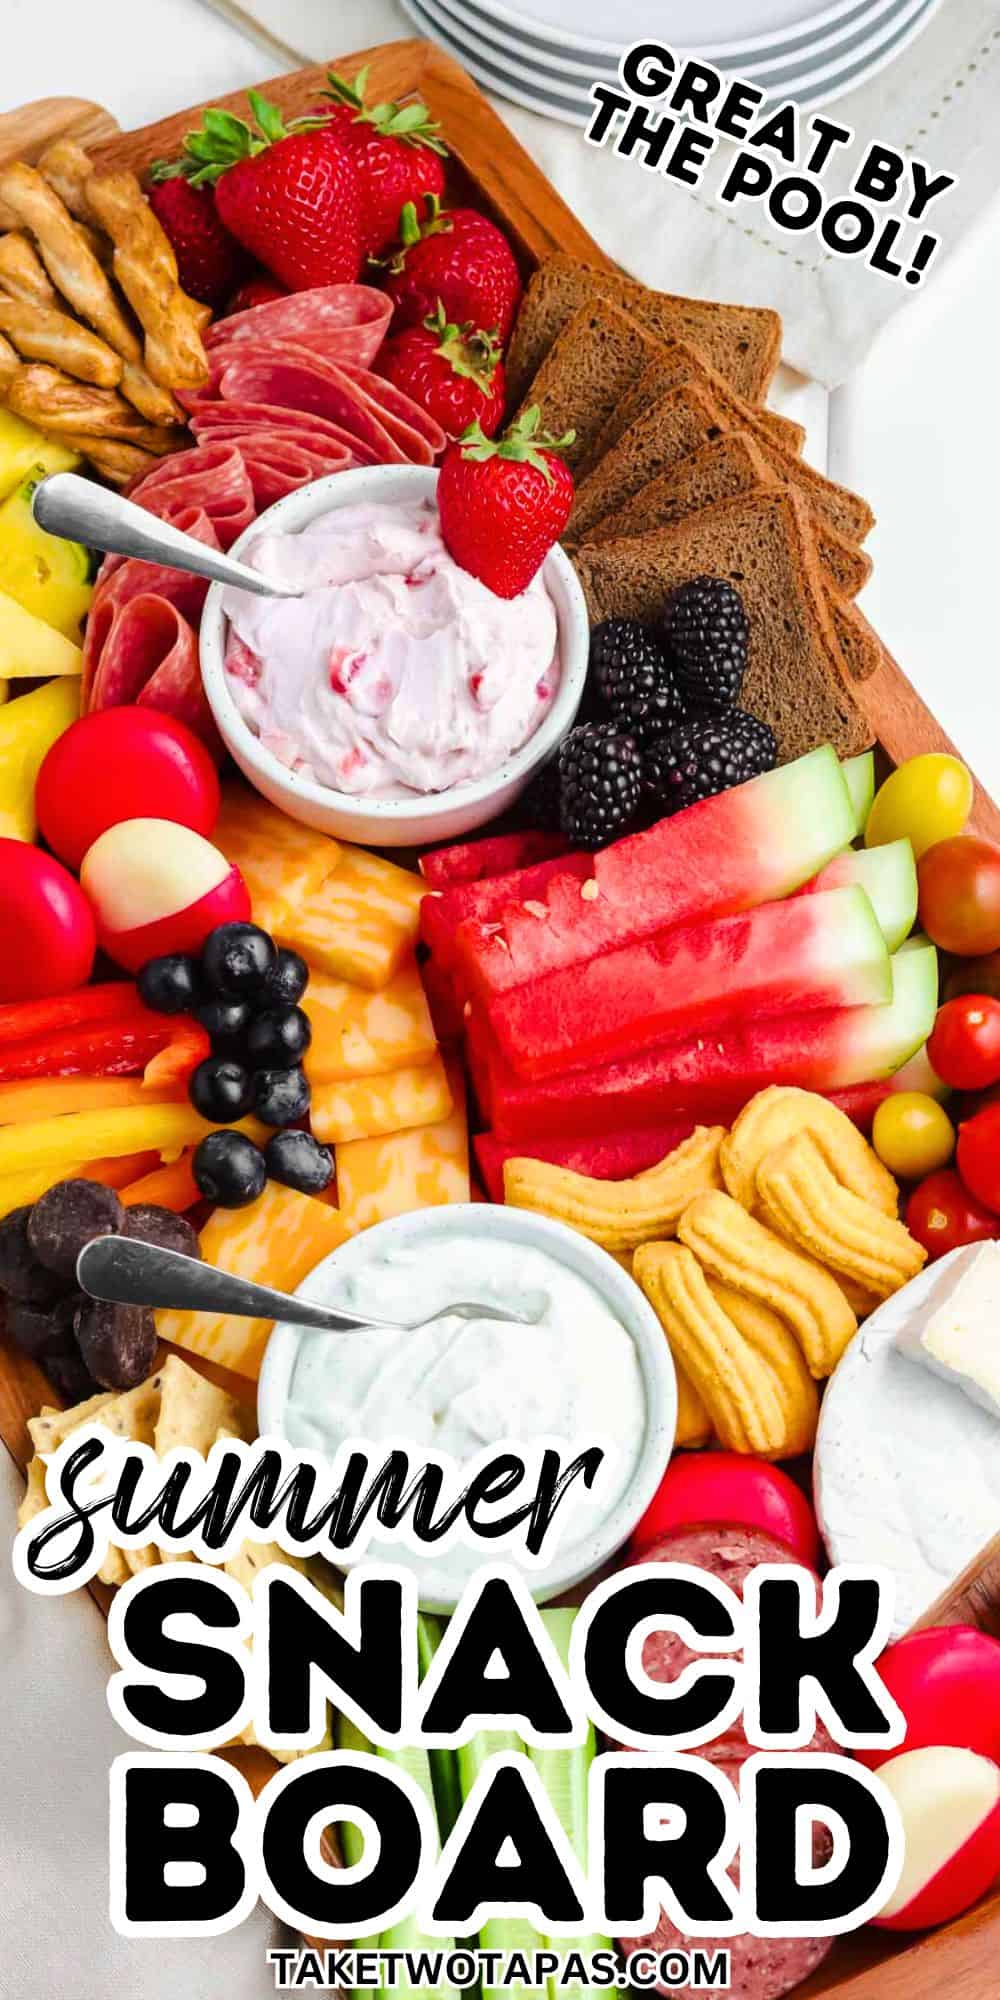
This easy board is full of the best summer snacks a must if you have a crowd that loves variety and loves to graze. Fill it with your favorite healthy foods, a few no bake treats, and wash it all down with a refreshing drink.
Summer Snack Board
Ingredients
- 1 cup Vegetable Dip
- 1 cup Fruit Dip
- Watermelon
- Pineapple
- Strawberries
- Blueberries
- Blackberries
- Snack Bread we used Pumpernickel
- Crackers
- Cheese we used Brie, Baby Bella and Colby Jack
- Salami sliced in rings and folded
- Vegetables – cucumbers cherry tomatoes, multi-colored peppers
- Cheese Straw Crackers
- Pretzels
- Mini Chocolate Mint Patties
Instructions
- Start with large board, using one with edges is easiest. Place the bowls for the dips on first and the Brie cheese or other cheese you’re using.
- Add the largest items like the watermelon and pineapple slices. Spreading out to more than one spot on the board if possible.
- Next, add the medium size items like the crackers, bread, small cheese cubes, and sliced salami. Add in other medium items like vegetables and other fruits.
- Fill holes with smallest items like grape tomatoes, blueberries, blackberries, cheese straws and chocolates. Cover and store or serve immediately.
Notes
- Prep/chop/slice everything ahead of time. This makes for very quick & easy assembling.
- Make sure your board is big enough to hold everything! One with a lip or rim is best.
- I like to start with bowls and then fill in around them. I’ve tried it the other way and trust me, it makes a mess.
- Fill in gaps on your board with more fruit and nuts. Or some lettuce leaves for some extra color.
- Get a little of everything (sweet, spicy, salty, savory, crunchy). Keep your people coming back for more!
- Don’t forget toddler snacks like Cherrios or Goldfish crackers.
Nutrition
{Originally published 06/04/21 – recipe and notes updated 07/22/24}
©TakeTwoTapas.com. Content and photographs are copyright protected. Sharing of this recipe is both encouraged and appreciated. Copying and/or pasting full recipes to any social media is strictly prohibited.
This is gorgeous. I’m making my second one for Easter Brunch and can’t wait to wow my guests. It’s become my fav!
I am so glad you like it!! Send some pics:)